
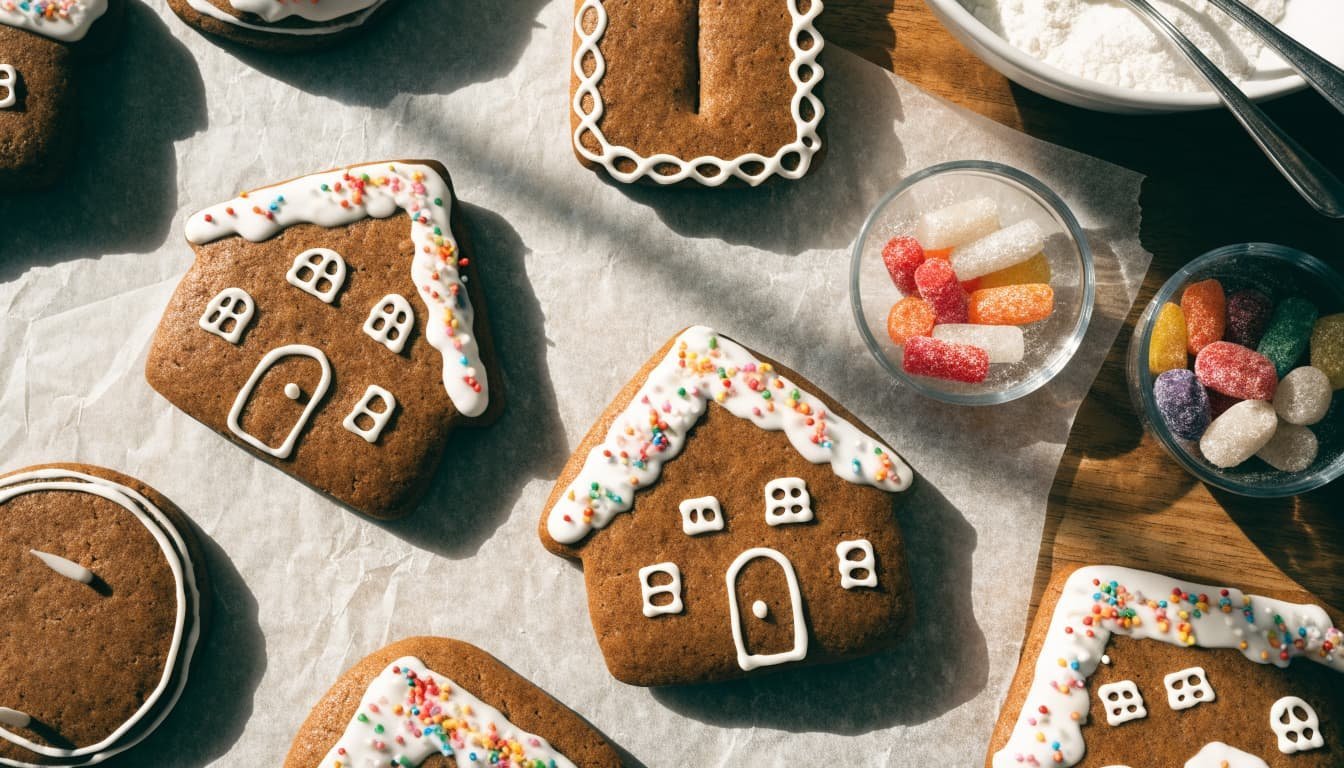
Gingerbread house-shaped cookies give you the fun of Christmas decorating without building a whole house. These homemade gingerbread house cookies with royal icing have warm spices, sturdy edges, and plenty of room for snowy roofs and small candy details.
You can keep the designs simple with white piping or add Christmas colors if you want. Start with well-chilled dough, then follow the mixing, baking, and icing steps below for cookies that are easy to decorate and share.
Homemade Gingerbread House Cookies With Royal Icing Recipe
This recipe makes flat, house-shaped cookies rather than panels for assembling a standing gingerbread house.
Yield: About 24 to 30 cookies, using a 3-inch cutter Prep: 30 minutes, plus about 30 minutes for decorating Chilling: At least 2 hours, plus 15 minutes after cutting Bake: 10 to 12 minutes per batch Cooling: About 30 minutes, plus icing drying time
For the gingerbread dough:
- 3 1/2 cups all-purpose flour, spooned and leveled, about 437 grams
- 1 teaspoon baking soda
- 1/2 teaspoon fine salt
- 1 tablespoon ground ginger
- 1 tablespoon ground cinnamon
- 1/2 teaspoon ground allspice
- 1/2 teaspoon ground cloves
- 3/4 cup unsalted butter, softened, 170 grams
- 3/4 cup packed light brown sugar, 150 grams
- 2/3 cup unsulphured molasses, about 200 grams
- 1 large egg, at room temperature
- 1 teaspoon vanilla extract
For the royal icing:
- 4 cups powdered sugar, sifted, about 480 grams
- 3 tablespoons meringue powder
- 5 tablespoons room-temperature water, plus more as needed
- 1/2 teaspoon vanilla extract, optional
- Gel food coloring, sprinkles, and small candies, optional
Use regular unsulphured molasses rather than blackstrap, which brings a stronger, more bitter flavor. Meringue powder contains pasteurized dried egg whites, as explained in Iowa State Extension’s guidance on making royal icing safely.
Step 1: Mix and chill the gingerbread dough
Whisk the flour, baking soda, salt, ginger, cinnamon, allspice, and cloves in a bowl. In another bowl, beat the softened butter and brown sugar for about 2 minutes, until smooth.
Beat in the egg, molasses, and vanilla, then scrape the bowl. Add the dry ingredients on low speed, mixing only until no dry flour remains.
Divide the dough in half and flatten each portion into a disc about 1 inch thick. Wrap tightly and refrigerate for at least 2 hours.
The dough should feel firm but workable. If it’s too hard to roll, leave it on the counter for 10 to 15 minutes before starting.
Read also: 8 Easy Non-Alcoholic Christmas Cocktails for Festive Holiday Gatherings
Step 2: Cut house shapes and bake until firm
Heat the oven to 350°F and line two baking sheets with parchment. Roll one dough disc between parchment sheets to an even 1/4-inch thickness, keeping the second disc refrigerated.
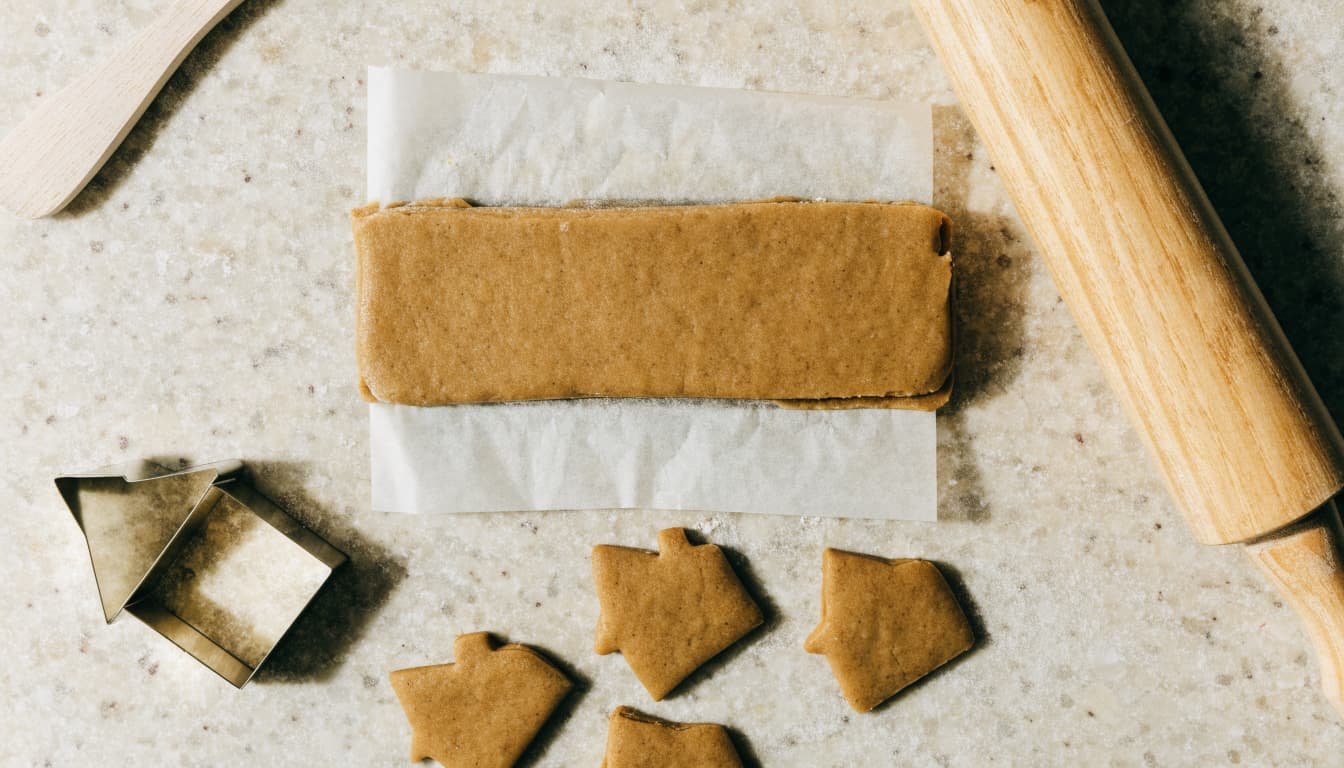
Cut houses with a cookie cutter or a paper template and small knife. Lift away the scraps, then transfer the parchment and shapes to a baking sheet without stretching the roofs.
Leave about 2 inches between cookies and chill the filled sheet for 15 minutes. Gather scraps gently, reroll once, and chill again if the dough softens.
Bake one sheet at a time for 10 to 12 minutes. Smaller cookies may finish sooner, so group similar sizes together.
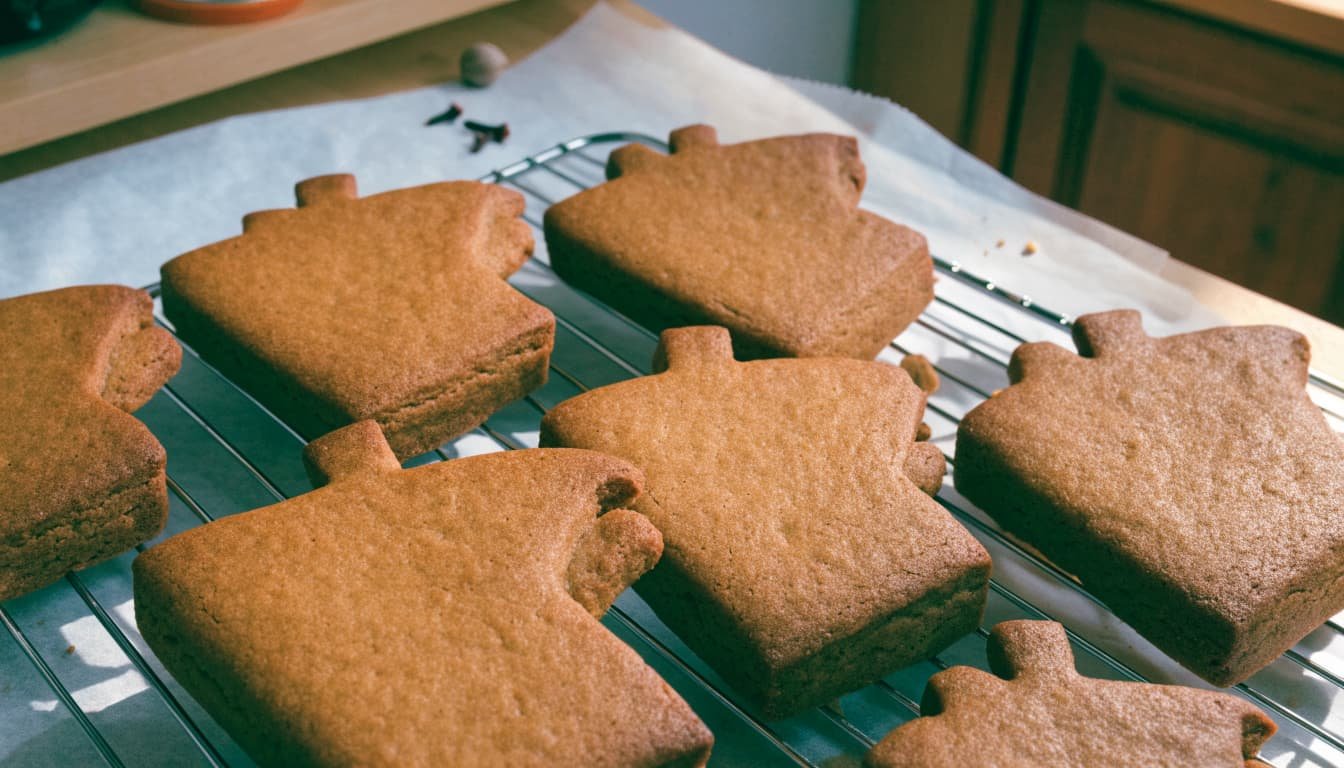
The edges should look set and slightly darker, with centers that feel firm under a light touch. Cool on the sheet for 5 minutes, then transfer to a rack and cool completely.
Step 3: Make royal icing and decorate the cookies
Combine the powdered sugar, meringue powder, water, and optional vanilla in a clean mixing bowl. Mix on low until moistened, then beat at medium-high speed for about 5 to 7 minutes.
Stop when the icing is glossy and holds stiff peaks. Add water a few drops at a time until a small portion pipes smoothly without breaking.
For flooding, thin a separate portion until a ribbon dropped into the bowl disappears in about 10 to 15 seconds. Keep the remaining icing covered so it doesn’t form a crust.
Read also: 55 Creative Halloween Party Food Ideas for Adults

Pipe roof lines, windows, and doors first, then add snowy trim. If flooding, pipe a border, let it set, then fill inside with thinner icing.
Add sprinkles while the icing is wet. Leave the cookies flat and undisturbed until the decorations are fully dry before stacking or packing.
Gather the right tools and plan simple Christmas designs
A modest setup gives you enough control for clear details without filling the counter with equipment. Prepare your tools before mixing the icing, since uncovered royal icing starts drying around the edges.
Set up your baking and decorating space
Gather mixing bowls, a hand or stand mixer, measuring tools, a rolling pin, parchment, baking sheets, and cooling racks. A house-shaped cutter is convenient, but a simple paper template works if you cut carefully.
Use piping bags with small round tips, such as size 1 or 2, for windows and roof lines. A slightly larger opening works for thicker snowy trim.
Keep a damp towel over the icing bowl between refills. Practice a short line on parchment before moving to a cookie.
Keep the first designs manageable
Outline the house, add a door and two windows, then finish the roof with dots or scallops. White icing leaves the gingerbread visible and keeps the decorating process manageable.
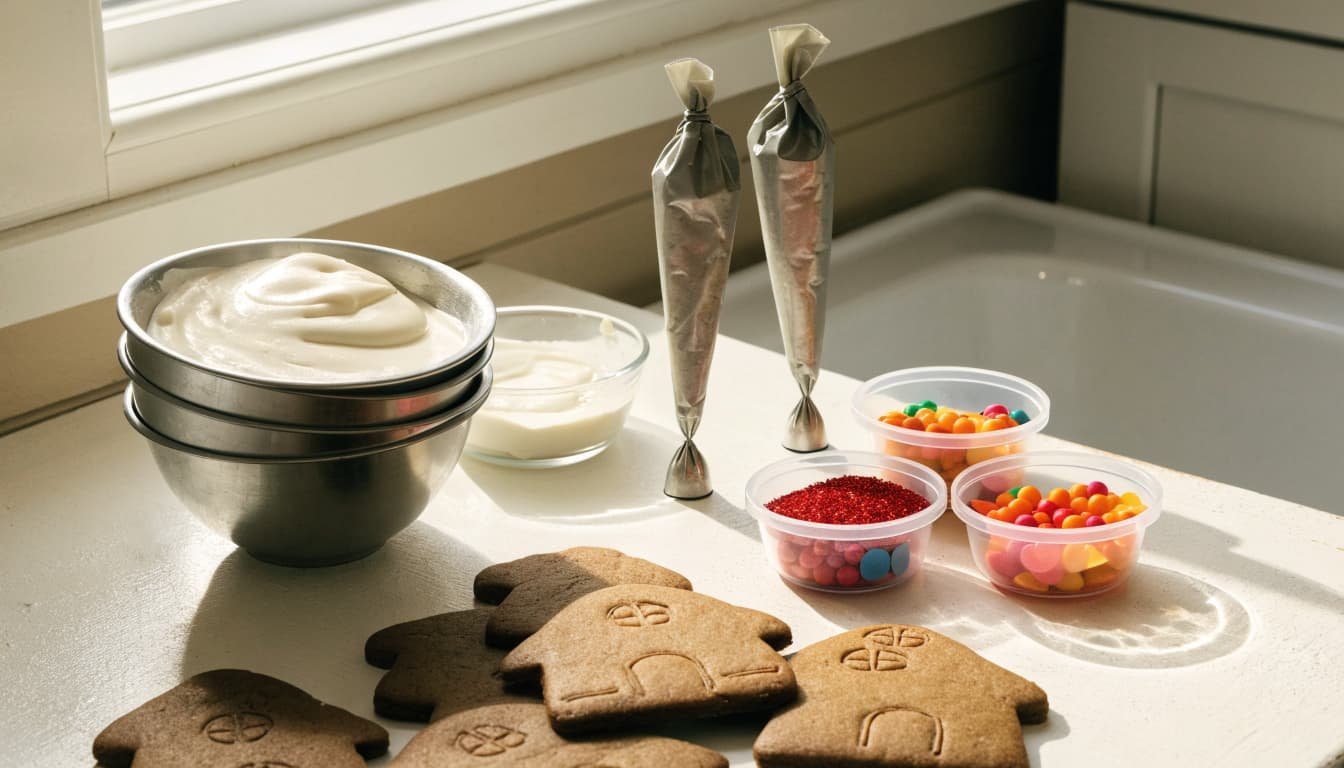
Decorate a small test cookie before filling every piping bag. You’ll see whether the icing holds its shape or needs another drop of water.
If you prefer a vanilla cookie base, use the dough from our Batman cookies with royal icing and cut house shapes instead.
Fix common dough, baking, and icing problems
Small adjustments are usually enough to make the next tray easier. Change one thing at a time so you can see what helped.
Adjust dough temperature and baking conditions
If dough sticks to the parchment, refrigerate the rolled sheet for 10 to 15 minutes before peeling it away. Avoid working in handfuls of flour, which can make the cookies dry.
Dough that cracks under the rolling pin is usually too cold. Let it soften briefly, then press the edges together and roll with gentle, even pressure.
If the cookies spread, chill the cut shapes longer and use a cool baking sheet. Warm trays soften the butter before the cookies reach the oven.
Uneven browning often comes from uneven thickness or mixed cookie sizes. Roll with thickness guides if you have them, and remove smaller cookies as they finish.
Correct icing a little at a time
Thick icing may break into short lines or require too much pressure on the bag. Stir in a few drops of water, then pipe another test line.
Runny icing spreads across window spaces and loses roof details. Add sifted powdered sugar by the teaspoon until the line holds its shape.
Test icing on a spare cookie, not only in the bowl. A consistency that looks smooth may still spread after piping.
Let flooded areas set before adding nearby colors. Wet colors can bleed together, especially when dark icing touches a pale background.
Frequently Asked Questions
Can I make the gingerbread cookie dough ahead of time?
Yes, wrap the flattened dough discs tightly and refrigerate them for up to 3 days. Let firm dough soften slightly before rolling, while keeping the unused portion chilled. Making the dough ahead separates the mixing and decorating into shorter sessions.
Can I use store-bought royal icing?
Yes, ready-made royal icing saves mixing time. Choose one labeled for cookie decorating that dries firm, rather than a soft frosting or decorating gel. Prepare it according to its package directions, then test a small amount before piping detailed windows or filling larger areas.
How long should royal icing dry before I store the cookies?
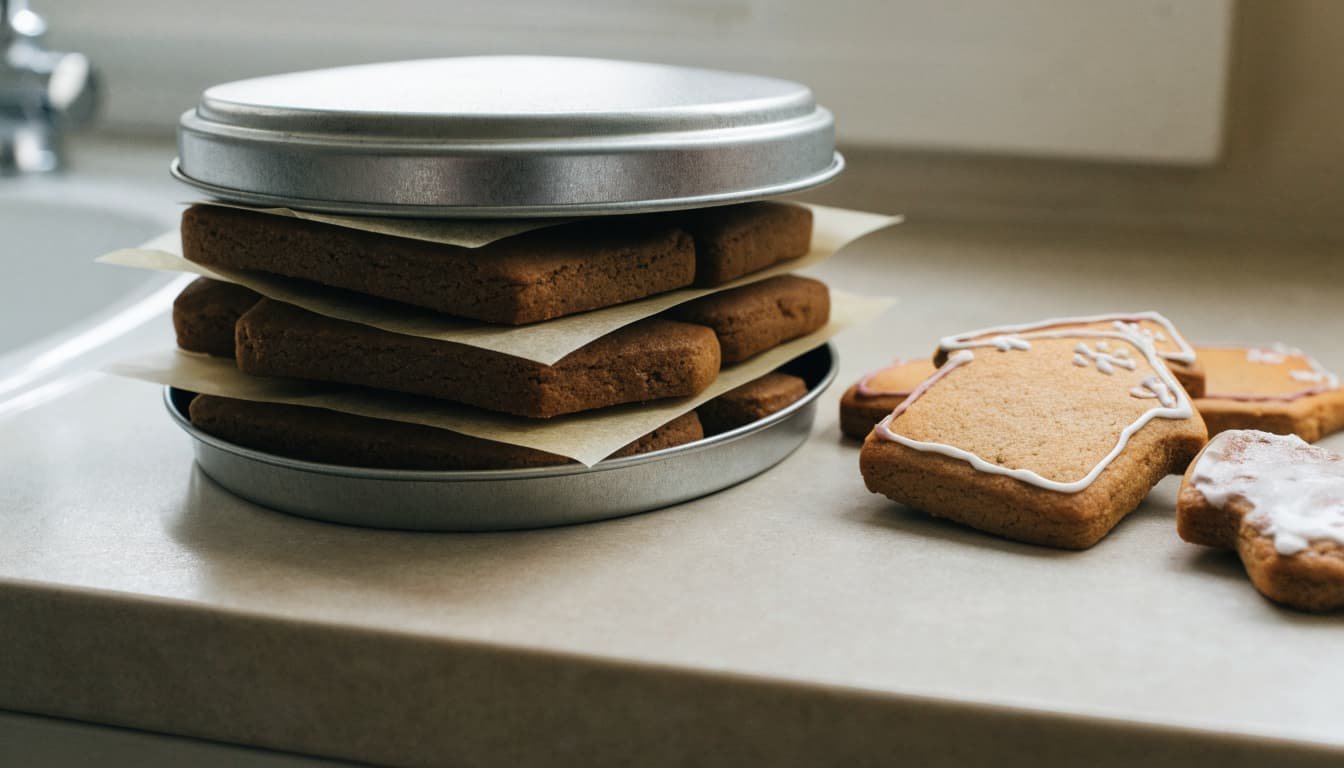
Drying depends on icing thickness, room temperature, and humidity. Fine lines may set within a few hours, while flooded areas often need overnight drying. Wait until the surface is fully dry, then store the cookies in a suitable airtight container with parchment between layers.
Can I freeze gingerbread house cookies?
Freeze completely cooled, undecorated cookies in a freezer-safe airtight container with parchment between layers. Thaw them fully in the closed container before decorating. Decorated cookies can also be frozen, but icing colors and textures may change during thawing, so undecorated cookies are the more dependable option.
Make Christmas Decorating Easier
Chill the dough before cutting, cool every cookie completely, and adjust the icing in small amounts. Those habits give you cleaner house shapes and more control over the decorations.
Start with simple piping, then add your favorite Christmas colors and candies if you want. A few windows, a door, and a snowy roof give homemade gingerbread house cookies with royal icing a festive finish without covering every surface.
Save the pin for later


I’m the creator of My Everyday Dish, a food blog focused on easy homemade recipes, comforting family meals, simple baking, and seasonal food ideas. I love finding practical ways to make everyday cooking less stressful and more enjoyable. Here, I share recipes with simple ingredients, clear instructions, and plenty of flavor, helping you make delicious meals and treats you’ll feel confident serving at home.
Leave a Reply