
A festive Christmas fruit cake doesn’t need fancy piping or advanced decorating skills. With accessible toppings and a few simple tools, you can give your cake a polished finish that suits your holiday party.
The first nine ideas include step-by-step directions, and each design can be adjusted for different cake sizes and party styles. For more inspiration, browse these simple fruit-topped cake designs, then start with three classic ways to decorate your cake.
Easy Christmas Fruit Cake Decorating Ideas for Holiday Parties
These first three designs use familiar ingredients and simple techniques, so you can finish a Christmas fruit cake without special decorating tools. Start with a completely cooled cake, then choose a style that suits your holiday table.
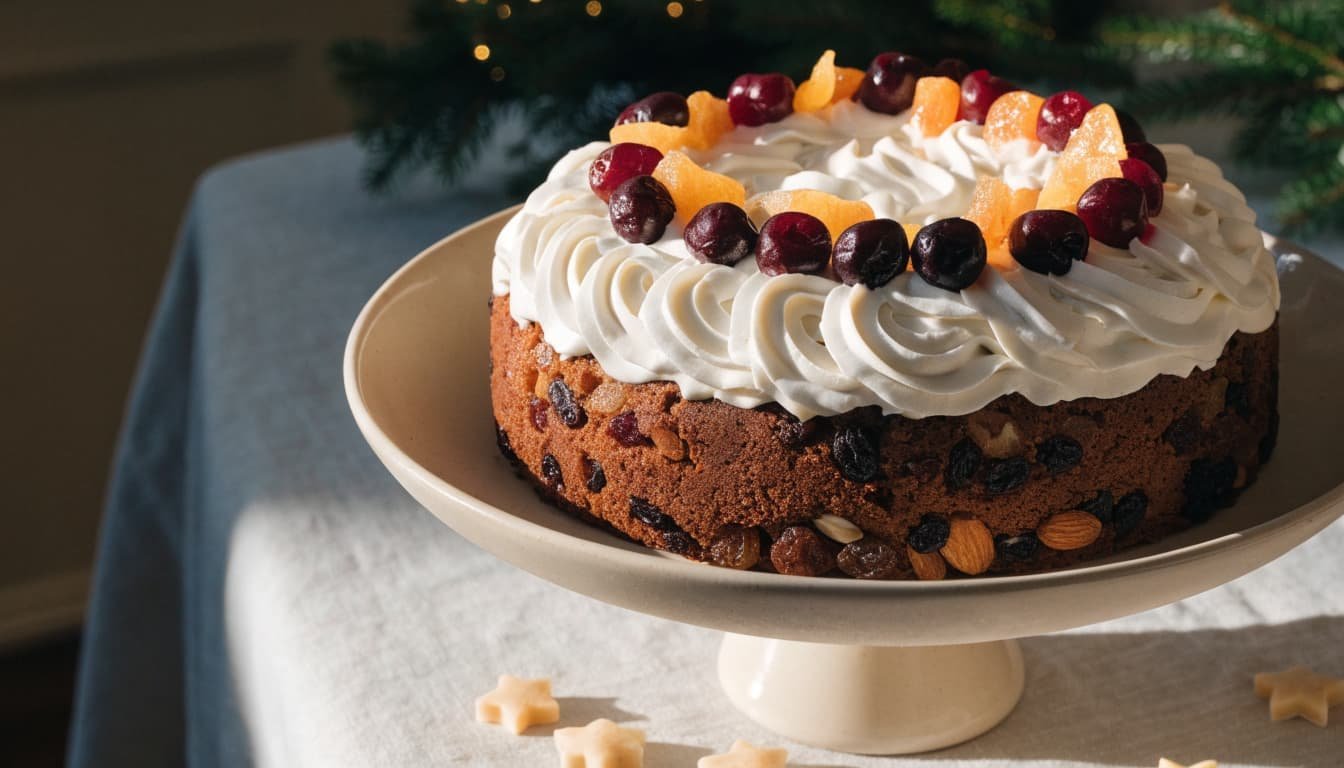
1. Apricot-Glazed Cake with a Ring of Candied Fruit
Ingredients: 2 tablespoons apricot jam, 1 teaspoon water, and a handful of candied cherries, citrus peel, or other candied fruit.
- Pat the candied fruit dry with a paper towel. Dry pieces adhere better and help keep the glaze from becoming watery.
- Warm the jam and water in a small saucepan over low heat, stirring until smooth. Strain it through a fine-mesh sieve to remove bits of fruit.
- Brush a thin layer over the cooled cake’s top. Arrange the fruit in a neat ring, alternating colors or shapes for an even pattern. Press each piece gently into the jam.
- Brush the fruit lightly with a little more warm jam for shine. Let the cake stand until the glaze sets before moving it to a serving plate.
Keep the ring close to the cake’s edge for a classic look, or place it around the center to leave a glossy border visible.
2. Snowy Royal Icing with Festive Peaks
Ingredients: Prepared royal icing, a small palette knife or spoon, and a few candied fruit pieces or sugar decorations.
Spread the icing over the cooled cake’s top and sides, smoothing it only enough to cover the surface. While it is still soft, lift the back of a spoon or a small palette knife straight up in short strokes. These small lifts create snow-like peaks without piping.
Add a few decorations while the icing remains tacky, spacing them out so the white finish stays visible. For a prepared alternative to recipes made with raw egg whites, choose an icing made with meringue powder, such as our royal icing recipe for gingerbread cookies. If you make icing with egg whites, use pasteurized eggs or a suitable prepared alternative. The USDA advises against eating raw shell eggs, so check its egg safety guidance when choosing ingredients. Let the icing set before serving, and follow the icing recipe’s storage directions.
Read also: Easy Gingerbread Cookies Recipe for Christmas Baking
3. Marzipan Stars and a Simple Icing-Sugar Snowfall
Ingredients: Marzipan, a small star-shaped cookie cutter, a dab of apricot jam or icing, and icing sugar.
Dust a clean counter and rolling pin with a little icing sugar to prevent sticking. Knead the marzipan briefly until pliable, then roll it to about ¼ inch thick. If it begins to stick, lift it gently and dust the surface again rather than adding a lot of sugar.
Cut out small stars and attach them to the cooled cake with a dab of jam or icing. Arrange a few stars in a loose cluster or around the rim, leaving open space between them for a tidy finish. Just before serving, sift a light layer of icing sugar over the cake for a fresh snowfall effect. Wait until serving time to dust, since moisture can make the sugar disappear into the marzipan.
More Christmas Fruit Cake Decorating Ideas with Nuts and Marzipan
Marzipan, nuts, chocolate, and candied fruit add color and texture without complicated piping. Use these simple finishes to give a holiday fruit cake a more festive look.
4. Marzipan-Covered Cake with a Ribbon of Nuts
What you’ll need: Marzipan, apricot jam, and chopped or whole nuts. Warm a spoonful of jam until loose, then brush a thin layer over the completely cooled cake. On a surface lightly dusted with powdered sugar, roll the marzipan into a circle large enough to cover the top and sides. Drape it over the cake, then smooth it gently with clean hands, working from the top down. Trim away any excess at the base. For a traditional finish, see Mary Berry’s classic Christmas cake method.
Press chopped nuts around the base, or arrange whole nuts in a neat band across the top. For an easy variation, use a mix of almonds and pistachios for contrasting colors. Check for nut allergies before serving, and let guests know which nuts you used.
Read also: Homemade Christmas Potpourri Recipe in Mason Jars
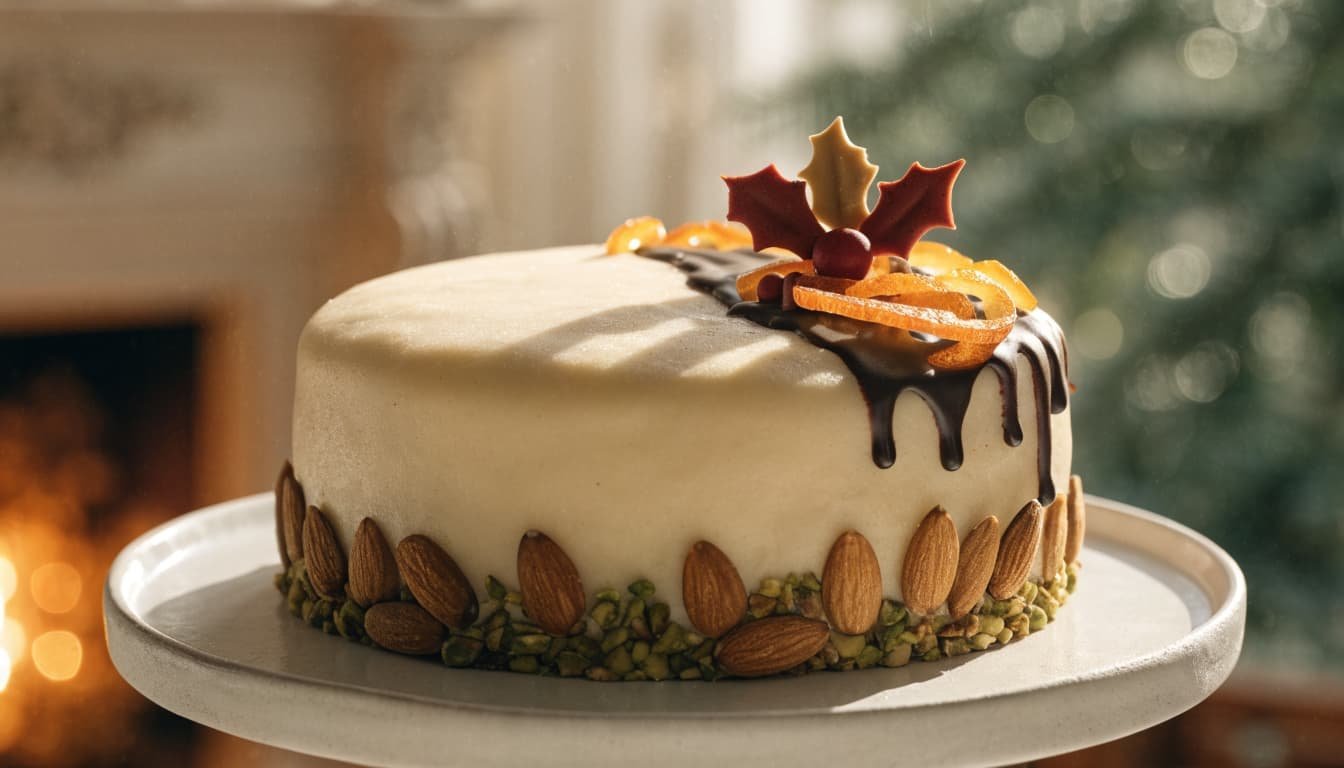
5. Chocolate Drizzle with Candied Orange Peel
What you’ll need: A few ounces of chocolate, strips of candied orange peel, and chopped nuts if desired. Melt the chocolate gently in a heatproof bowl set over a pan of barely simmering water, making sure the bowl doesn’t touch the water. Stir until smooth, then let it cool until it’s still fluid but no longer hot. Dip a spoon into the chocolate and move it back and forth over the cake to create thin drizzles.
Leave plenty of fruit cake uncovered so its color and texture remain visible. Arrange the orange peel over a few of the chocolate lines, then add a small sprinkle of chopped nuts if you like. For a quick variation, use white chocolate in place of dark chocolate, or alternate both for a two-tone finish.
6. Mini Marzipan Holly Leaves and Berry Clusters
What you’ll need: Marzipan, green and red food coloring, a few candied cherries or dried cranberries, and a little icing. Divide the marzipan into small portions and knead a drop of green coloring into one portion. Shape small leaves by rolling pieces into ovals, then flattening and pinching one end. Press a toothpick lightly down the center for a simple vein, if you like. Tint another small portion red, or use the cherries and cranberries as berries.
Arrange two or three leaves with a berry cluster in a few spots on the cake. Attach each piece with a small dab of icing. For a simple variation, make all-green leaf clusters and use one candied cherry as the center. Keep the shapes small so the decorations add a festive accent without covering the cake.
Three Easy Christmas Fruit Cake Designs for a Holiday Party
These three finishes bring color and holiday charm to a fruit cake without special decorating equipment. A spoon, a small sieve, and a few pantry staples are enough to make each design.
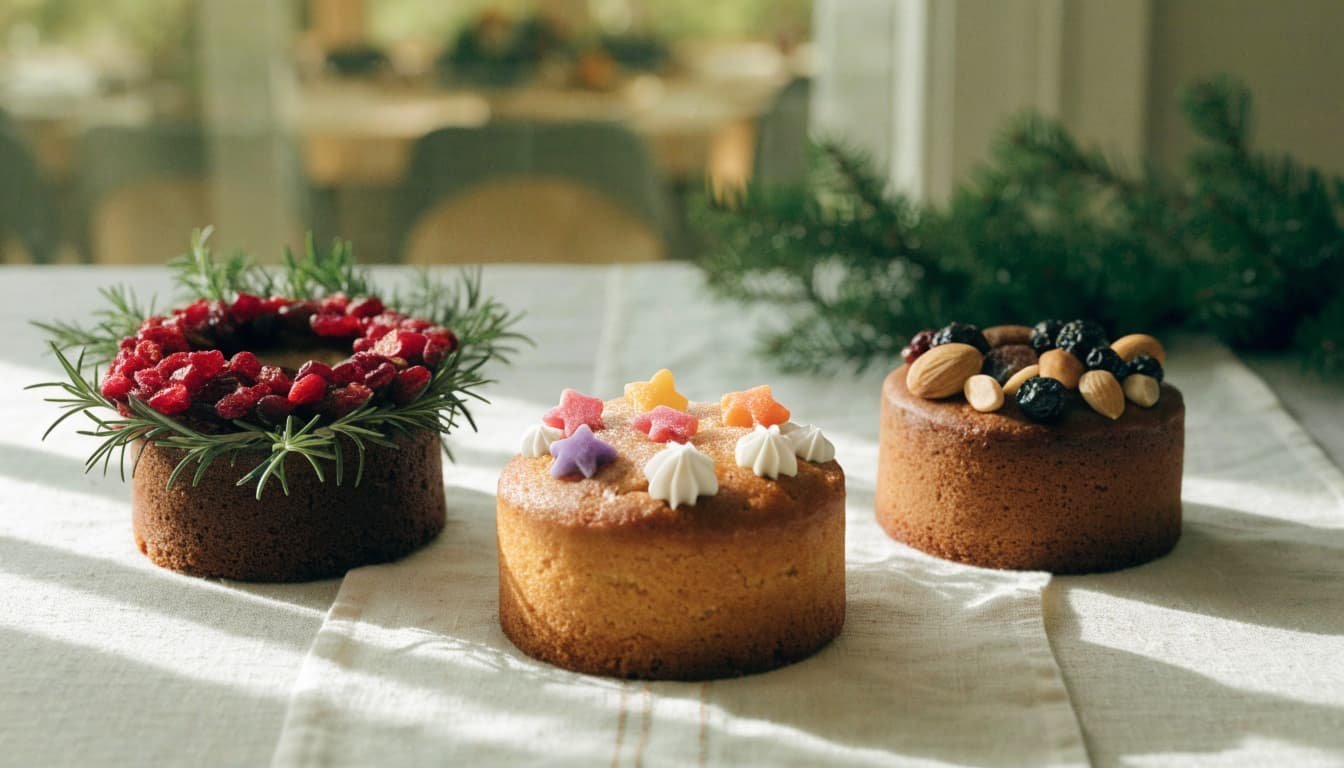
7. Sugared Cranberry and Rosemary Wreath
Ingredients: Dried or candied cranberries, a few small rosemary sprigs, and a thin layer of jam or icing.
- Spread a thin layer of jam or icing over the cooled cake. Keep it tacky rather than thick so the fruit stays in place without sliding.
- Arrange the cranberries in a circle near the edge, leaving the center open to create a wreath shape.
- Tuck short rosemary sprigs between the cranberries, pointing them in the same direction for a neat, evergreen look. Press each piece gently into the topping.
- For a snowy finish, dust the wreath lightly with icing sugar just before serving.
Set the cake on a simple platter and add a few extra cranberries around the base. Tell guests which decorations are edible, especially if any greenery is intended only as a garnish. Fresh rosemary or fruit on top doesn’t change the cake’s safe storage life. The USDA lists dried fruit and cakes without cream among foods that can remain safe during a power outage, but this emergency food guidance does not give a storage timetable for decorated cakes.
8. Starry Night Cake with Icing-Sugar Stencils
Ingredients: Icing sugar, clean paper or reusable food-safe star stencils, and a few candied fruit stars or small sugar decorations.
- Let the cake cool completely, then place it on a flat surface. Make sure the top is dry so the icing sugar stays powdery.
- Position the stencils on the cake, keeping them flat against the surface. If an edge curls, gently smooth it down with clean, dry fingertips.
- Sift a small amount of icing sugar over the stencils. Use a fine-mesh sieve and tap it lightly; a thin dusting gives crisp shapes without burying the cake.
- Lift each stencil straight up, rather than sliding it across the surface. Add a few candied fruit stars or sugar decorations to fill open spaces.
Serve the cake on a dark platter to make the pale stars stand out. Keep the pattern sparse, since a few clear shapes look sharper than a heavily sugared top.
9. Rustic Fruit-and-Nut Crown
Ingredients: A thin layer of jam or icing, dried fruit, candied cherries, and assorted nuts.
- Spread a thin coat of jam or icing over the cooled cake’s top. This gives the toppings something to grip.
- Arrange the fruit and nuts in a loose crown near the edge. Mix larger pieces, such as halved candied cherries, with smaller dried fruit and nuts.
- Alternate colors as you work around the cake. For example, pair red cherries with golden dried fruit and pale almonds, then add a few darker nuts for contrast.
- Press each piece gently into the topping so it stays put when you carry the cake. Leave the center open for a small festive topper, if desired.
For a party, place the topper in the center just before serving and use a platter wide enough to catch any loose nuts. Check for nut allergies and let guests know which nuts the cake contains.
Three Quick Fruit Cake Finishes, Plus Party Prep Tips
These last three ideas work well when you want a festive finish without elaborate piping. Choose the look that fits your table, then leave enough time for any topping to set before guests arrive.
10. A Simple Icing-Sugar Snowfall
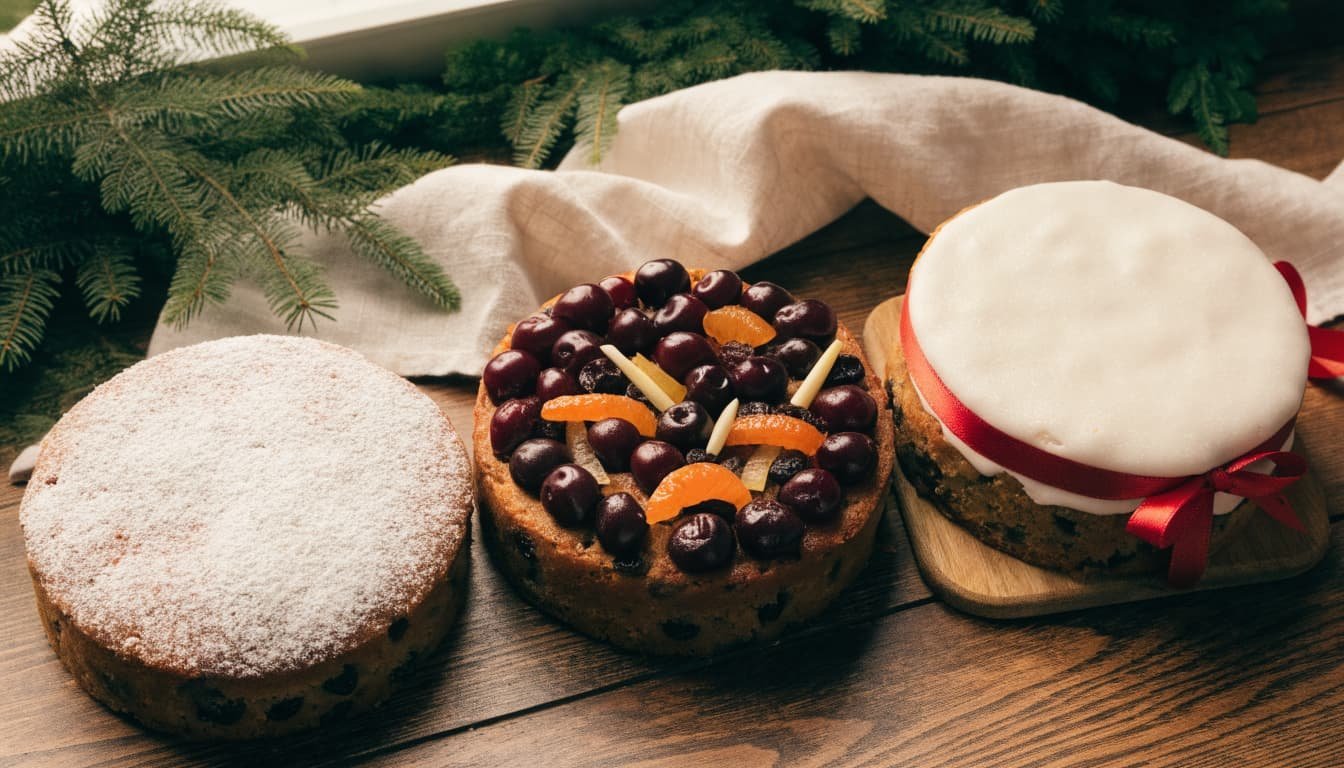
For a clean, snowy look, let the cake cool completely and make sure its surface is dry. Just before serving, sift powdered sugar evenly over the top with a fine-mesh sieve. A light layer looks delicate and won’t hide the cake’s color.
To add a little detail, place a paper snowflake stencil on the cake before dusting, then lift it straight up. You can also finish with a few candied fruit pieces arranged near the edge.
11. Glazed Cherry and Citrus Top
Drain glacé cherries and pat them thoroughly dry, then arrange them with strips of candied citrus peel. Brush the fruit lightly with warmed jam for a glossy finish, taking care not to use so much that the pieces slide.
For a classic pattern, create a border around the edge. Arrange the fruit in a wreath for a holiday look, or lay it in simple rows for a neat, modern finish. Let the glaze set before carrying the cake to the table.
12. Wrapped Cake with a Festive Ribbon and Topper
For a no-frosting option, place the cake on a serving board and wrap a clean ribbon around its sides. Tie it in a bow, then add a small food-safe topper or a cluster of dried or candied fruit to the top.
Keep the topper stable and away from the cake’s cutting path. Before slicing, remove the ribbon and any non-edible decorations so guests don’t mistake them for food.
Choose a Design and Decorate Ahead Without Rushing
Match the finish to your party and schedule. A powdered-sugar dusting is quick, marzipan with icing gives a classic appearance, and fruit with nuts adds color and texture. If you choose marzipan, allow a few days for it to dry before icing. Icing may also need time to set, so follow the timing in your recipe.
Dried and candied toppings differ from fresh fruit, cream, and other perishable ingredients. Once you add perishable toppings, don’t assume the cake’s usual storage advice still applies. Check for allergies, use food-safe decorations, and follow reliable food-safety guidance for egg-white icing. The USDA recommends pasteurized eggs or egg products for recipes that won’t be cooked, as explained in its egg recipe safety guidance.
Frequently Asked Questions
A few small choices can make decorating and serving your Christmas fruit cake easier. Use these answers to plan your timing, choose toppings, and keep each slice neat.
Can I decorate a Christmas fruit cake a few days before the party?
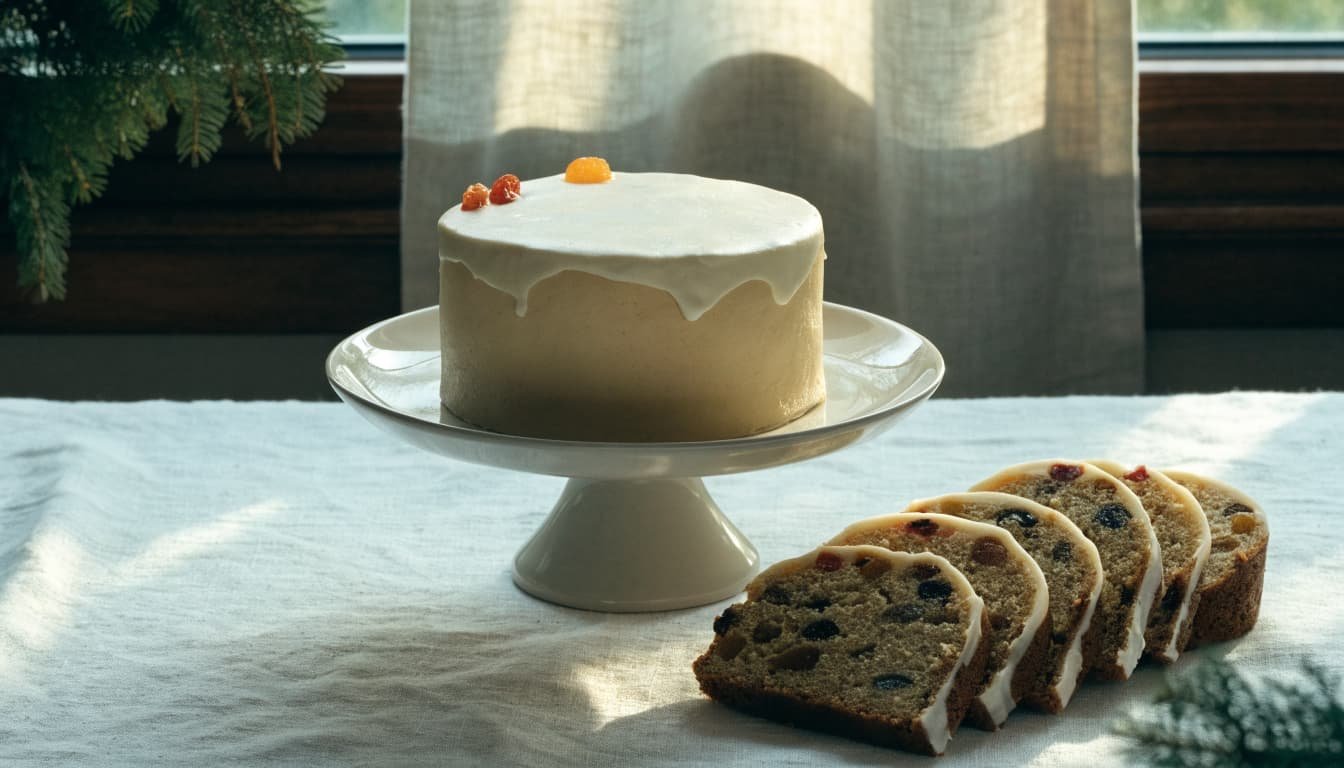
Yes, but the right schedule depends on the finish. Marzipan and royal icing often need separate drying and setting time, so follow the recipe’s timing rather than adding both layers at once. For example, BBC Food’s Christmas cake guidance allows several days for marzipan to dry and icing to set.
What can I use instead of marzipan?
For a light finish, sift icing sugar over the cake shortly before serving; it adds a snowy look without changing the texture much. A thin layer of icing gives the surface a smoother, sweeter bite, while chocolate drizzle adds richness. You can also top the cake with jam-glazed candied fruit for a glossy finish with a chewy texture.
How do I keep decorations from sliding off the cake?
Use a thin layer of jam or icing as an adhesive, rather than spreading on a thick coat that can shift under heavier toppings. Pat fruit dry before arranging it, since moisture makes the surface slippery. Then press each decoration gently into the topping and let it set before moving the cake.
Can I use fresh fruit to decorate a fruit cake?
Yes, but fresh fruit adds moisture and can spoil, unlike dried or candied fruit. Add it close to serving, refrigerate the cake when needed, and follow the topping’s food-safety guidance. The USDA advises keeping cold food at or below 40°F and limiting time in the danger zone; see its food temperature and time guidance. For other festive treats with fresh fruit, browse our Grinch party food ideas.
How can I decorate a Christmas fruit cake without nuts?
Candied fruit, dried cranberries, chocolate, and icing sugar all add color without requiring nuts. Marzipan is usually made with almonds, so skip it if you’re avoiding tree nuts. When allergies are a concern, read ingredient labels and cross-contact warnings on every topping.
How do I cut a decorated fruit cake neatly?
Use a sharp knife and wipe the blade between cuts to keep crumbs and icing from smearing across each slice. Remove ribbon and any non-edible toppers before cutting, and take extra care around chilled or firm decorations. If a topping resists the knife, cut slowly rather than forcing the blade through.
Conclusion
Choose the Christmas fruit cake decoration that fits your time, skill level, and party menu. A simple, tidy finish can look just as festive as a more detailed design, while keeping the cake easy to serve.
Whether you prefer a light dusting of sugar or a fruit-and-nut topping, make the cake your own and enjoy sharing it with your guests. For more ideas to round out the table, explore our cheap Christmas desserts and party food.
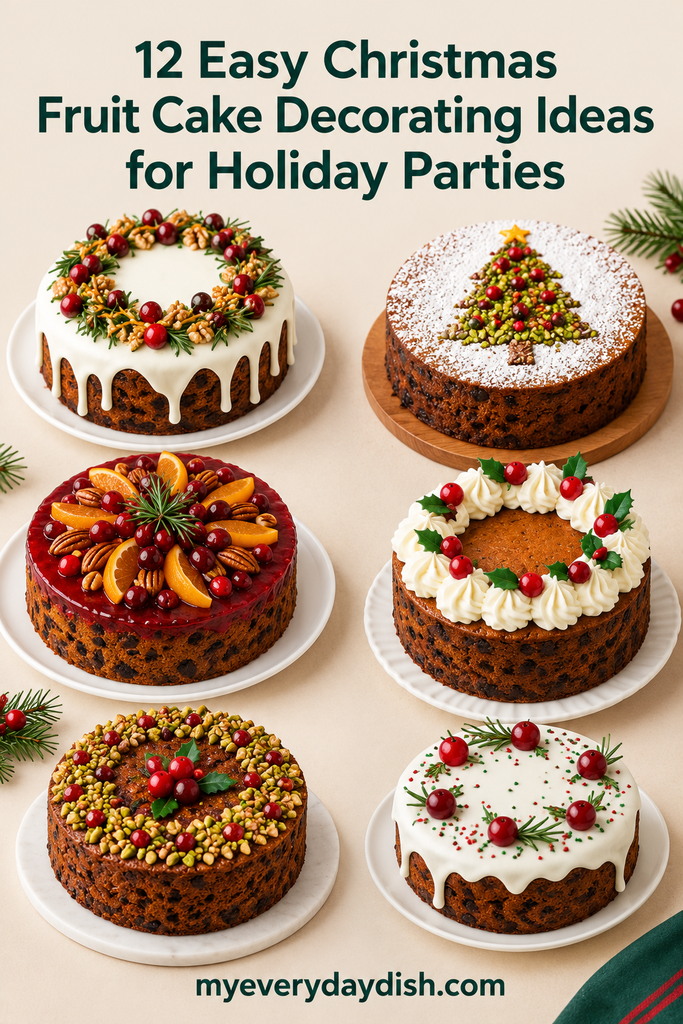
Save the pin for later

I’m the creator of My Everyday Dish, a food blog focused on easy homemade recipes, comforting family meals, simple baking, and seasonal food ideas. I love finding practical ways to make everyday cooking less stressful and more enjoyable. Here, I share recipes with simple ingredients, clear instructions, and plenty of flavor, helping you make delicious meals and treats you’ll feel confident serving at home.
Leave a Reply