
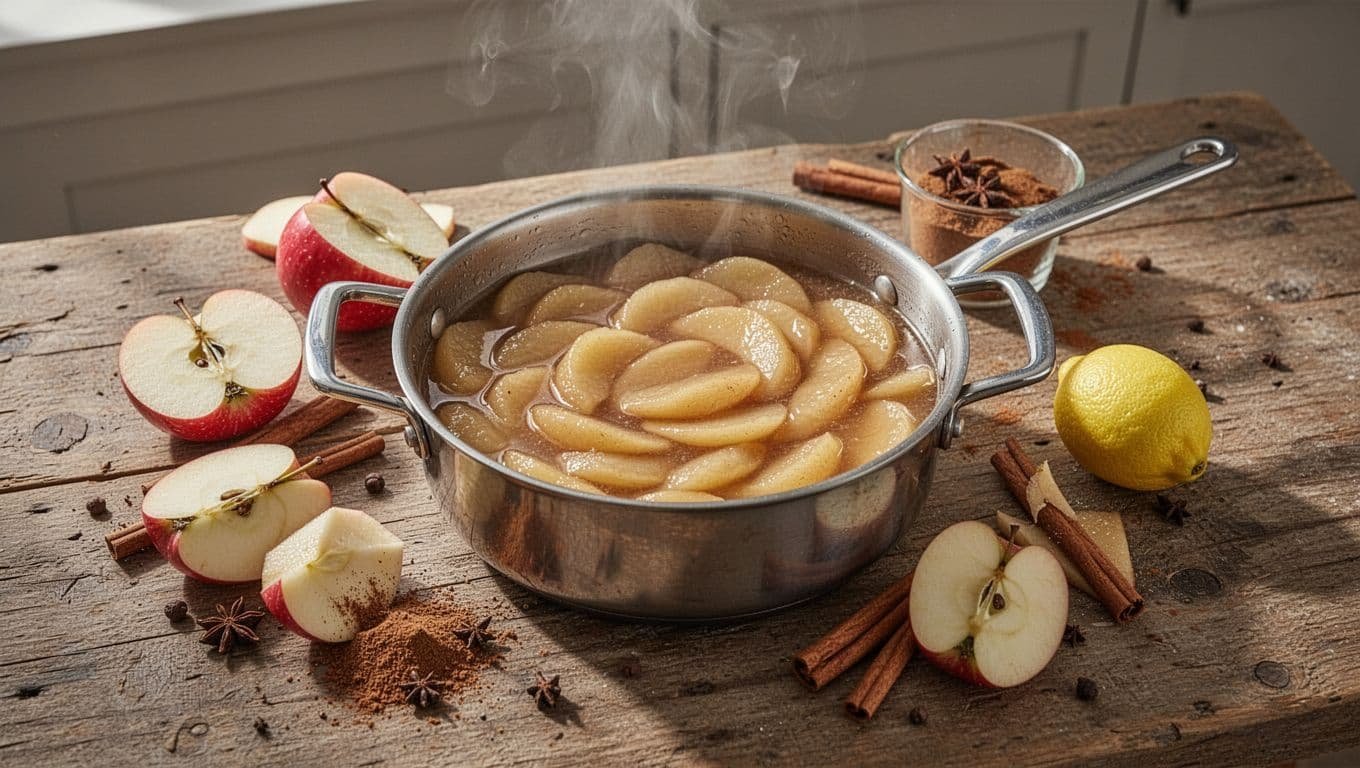
Many home cooks want an easy apple pie filling they can preserve without buying Clear Jel®. The important catch is that apple pie filling without Clear Jel is not a tested shelf-stable canning project when thickened with flour, cornstarch, tapioca, or arrowroot.
You can still make a fragrant, make-ahead filling with fresh apples, lemon, sugar, and spices. Treat this version as refrigerator or freezer filling, then use it in pies, crisps, turnovers, and more.
Easy Homemade Apple Pie Filling Recipe for Canning Without Clear Jel: What Is Safe?
A safe, shelf-stable canned apple pie filling without a tested thickener can’t be recommended. The National Center for Home Food Preservation’s tested pie-filling formula calls for cook-type Clear Jel®, lemon juice, hot-packed apples, 1 inch of headspace, and immediate processing.
Clear Jel® is a modified cornstarch made to hold its texture through both canning and baking. The National Center for Home Food Preservation pie-filling guidance does not approve flour, ordinary cornstarch, tapioca, or arrowroot as replacements in canned pie filling.
Plain canned apples and thickened pie filling are different products. A tested recipe for fruit packed in water, syrup, or juice doesn’t automatically make a thickened filling safe for the pantry. Starch changes the density of the jar’s contents, which can affect how heat moves through the food during processing.
A vacuum-sealed lid only shows that a jar sealed. It does not prove the filling received a safe, tested process.
Changing the thickener, jar size, headspace, acid, or processing method turns a tested canning recipe into an untested one. That doesn’t mean you need to skip homemade apple filling. It means this no-Clear-Jel version belongs in the refrigerator or freezer, not on a pantry shelf.
How to Make Homemade Apple Pie Filling Without Clear Jel
This recipe makes about 6 cups, enough for one standard 9-inch pie. Instead of adding an untested starch, the apples simmer in a wide pan until their juices reduce into a glossy sauce.
You will need:
- 6 cups peeled, cored, and sliced firm baking apples, about 2 1/2 pounds whole
- 2 tablespoons lemon juice
- 1/2 cup granulated sugar
- 1 teaspoon ground cinnamon
- 1/8 teaspoon ground nutmeg, optional
- 1/4 teaspoon fine salt
- 1 tablespoon unsalted butter, optional
Prepare the apples so the filling cooks evenly
Wash the apples, peel them if you prefer, then remove the cores. Cut the fruit into slices about 1/2 inch thick so they soften at the same pace.
Granny Smith, Honeycrisp, and Pink Lady apples all work well. A mix of tart and sweet apples gives the filling more depth, while firm fruit keeps its shape after cooking.
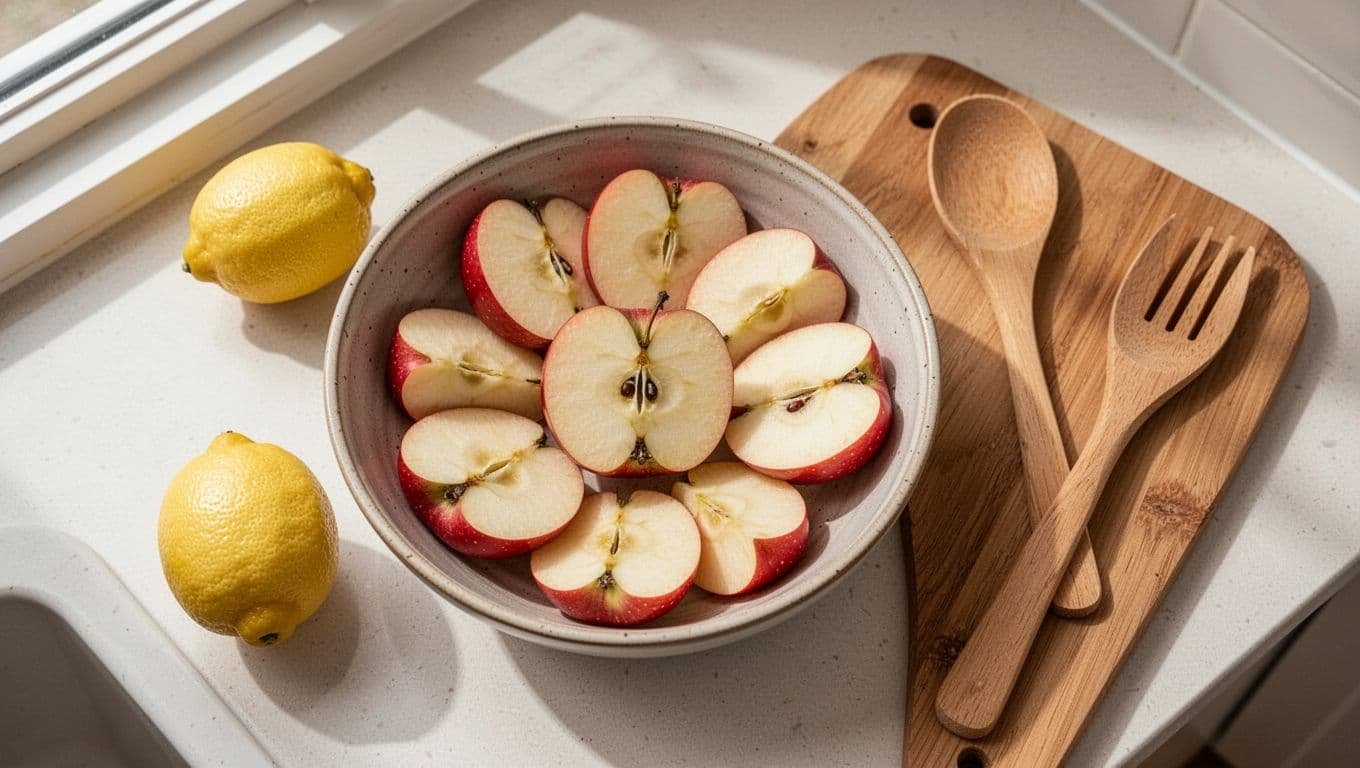
Toss the slices with lemon juice as you work. The juice slows browning and adds brightness to the finished filling.
Avoid very soft or mealy apples because they can break down before the juices reduce. On the other hand, thick wedges may stay firm at the center and bake unevenly later.
Cook the apples with sugar and spices
Set a wide saucepan over medium heat. Add the apples, sugar, cinnamon, salt, optional nutmeg, and butter. Stir gently until the sugar begins to dissolve.
As the pan heats, the apples release juice. Continue cooking for 12 to 18 minutes, stirring every few minutes, until the slices are tender and the liquid has reduced into a spoonable sauce.
A wide pan matters because it gives moisture room to evaporate. The finished filling should look glossy and lightly syrupy, not stiff like a gel. It will thicken a little more as it cools.
Taste a cooled spoonful before taking the pan off the heat. Add a small pinch more cinnamon or sugar if needed, but keep the lemon juice in the recipe. It balances the sweetness and keeps the apple flavor clear.
Do not add flour, regular cornstarch, tapioca, or arrowroot if you later plan to put this filling in jars for room-temperature storage. Those ingredients don’t turn this into a safe canning recipe.
Read also: Homemade Ground Beef Creamy Tortellini Soup
Cool, portion, and store the finished filling
Remove the saucepan from the heat as soon as the apples are tender. Spread the filling in a shallow, clean container so it cools faster. Don’t leave a large, hot pot on the counter for hours.
Once the filling has stopped steaming, cover it and refrigerate. Use refrigerated apple pie filling within a few days.
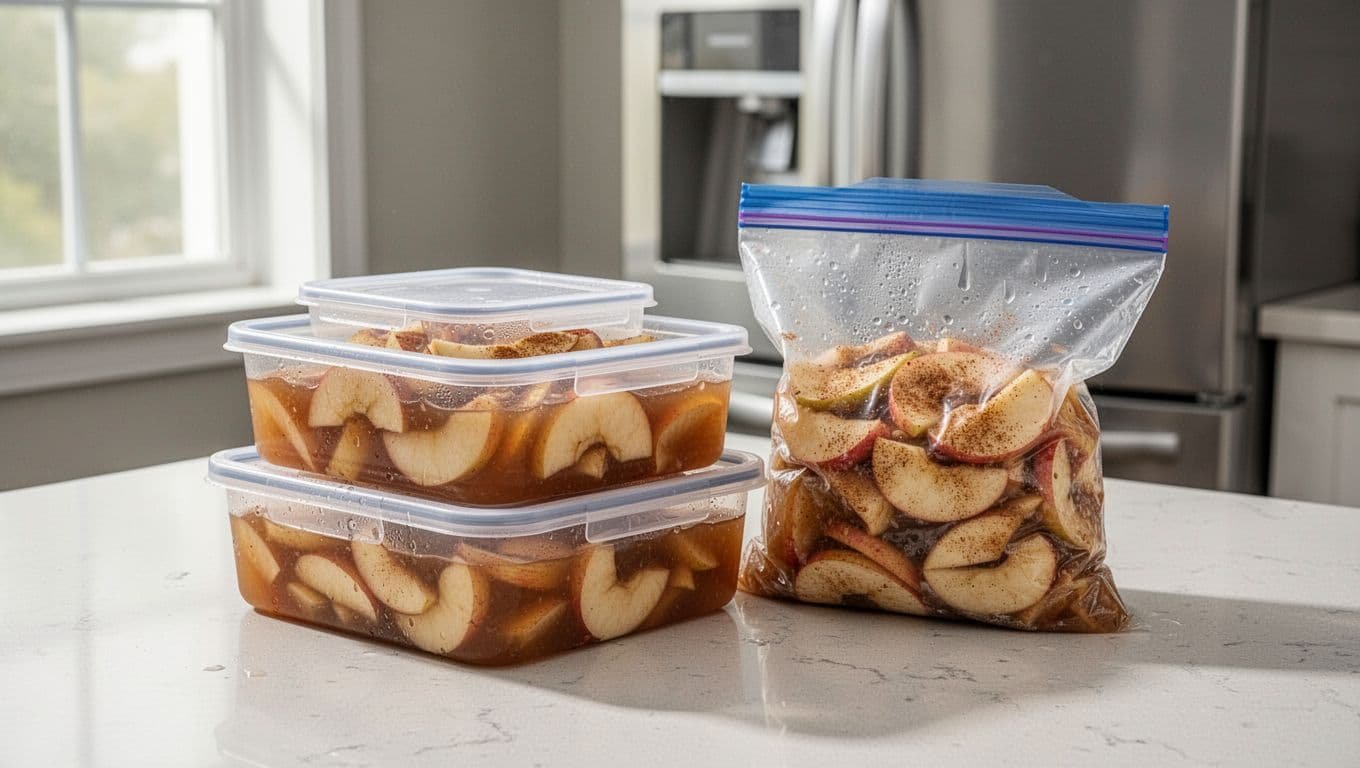
For longer storage, portion the cooled filling into freezer-safe containers or bags. Leave some space at the top because the filling expands as it freezes. Label each portion with the date and freeze it flat if using bags.
Thaw frozen filling in the refrigerator. Stir it before using because apples may release extra liquid after freezing. If it seems loose, simmer it briefly in a saucepan or bake it in the pie until the center bubbles.
Use the No-Clear-Jel Filling in Pies and Desserts
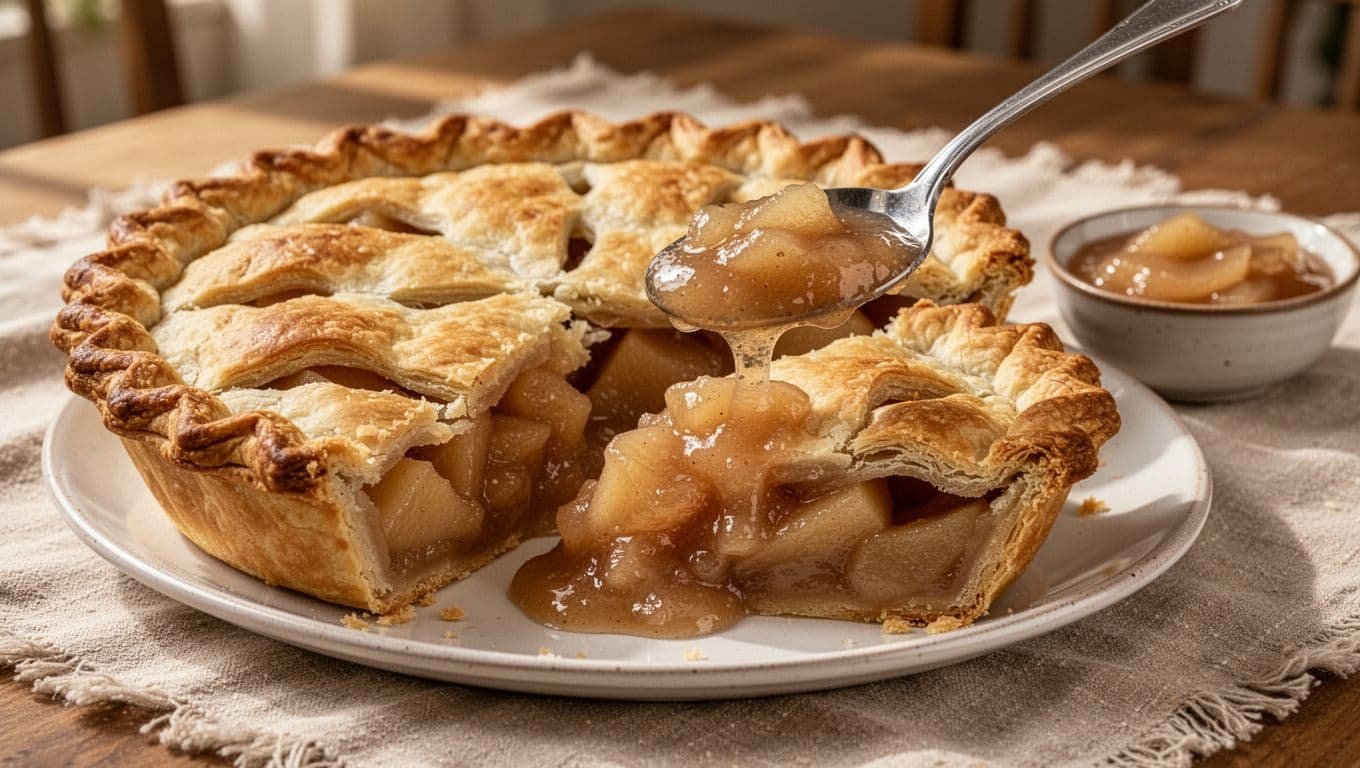
Six cups of filling is a good amount for a deep 9-inch pie. Spoon the cooled apples into a prepared crust, leaving excess liquid behind if the filling looks especially loose. Cover with a top crust, lattice, or crumb topping.
Bake until the crust is richly golden and the filling bubbles through the vents. Bubbling matters because it shows the center is hot enough for the juices to finish thickening.
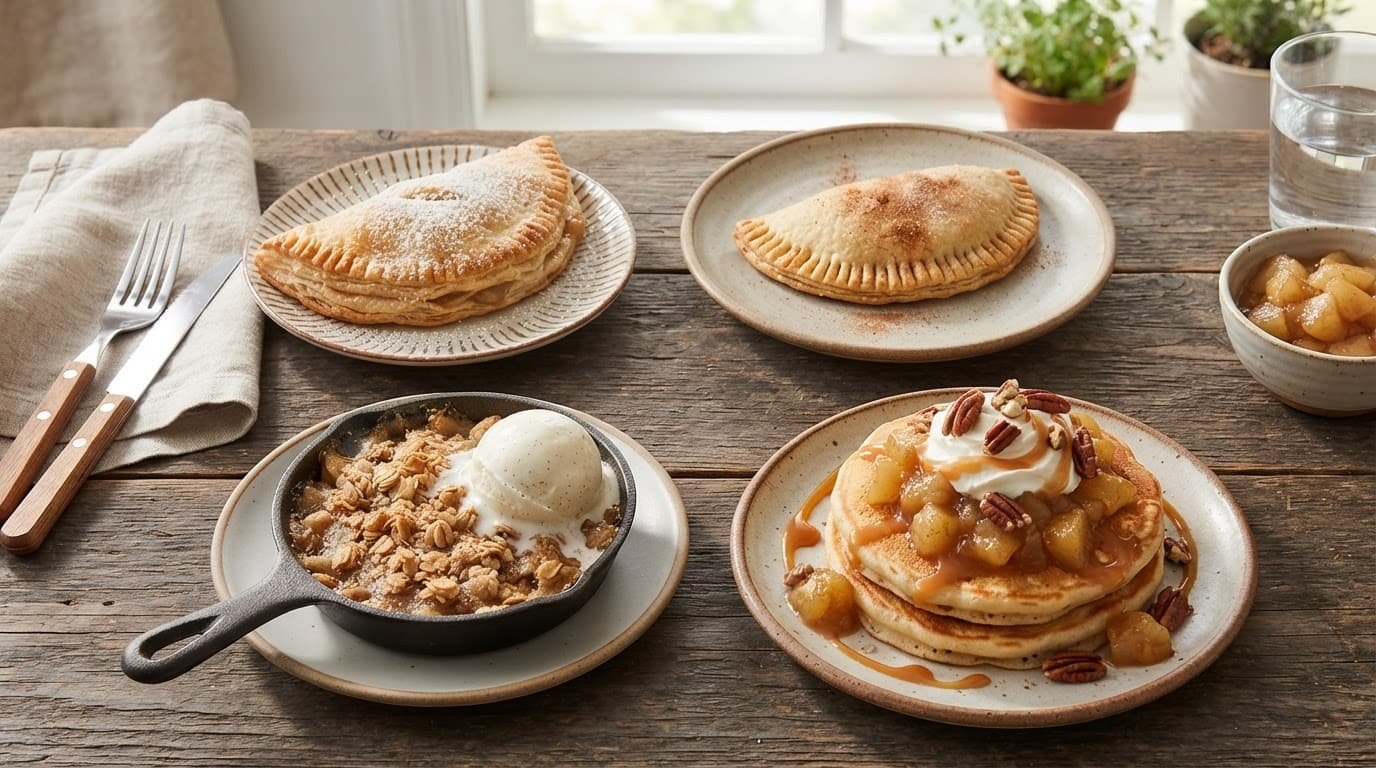
You can also spoon the filling into puff pastry turnovers, tuck it into hand pies, or layer it beneath an oat topping for a quick crisp. A warm scoop is also great over pancakes, oatmeal, yogurt, or vanilla ice cream.
Freezing the cooked filling is the best make-ahead option when Clear Jel® isn’t available. It gives you homemade flavor without guessing at pantry-canning safety.
Adjust sweetness, spices, and apple texture
Apple varieties change both flavor and moisture. Tart Granny Smith apples may need an extra tablespoon or two of sugar, while sweet Honeycrisp apples often need less.
Taste the filling after the apples soften, then make small adjustments. Cinnamon can overpower delicate apples, so begin with the listed amount. Nutmeg adds warmth, but a small pinch is usually enough.
Keep an eye on texture. The apples will cook again in the oven, especially in a covered pie. Stop simmering when they bend easily but still look like slices.
Avoid unsafe canning shortcuts
Don’t spoon this apple pie filling without Clear Jel into jars, seal them, and store them at room temperature. Also, don’t replace cook-type Clear Jel® with another starch or estimate a water-bath processing time.
A sealed jar can still contain unsafe food. For shelf-stable pie filling, use a current tested formula exactly as written, including its Clear Jel®, bottled lemon juice, jar size, headspace, and processing directions.
Ohio State University Extension also outlines tested pie-filling preservation methods, which rely on the specified modified starch rather than a household substitute. Keep this recipe for cold storage, where it is simple and dependable.
Key Takeaways
- Cook the apples until their natural juices reduce into a light sauce instead of adding a canning thickener substitute.
- Cool the filling promptly, then refrigerate it for a few days or freeze it for future baking.
- Use about 6 cups for a 9-inch pie, adjusting excess liquid before filling the crust.
- Follow a tested NCHFP or USDA formula without changes if you want shelf-stable canned pie filling.
Frequently Asked Questions
Can I freeze apple pie filling in mason jars?
You can freeze food in jars made for freezing if you leave adequate headspace and use jars in good condition. Still, freezer-safe containers or bags are easier to stack and less likely to crack. Never fill any glass container to the rim before freezing.
Can I use bottled lemon juice instead of fresh lemon juice?
Yes. Bottled lemon juice works well in this refrigerator or freezer recipe and gives consistent tartness. Fresh lemon juice also works if that’s what you have on hand.
Why did my apple filling turn watery after thawing?
Frozen apples often release moisture as they thaw. Stir the filling, then simmer it for a few minutes in a wide saucepan if it seems too loose. You can also drain off a little liquid before adding the apples to a pie crust.
Can I make this filling with unpeeled apples?
Yes, although the finished texture will be more rustic. Peels soften during cooking but remain noticeable in a pie. For a classic, smooth apple pie texture, peel the apples first.
Can I use this filling for apple crisp?
Yes. Spoon the cooled filling into a baking dish, add your favorite crisp topping, and bake until the topping is browned and the apples bubble at the edges. Since the apples are already partly cooked, the crisp may bake faster than one made with raw fruit.
A Safe Way to Keep Apple Filling on Hand
You don’t need Clear Jel® to make a delicious homemade apple filling for upcoming desserts. Slice firm apples, cook them with lemon juice and spices, cool the mixture promptly, then refrigerate or freeze it.
For pantry storage, use a tested canning recipe exactly as written. For everyday baking, this flexible filling is ready for a pie, a crisp, or a batch of warm hand pies.
Save the pin for later

I’m the creator of My Everyday Dish, a food blog focused on easy homemade recipes, comforting family meals, simple baking, and seasonal food ideas. I love finding practical ways to make everyday cooking less stressful and more enjoyable. Here, I share recipes with simple ingredients, clear instructions, and plenty of flavor, helping you make delicious meals and treats you’ll feel confident serving at home.
Leave a Reply