
Eight easy gluten-free Christmas cookie recipes make holiday baking manageable, even if you’re new to gluten-free dough. A baking blend and a few simple techniques, like chilling soft dough and letting cookies cool before moving them, help you get cookies that hold their shape.
Choose from cutout sugar cookies, spiced gingerbread, buttery shortbread, chocolate crinkles, and more. Each recipe has clear steps and practical cues, so you can start with the cookie that sounds easiest and work through the rest at your own pace. For another seasonal idea, try our easy pumpkin snickerdoodles.
Easy Gluten-Free Christmas Cookie Recipes for Beginners
A gluten-free baking blend made for cookies keeps these recipes simple. Choose one that suits your recipe, and check King Arthur’s gluten-free baking guide for notes on flour blends and xanthan gum. For another seasonal bake, try our gluten-free pumpkin cookies and desserts.
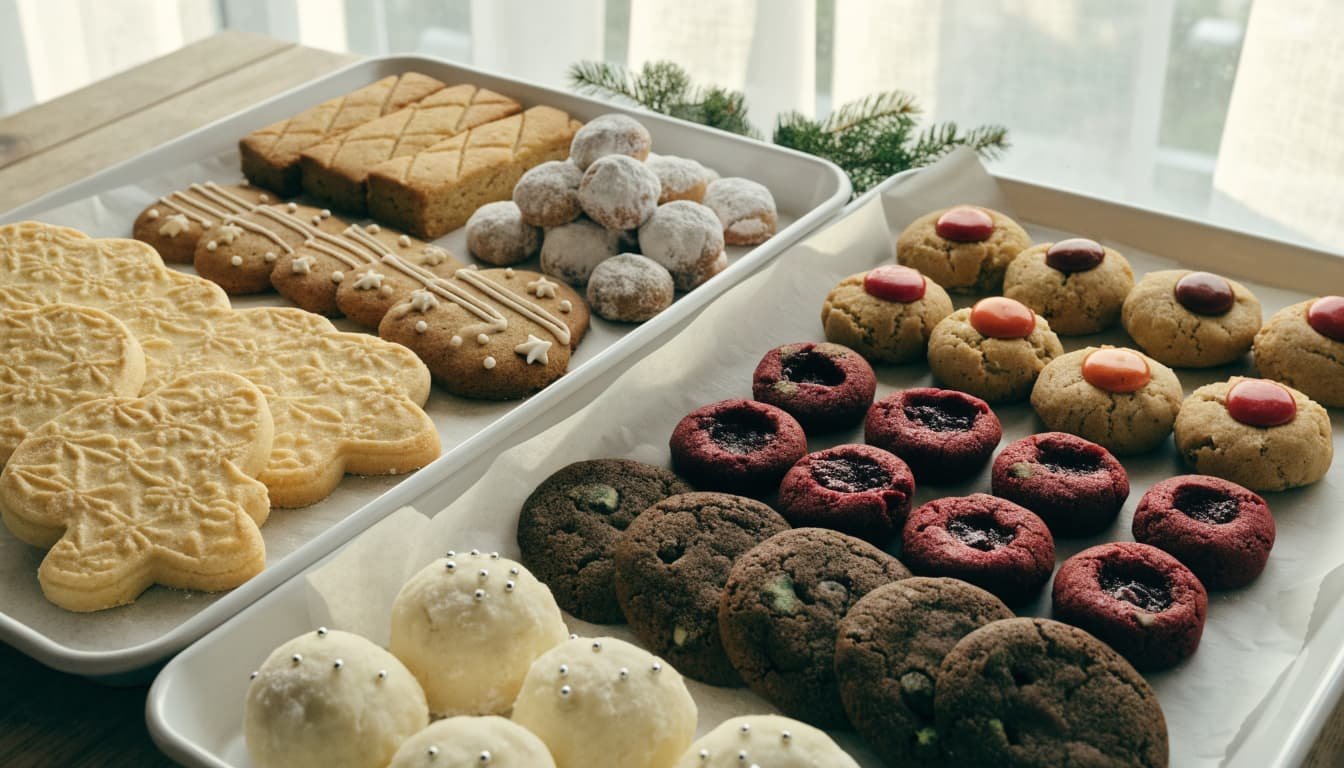
1. Classic Gluten-Free Sugar Cookies
Ingredients: 2 cups gluten-free baking blend, 1/2 cup softened butter, 3/4 cup sugar, 1 egg, 1 teaspoon vanilla, 1 teaspoon baking powder, and a pinch of salt.
- Mix butter and sugar until creamy. Beat in egg and vanilla, then stir in dry ingredients. Chill until firm.
- Roll between parchment, cut shapes, and bake at 350°F for 8 to 10 minutes, until set. Cool fully before decorating. Chilling makes the dough easier to handle.
2. Soft Gingerbread Cutout Cookies
Ingredients: 2 cups gluten-free blend, 1/2 cup butter, 1/2 cup brown sugar, 1/4 cup molasses, 1 egg, 1 teaspoon each ginger and cinnamon, 1/2 teaspoon baking soda.
- Mix butter and sugar, then beat in molasses and egg. Stir in remaining ingredients and chill the dough.
- Roll between parchment, cut shapes, and bake at 350°F for 8 to 10 minutes. Cool on the tray before moving. Add a simple powdered-sugar icing if you like.
3. Buttery Gluten-Free Shortbread
Ingredients: 1 cup gluten-free cookie blend, 1/2 cup softened butter, 1/4 cup sugar, and 1/2 teaspoon vanilla.
- Mix ingredients just until the dough holds together. Press into a small pan or shape into a log, then chill for 30 minutes.
- Slice or cut into pieces and bake at 325°F for 15 to 18 minutes, until lightly golden at the edges. Cool fully. Handle gently to limit crumbling.
4. Chocolate Crinkle Cookies
Ingredients: 1 cup gluten-free blend, 1/2 cup cocoa, 3/4 cup sugar, 2 eggs, 1/4 cup oil, 1 teaspoon baking powder, powdered sugar.
- Mix cocoa, sugar, oil, and eggs, then stir in flour and baking powder. Chill until scoopable.
- Roll even portions in powdered sugar and bake at 350°F for 10 to 12 minutes, until crackled with soft centers. Let set on the pan before transferring.
5. Peanut Butter Blossoms
Ingredients: 1 cup peanut butter, 1/2 cup sugar, 1 egg, 1/2 teaspoon baking soda, chocolate candies.
- Mix peanut butter, sugar, egg, and baking soda. Roll into even balls and bake at 350°F for 8 to 10 minutes, until the edges are set.
- Press a chocolate candy into each warm cookie. Cool on the pan. Check candy and ingredient labels for gluten.
6. Jam Thumbprint Cookies
Ingredients: 1 cup gluten-free blend, 1/2 cup butter, 1/3 cup sugar, 1 egg yolk, 1/4 cup jam.
- Mix butter and sugar, then stir in yolk and flour. Chill soft dough, then shape into balls and press a small well into each.
- Add a little jam and bake at 350°F for 12 to 14 minutes, until lightly golden. Cool before serving so the filling sets. Too much jam can spill.
7. Peppermint Chocolate Chip Cookies
Ingredients: 1 cup gluten-free blend, 1/2 cup butter, 1/2 cup sugar, 1 egg, 1/2 cup chocolate chips, 1/8 teaspoon peppermint extract.
- Mix butter and sugar, then beat in egg and peppermint. Stir in flour and chocolate chips. Chill if the dough feels soft.
- Portion evenly and bake at 350°F for 9 to 11 minutes, until edges are set. Cool before adding an optional chocolate drizzle.
8. Gluten-Free Snowball Cookies
Ingredients: 1 cup gluten-free blend, 1/2 cup butter, 1/4 cup powdered sugar, 1/2 teaspoon vanilla, 1/3 cup finely chopped nuts, optional.
- Mix ingredients gently until the dough holds together, then shape into small balls. Leave out the nuts for a nut-free version.
- Bake at 350°F for 12 to 14 minutes, until set but not deeply browned. Cool briefly, roll in powdered sugar, then coat again when fully cool.
Choose the Right Gluten-Free Flour and Prevent Cross-Contact
A commercial flour blend labeled for baking is a simple choice when you’re new to gluten-free cookies. Blends vary, though, so check the package and follow the recipe for the flour you choose.
Pick a Blend That Fits the Recipe
Some blends work as a one-to-one replacement for wheat flour, while others are made for recipes with specific instructions. For these cookies, use the type of blend listed in the recipe when possible. Switching blends can affect how the dough holds together or spreads.
Check the ingredient list for xanthan gum before adding any extra. Some baking blends already contain it, and adding more automatically can change the texture. If your blend doesn’t include xanthan gum, follow the recipe to see whether it calls for any.
Keep Your Baking Area Clean
If you’re baking for someone with celiac disease, prevent crumbs and flour dust from reaching the cookies. Wash your hands, counters, utensils, measuring cups, pans, and ingredient containers with soap and water before you start. Use clean butter, jam, sugar, and other ingredients, since a shared container can pick up crumbs from a used utensil.
Bake the gluten-free cookies before making anything with wheat flour. Flour dust can spread onto nearby surfaces, so don’t prepare wheat-flour dough in the same area at the same time. For more practical precautions, see Beyond Celiac’s cross-contact guidance.
After baking, let the cookies cool, then cover them and store them apart from gluten-containing foods. A clean, lidded container helps keep crumbs from other baked goods away. If you’re unsure whether a pan or tool is clean, wash it first; parchment paper can add a barrier on the pan, but it doesn’t replace cleaning.
Keep Gluten-Free Cookies from Spreading or Crumbling
Gluten-free dough can feel different from wheat-based dough, but a few small adjustments help cookies bake evenly and hold together. If your first tray spreads too much or breaks when you move it, check the dough temperature, flour measurement, and cooling time before changing the recipe.
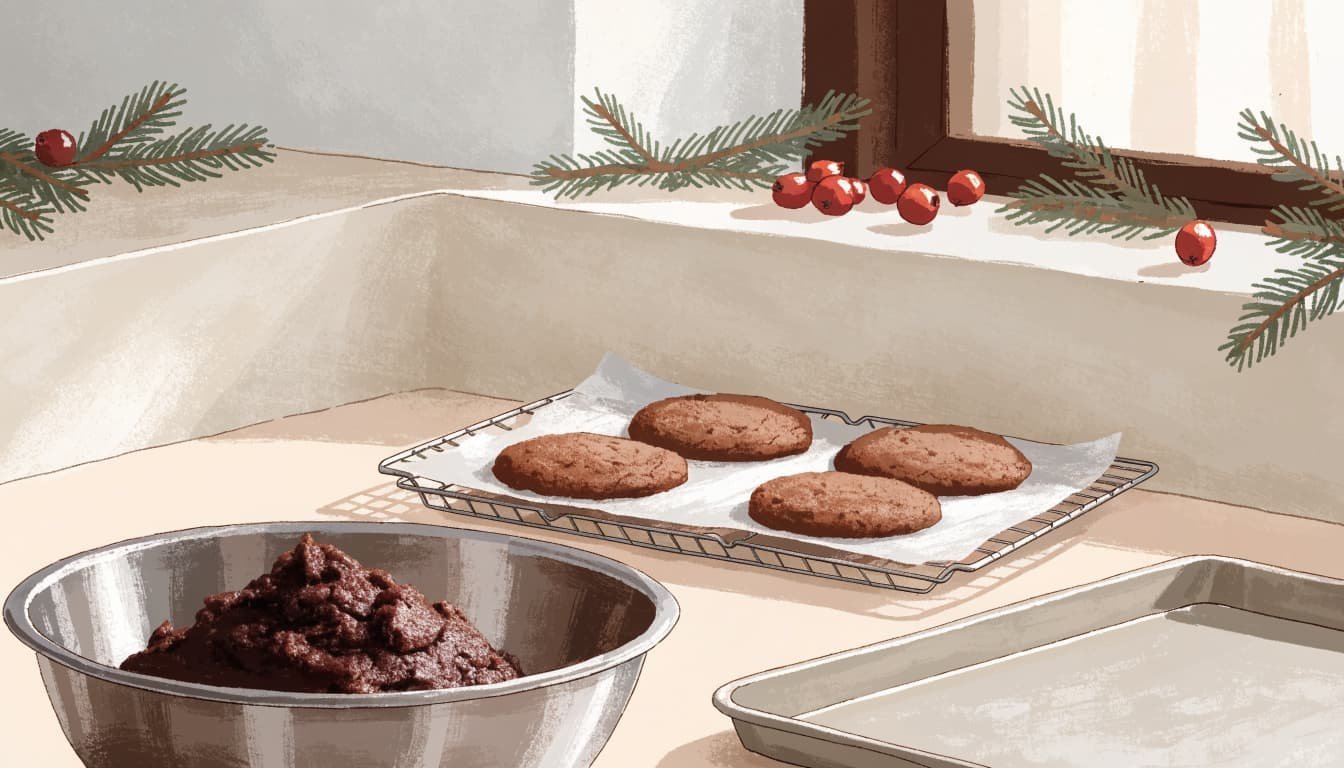
If the Cookies Spread
Measure flour by weight when the recipe provides gram amounts. Scooping flour directly into a measuring cup can pack in too much, while a light or uneven measure may leave the dough too soft. For more on careful measuring and resting gluten-free dough, see these gluten-free baking tips.
Chill soft dough before baking, especially for cutout cookies, crinkles, and thumbprints. If you’re rolling dough, work between sheets of parchment instead of adding extra flour to the counter. Too much added flour can dry the dough and make cookies crumbly. If dough turns sticky while you shape it, chill it again rather than trying to correct it with more flour. Our Halloween spider cookies also benefit from chilling when the dough feels soft.
Use a cool baking sheet for each batch. A warm pan can soften the dough before it reaches the oven, which may cause the cookies to spread sooner. Let the pan cool before adding the next round.
If the Cookies Crumble or Break
Gluten-free cookies are often fragile when they first come out of the oven. Let them set on the baking sheet until they feel firm enough to lift, then transfer them gently to a rack. Moving them while hot can break even cookies that have baked properly.
If the dough itself crumbles before baking, check that you used the flour blend and any binder specified in the recipe. Blend formulas vary, so adding extra xanthan gum without checking the package can affect texture. Resting gluten-free dough can also help the flour absorb moisture more evenly.
Bake times may change with your flour blend, so use the recipe’s visual and texture cues instead of relying only on the timer. Look for set edges and a surface that no longer appears wet; some cookies will still feel soft in the center until they cool.
Plan Ahead, Store Cookies, and Make a Festive Cookie Box
A little planning keeps holiday baking manageable and gives each cookie time to cool before packing. Chill dough as directed, bake recipes in batches, and store each variety separately so flavors and textures stay fresh.
Bake in Batches
Make dough ahead when the recipe calls for chilling, then keep it covered in the refrigerator until you’re ready to bake. You can work through one recipe at a time, using a cool baking sheet for each batch. This keeps soft dough from warming on the counter and spreading too quickly in the oven.
If you’re short on time, bake the cookies over a couple of days instead of rushing through all eight recipes. Let each batch cool completely before storing it. Warm cookies can create condensation inside a sealed container, which softens crisp edges and decorations.
Store Each Variety Separately
Once the cookies are fully cool, place them in sealed containers at room temperature. Keep soft cookies apart from crisp ones, and separate strong flavors like peppermint from buttery or lightly spiced cookies. The textures can change when stored together, and flavors can mingle. See these cookie storage tips for more ways to keep homemade cookies fresh.
Decorated cookies need time for the icing to dry before stacking or sealing. For more on packing iced cookies, see our Batman cookies with royal icing.
Put Together a Festive Cookie Box
Choose a mix of shapes, colors, and textures, such as iced sugar-cookie stars, powdered sugar snowballs, chocolate crinkles, and jam thumbprints. Small paper liners or parchment help separate varieties and keep toppings from rubbing off. An assortment looks festive without requiring every cookie to be decorated.
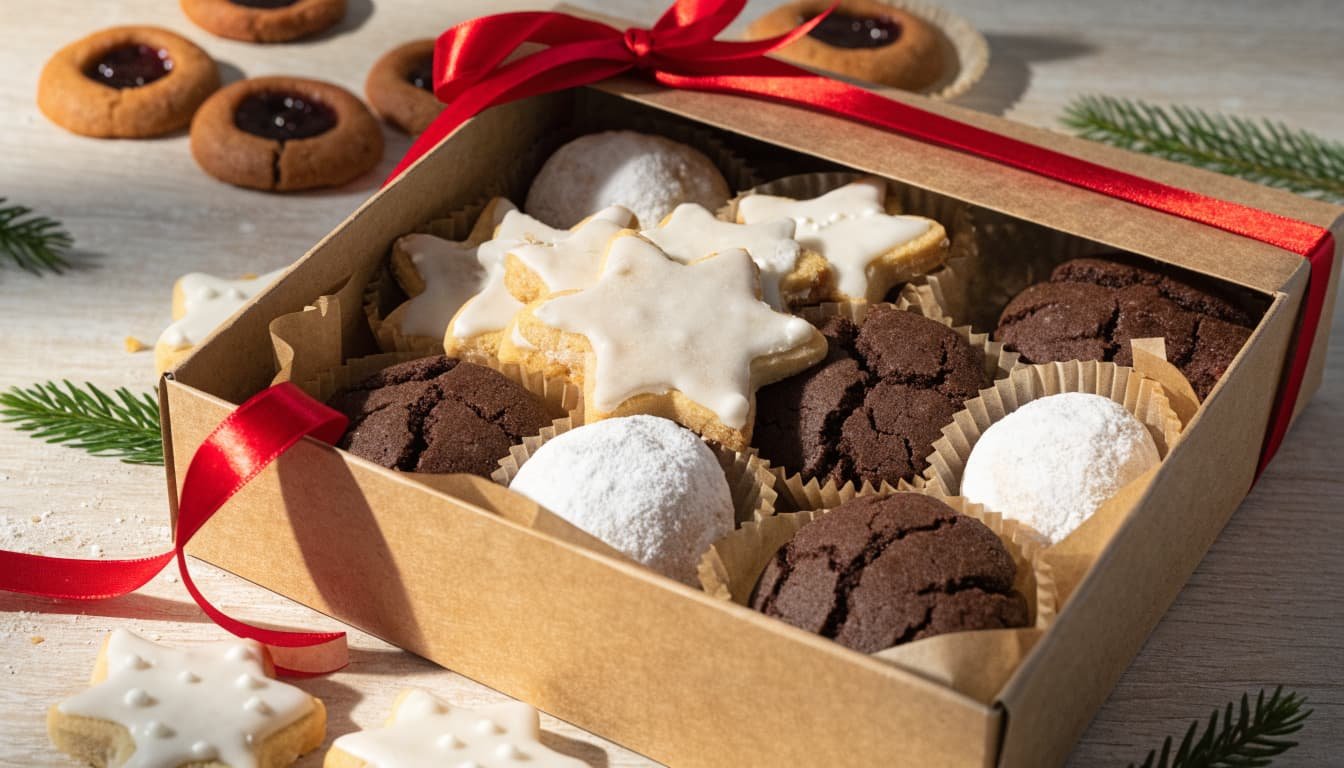
If you’re sharing with someone who needs to avoid gluten, keep the gluten-free cookies in a clean, sealed box, separate from gluten-containing treats. Label the box clearly and use clean serving utensils, so crumbs from other cookies don’t get mixed in.
Frequently Asked Questions
These answers cover a few choices that can make holiday baking easier, especially if you want to prepare cookies ahead or adjust a recipe. Use the recipe’s ingredient list and texture cues as your guide when you make a change.
Can I make the cookie dough ahead?
Yes. Cover the dough and refrigerate it according to the recipe, then let it soften slightly if it feels too firm to scoop or roll. For longer make-ahead storage, see our tips for freezing cookie dough and baked cookies.
Can I freeze baked gluten-free cookies?
Most baked cookies freeze well once they’ve cooled completely. Layer them in a freezer-safe container with parchment between the cookies, then thaw them while covered at room temperature to limit condensation. The University of Nebraska-Lincoln’s home food storage chart includes storage guidance for homemade cookies.
Can I use dairy-free butter in these recipes?
You can try a dairy-free baking stick in recipes that call for butter, but the result may spread or brown differently. Choose a firm product made for baking, rather than a soft tub spread, and test a small batch before baking all the dough.
Can I replace the eggs?
Eggs help bind and add moisture, so a substitute can change the texture, especially in cutout cookies and crinkles. Use an egg replacement recommended for baking and follow its package directions; if you need a reliable result, start with a recipe written for that substitute.
Which recipe is easiest to try first?
Peanut butter blossoms are a simple place to start because you mix the dough, shape it into balls, and press a candy into each warm cookie. There’s no rolling or cutting, and the baked edges should look set before you add the topping.
Why do my cookies still seem soft when they come out?
Some cookies, including crinkles and peanut butter blossoms, have soft centers when they first leave the oven. Let them rest on the baking sheet until they feel firm enough to lift, since they continue to set as they cool.
Conclusion
Gluten-free Christmas cookies are manageable when you start with a recipe that fits your comfort level. Follow the flour blend’s instructions, chill soft dough when needed, and let cookies cool before handling so they have time to set.
Choose a few favorites and bake at your own pace. One easy recipe is enough to get started, and careful steps help make each batch easier to handle.
Save the pin for later


I’m the creator of My Everyday Dish, a food blog focused on easy homemade recipes, comforting family meals, simple baking, and seasonal food ideas. I love finding practical ways to make everyday cooking less stressful and more enjoyable. Here, I share recipes with simple ingredients, clear instructions, and plenty of flavor, helping you make delicious meals and treats you’ll feel confident serving at home.
Leave a Reply