
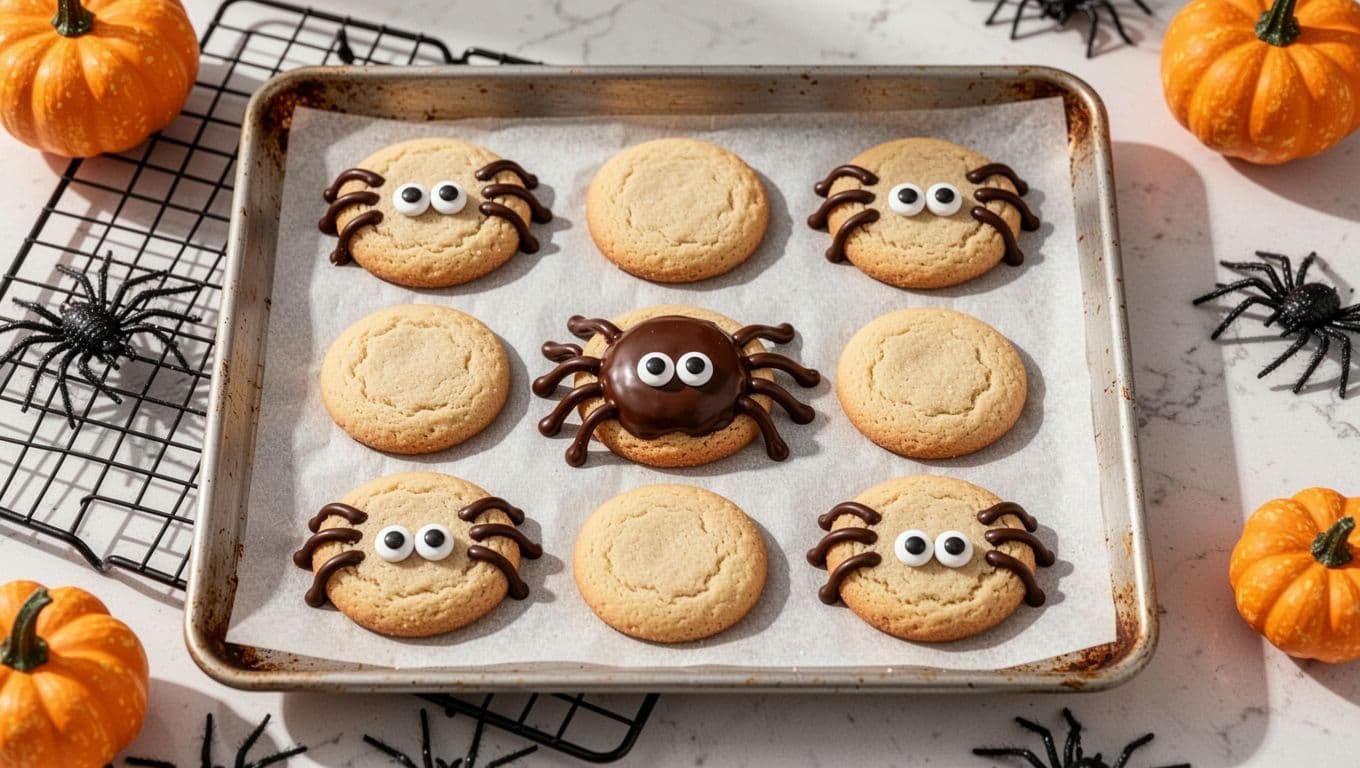
I love this recipe because it turns an ordinary afternoon of baking into a small Halloween tradition. The cookies look fun and festive, yet the ingredient list stays simple, the method is easy, and the decorations are kid-friendly.
This Easy Halloween Spider Cookies Recipe makes soft, chewy sugar cookies with chocolate spider bodies and goofy candy eyes. They’re practical for Halloween parties, school events, or family baking when you want a homemade treat that doesn’t require complicated decorating.
A tender cookie base, a few store-bought candies, and a little melted chocolate are all you need to make a plate of friendly spiders.
Easy Halloween Spider Cookies Recipe: What You Need
This recipe makes about 24 decorated cookies. Use unsalted butter so you can control the salt level, and let it sit at room temperature for 30 to 45 minutes before mixing.
- 2 3/4 cups all-purpose flour
- 1 teaspoon baking powder
- 1/2 teaspoon fine salt
- 1 cup unsalted butter, softened
- 1 cup granulated sugar
- 1 large egg
- 2 teaspoons vanilla extract
- 1/2 teaspoon orange gel food coloring, optional
- 1 tablespoon unsweetened cocoa powder, optional, swapped for 1 tablespoon flour
- 24 chocolate sandwich cookies, chocolate truffles, or large chocolate candies
- 48 candy eyes
- 6 ounces dark chocolate candy melts, melted chocolate, or thick black decorating icing
Flour gives the cookies structure, while baking powder adds a gentle lift. Butter and sugar create a soft texture when creamed together, and the egg binds the dough. Vanilla rounds out the flavor, even if you use orange food coloring for a seasonal look.
For a nut-free version, use a plain sugar cookie dough and check every candy package before baking. Dairy-free butter and dairy-free chocolate can also work well. Review the FDA food allergy overview when serving a group, since milk, egg, wheat, soy, sesame, peanuts, tree nuts, fish, and shellfish are major allergens.
Gather two mixing bowls, a hand mixer, a cookie scoop, two baking sheets, parchment paper, a cooling rack, and a piping bag or small resealable bag for the chocolate legs.
How to Make the Spider Cookies Step by Step
Plan for 25 minutes of prep time, 10 minutes of baking per pan, and about 55 minutes total, including cooling and decorating. Heat the oven to 350 F and line two baking sheets with parchment paper before you start mixing.
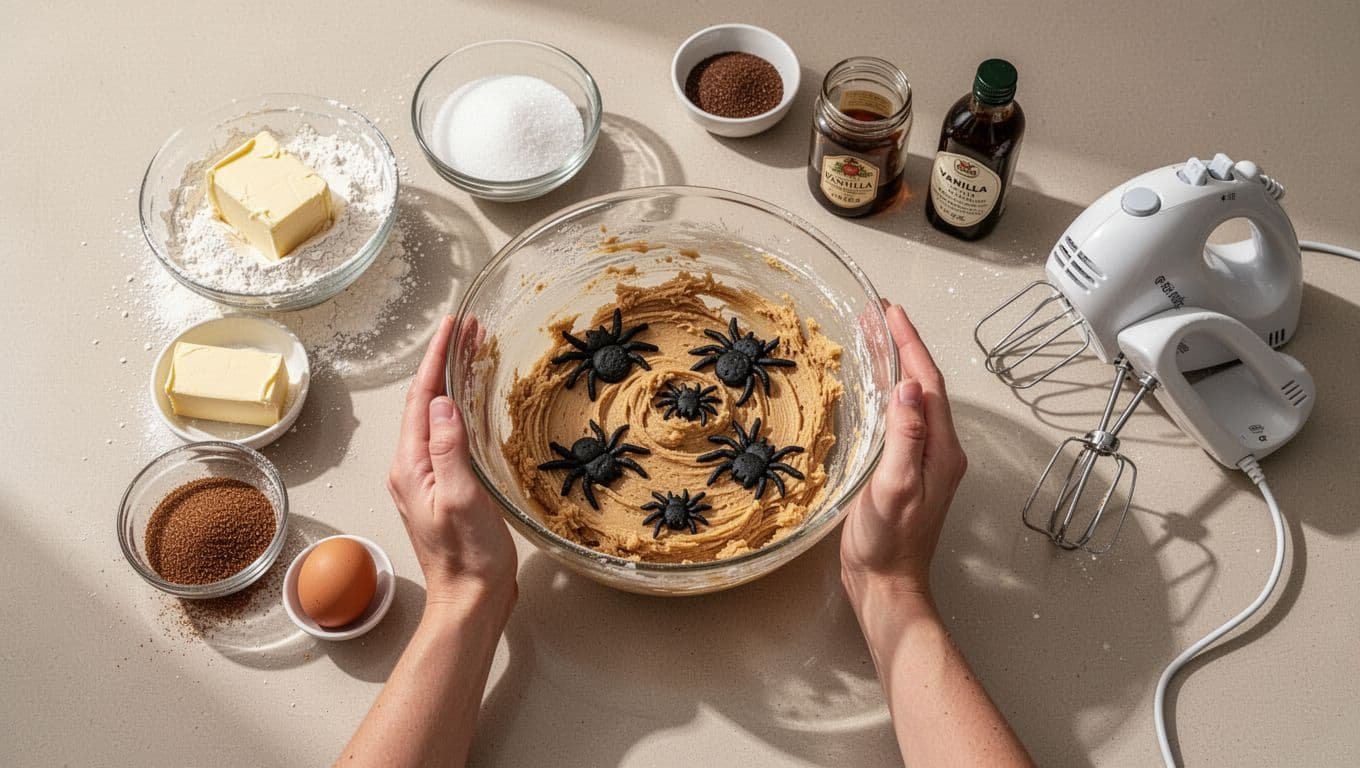
Prepare the Cookie Dough Without Overmixing
Whisk the flour, baking powder, and salt in a medium bowl. In a larger bowl, beat the softened butter and sugar for about 2 minutes, until the mixture looks pale and fluffy. That trapped air helps the cookies bake up tender.
Add the egg, vanilla, and optional food coloring, then mix until smooth. Scrape the bowl’s sides and bottom as needed. Add the dry ingredients in two additions, mixing on low only until the flour disappears.
If the dough feels loose or sticky, cover and chill it for 20 to 30 minutes. Don’t add extra flour unless the dough is truly unworkable, because too much flour creates dry, crumbly cookies.
Shape and Bake Evenly Sized Cookies
Scoop 1 1/2 tablespoons of dough for each cookie and roll it gently into a ball. Place dough balls 2 inches apart on the lined pans. Leave them rounded, since they will spread into soft, thick cookies.
Bake one pan at a time for 9 to 11 minutes. The edges should look lightly golden and set, while the centers still appear slightly soft. Bake one test cookie first if your oven runs hot or the dough is unfamiliar.
Let the cookies rest on the pan for 5 minutes, then move them to a cooling rack. They will finish setting as they cool, so avoid judging doneness by a firm center.
Turn Each Cookie Into a Cute Chocolate Spider
Wait until every cookie is fully cool. Add a small dab of melted chocolate or thick icing to the center, then press on one chocolate sandwich cookie, truffle, or large candy for the spider body.
Use two more tiny dabs to attach candy eyes near the top of each body. Spoon melted chocolate into a piping bag or resealable bag with a tiny corner clipped off. Pipe four short legs on each side, starting close to the body and curving outward.
Let the chocolate set for 20 to 30 minutes at room temperature before moving the cookies. A slightly crooked leg or uneven pair of eyes only makes the spiders more charming.
Easy Ways to Decorate and Serve Halloween Spider Cookies
Set out toppings in small bowls and let each cookie have its own personality. Candy eyes are quick for younger helpers, while older kids can pipe legs or add small white icing dots around the spider bodies.
Pretzel sticks make crisp, spindly legs, although they work best when pressed into thick icing. Try orange, purple, or green sprinkles around the edges, or drizzle a little white chocolate across the cookie for a web-like finish.
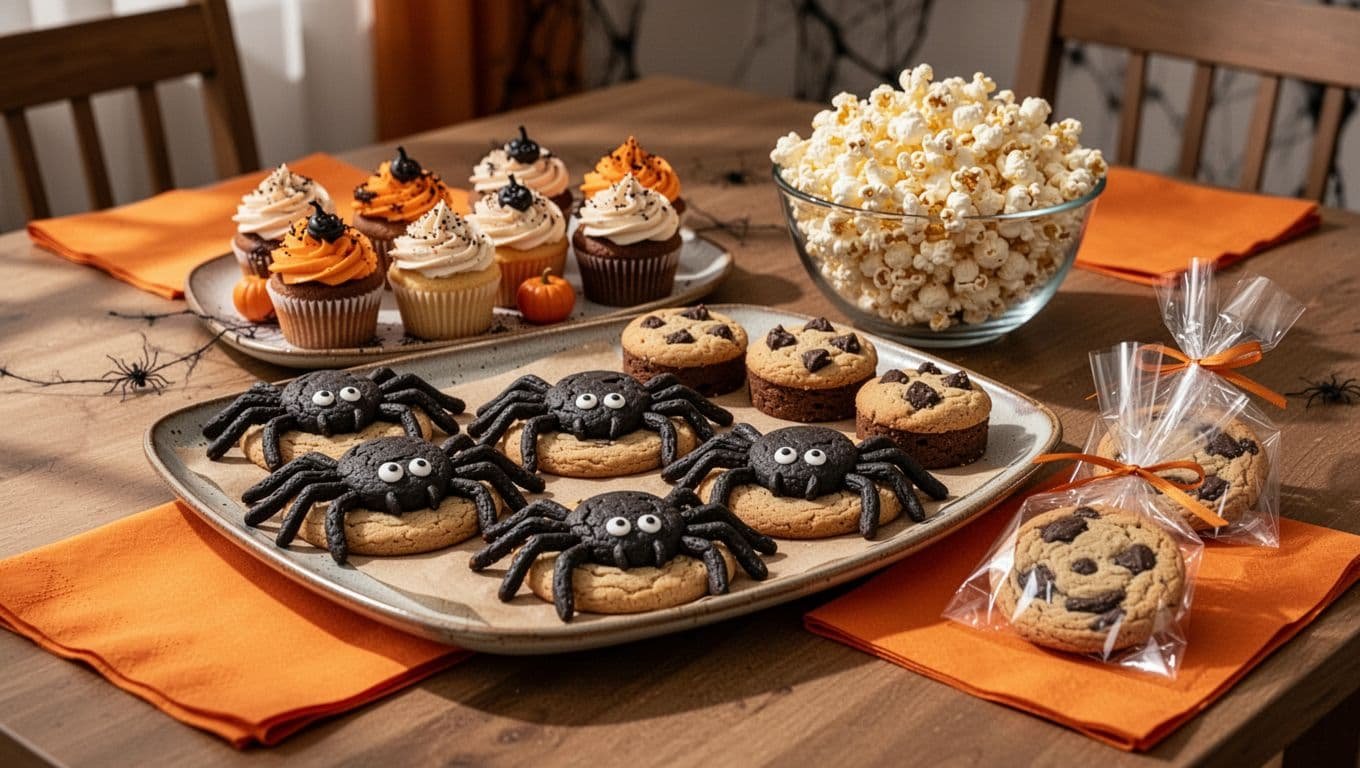
Serve the cookies on a Halloween dessert tray with cupcakes and popcorn. For party favors, place one fully set cookie in a cellophane bag and tie it with orange ribbon.
Let Kids Help With the Safe Jobs
Children can scoop dough, roll cookie balls, add candy eyes, and scatter sprinkles. An adult should handle the oven and hot melted chocolate.
Keep the design playful instead of precise. Spiders with mismatched eyes, short legs, or colorful sprinkles look more cheerful than identical cookies.
Fix Common Decorating Problems
If spider bodies slide, the cookies may still be warm or the edible glue may be too thin. Let the cookies cool completely and use thicker icing or slightly cooled melted chocolate.
Runny icing needs a little more powdered sugar. Cookies that spread too much usually need colder dough, parchment-lined pans, or more carefully measured flour. Spoon flour into a measuring cup and level it rather than scooping directly from the bag.
Storage, Make-Ahead, and Freezing Tips
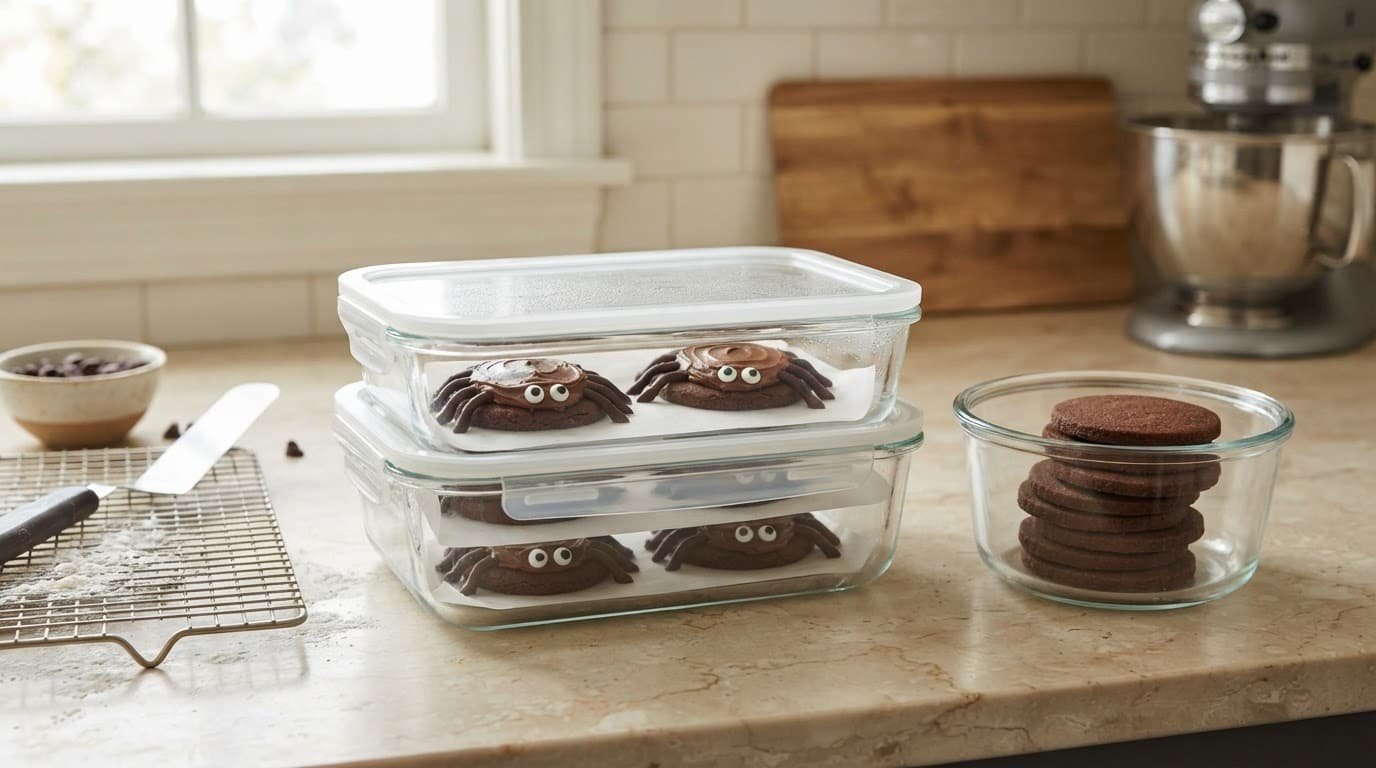
Store fully decorated cookies in an airtight container at room temperature for 3 to 4 days. Place parchment between layers if the chocolate legs touch. Refrigeration can make sugar cookies firm and may cause some decorations to soften from moisture.
Freeze undecorated baked cookies for up to 2 months in a tightly sealed container. Thaw them at room temperature, then add the spider bodies, eyes, and legs. You can also cover and chill the unbaked dough for up to 2 days.
Check labels on every decoration, including candy eyes and sandwich cookies. The FDA’s allergen-labeling guidance can help when you are comparing packaged ingredients for a school or party tray.
Key Takeaways
These cookies work because the base recipe stays uncomplicated. A soft sugar cookie gives the chocolate body a sturdy place to sit, while candy eyes and piped legs add the Halloween character.
- Use room-temperature butter and stop mixing once the flour disappears.
- Bake until the edges are lightly golden and the centers remain soft.
- Cool cookies completely before attaching any chocolate decorations.
- Use thick icing or melted chocolate as edible glue for the bodies and eyes.
- Freeze the plain baked cookies, then decorate them after thawing for the best appearance.
Letting the cookies cool fully matters more than perfect piping. Warm cookies melt the chocolate body and make the spider legs slide.
Frequently Asked Questions
Can I use store-bought cookies for the spider bodies?
Store-bought chocolate sandwich cookies work well, as do chocolate candies and truffles. Choose a body that fits comfortably in the center of the baked cookie without hanging too far over the edge.
A full-size sandwich cookie gives the spiders a bold look. Smaller chocolate candies are easier for mini cookies.
How do I keep the spider decorations from falling off?
Use a small dab of melted chocolate or thick icing beneath each body and candy eye. Thin icing tends to run and won’t hold heavier decorations well.
Let the cookies set completely before stacking, transporting, or packaging them. Parchment between layers also protects the legs.
Can I make these Halloween cookies without candy eyes?
Small dots of white and black icing make easy homemade eyes. Melted white chocolate with a dark chocolate dot also works, especially if you already have both colors for decorating.
Mini marshmallow pieces can create larger eyes. Let any homemade icing eyes dry before storing the cookies.
Why did my cookies spread in the oven?
Overly soft butter, warm dough, greased baking sheets, and too little flour can all cause spreading. Chill the dough for 20 to 30 minutes if it feels sticky.
Line pans with parchment rather than greasing them. Also, spoon flour into the measuring cup and level it for a more accurate amount.
Can I make the cookie dough ahead of time?
Cover the dough tightly and refrigerate it for up to 2 days. Let it sit at room temperature for 10 to 15 minutes if it becomes too firm to scoop.
Cold dough may need an extra minute or two in the oven. Watch the edges instead of relying only on the timer.
A Sweet Halloween Treat Worth Repeating
I keep coming back to these spider cookies because they pair a simple, soft dough with decorations that feel special without being fussy. The finished tray always gets attention, even when the spiders have uneven legs or silly eyes.
Let the cookies cool before you decorate, then choose the chocolate candy and icing details your family likes best. Easy Halloween spider cookies turn a familiar baking day into a festive memory.
Save the pin for later


I’m the creator of My Everyday Dish, a food blog focused on easy homemade recipes, comforting family meals, simple baking, and seasonal food ideas. I love finding practical ways to make everyday cooking less stressful and more enjoyable. Here, I share recipes with simple ingredients, clear instructions, and plenty of flavor, helping you make delicious meals and treats you’ll feel confident serving at home.
Leave a Reply