
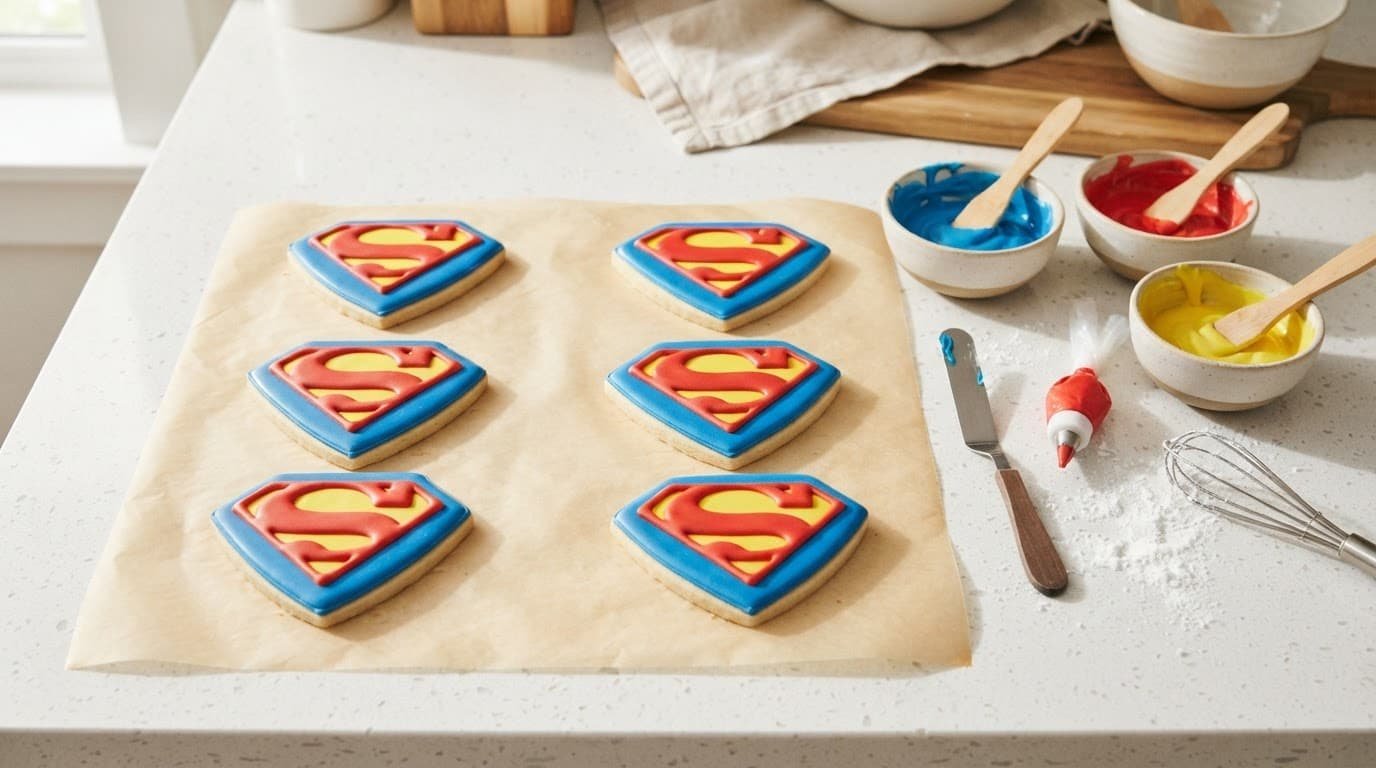
A superhero birthday party needs a dessert that feels as bright and playful as the decorations. Homemade Superman cookies bring the classic blue, red, and yellow colors to the table without asking you to slice and serve a large cake.
These cookies are easy to make ahead, simple to portion, and fun for kids to help decorate. With chilled sugar cookie dough and a few icing colors, you can make treats that look party-ready even if every shield isn’t identical.
Why Superman Cookies Work So Well for a Party
Cupcakes can tip over, and a cake can leave you with too many leftovers. Cookies travel better, fit easily into treat bags, and give each guest a ready-to-eat dessert.
For a small party, serve cookies beside fruit and ice cream. For a larger crowd, use them as the main sweet treat or place one on each child’s plate. Plan for two cookies per child, plus a few extra for adults and the inevitable broken shield.
Homemade Superman cookies for kids birthday parties also make party prep more flexible. Bake one day, decorate the next, then set them out when guests arrive.
Homemade Superman Cookies for Kids Birthday Parties: What You Need
This recipe makes about 24 to 30 medium cookies, depending on the size of your cutter. Gather everything before you start, since chilled dough is much easier to roll when your baking sheets and cutters are ready.
- Use 3 cups all-purpose flour, 1 teaspoon baking powder, and 1/2 teaspoon salt.
- You will need 1 cup unsalted butter, softened, plus 1 cup granulated sugar.
- Add 1 large egg, 2 teaspoons vanilla extract, and 1 to 2 tablespoons milk only if the dough feels too dry.
- For decorating, use about 3 cups royal icing or a powdered sugar glaze made with 3 cups powdered sugar and 4 to 6 tablespoons milk.
- Keep blue, red, and yellow gel food coloring on hand, along with optional yellow sanding sugar, red sprinkles, or edible stars.
You will also need mixing bowls, a hand or stand mixer, measuring cups, a rolling pin, parchment paper, baking sheets, cooling racks, piping bags, and small round piping tips. A Superman shield cutter gives the clearest result, although a round cutter works well too.
Check every package if a guest has allergies. The FDA’s food allergy label guidance explains how major allergens appear on packaged-food labels. Dairy-free butter can replace standard butter, while a tested cup-for-cup gluten-free flour blend can replace all-purpose flour.
Choose the Right Cookie Shape and Decorating Colors
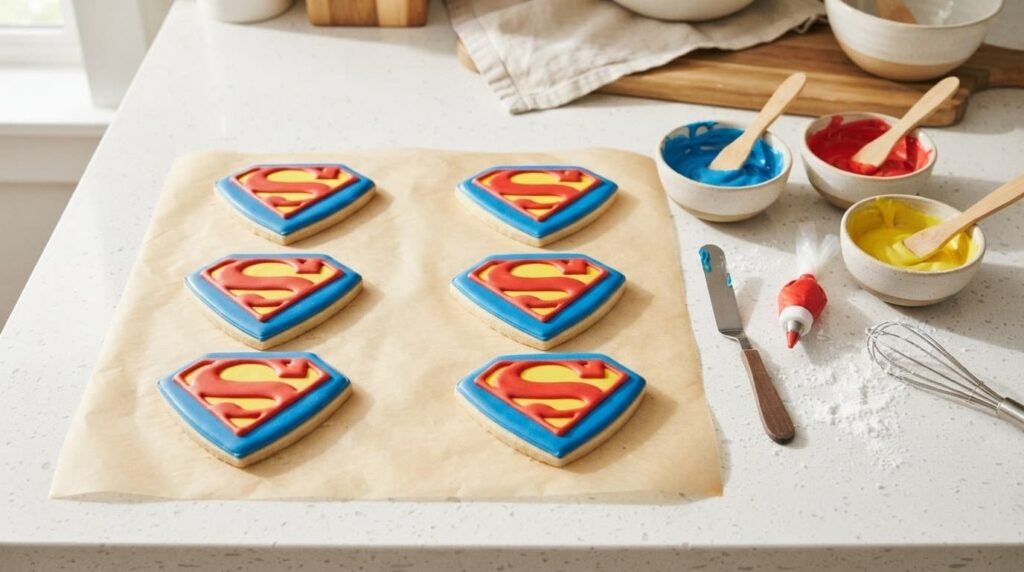
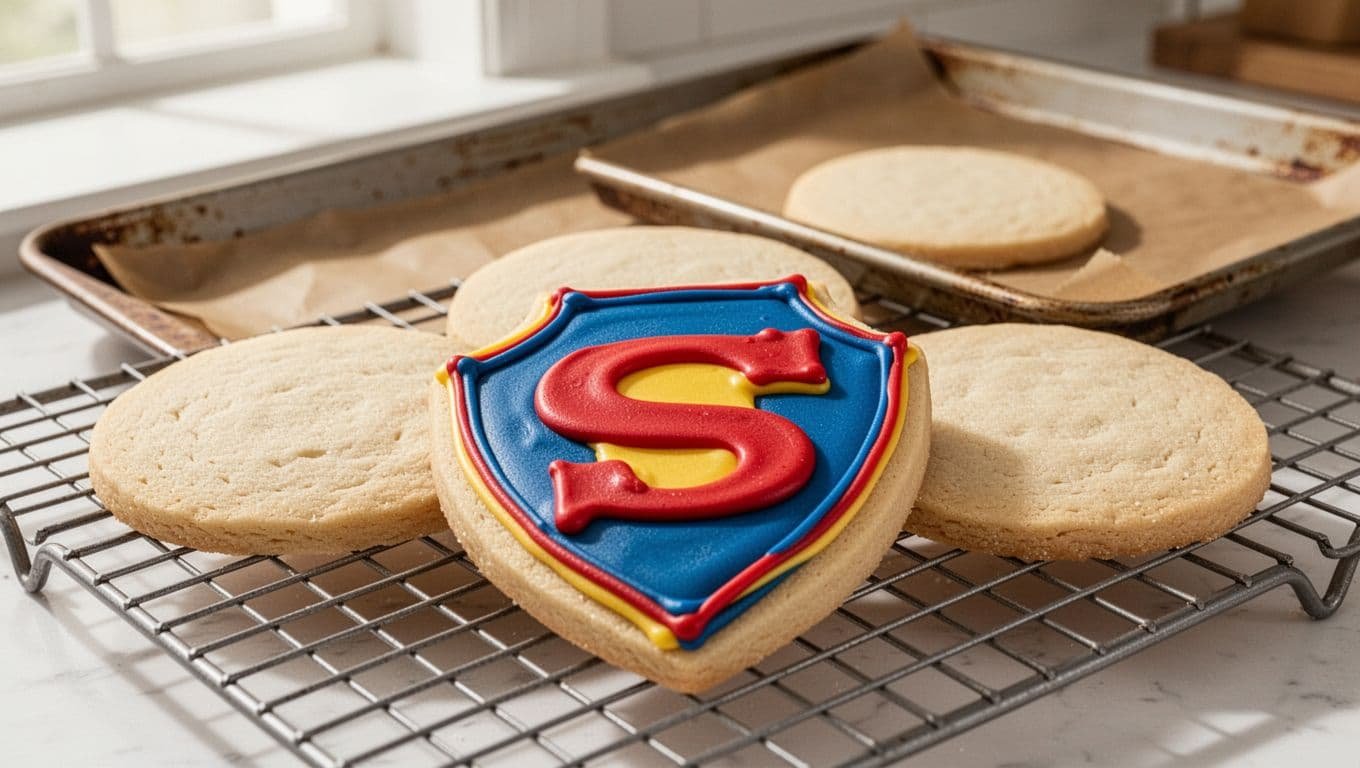
A shield-shaped cutter creates an instant Superman look. If you only have round cutters, ice a small shield in the center of each cookie. The design still reads clearly once the colors are in place.
Use blue for the background, yellow for the shield center, and red for the border and S. Gel coloring gives a stronger shade than liquid coloring without thinning the icing too much.
Divide plain icing among three covered bowls before adding color. Keep bowls covered with plastic wrap or a damp paper towel while you work, since exposed icing develops a dry crust quickly.
How to Make the Sugar Cookie Dough Step by Step
First, beat softened butter and sugar for about 2 to 3 minutes, until the mixture looks pale and smooth. Add the egg and vanilla, then mix until fully combined.
In a separate bowl, whisk flour, baking powder, and salt. Add the dry ingredients to the butter mixture in two additions. Mix on low speed only until the flour disappears. Overmixed dough can bake up tough.
The dough should feel soft and smooth without sticking to your fingers. If it crumbles when pressed, add milk one teaspoon at a time. If it feels tacky, wrap it and chill it rather than adding a large amount of flour.
- Divide the dough in half and press each piece into a flat disk.
- Wrap each disk tightly and refrigerate for at least 30 minutes. You can chill it for up to two days.
- Heat the oven to 350°F and line baking sheets with parchment paper.
- Roll one chilled disk to about 1/4 inch thick, then cut your shapes.
- Place cookies about 1 inch apart and bake for 8 to 11 minutes.
- Let cookies rest on the baking sheet for 5 minutes, then move them to a cooling rack.
The edges should look set, while the centers remain pale. Don’t wait for deep browning, because the cookies will firm as they cool.
Roll, Cut, and Bake Cookies That Keep Their Shape
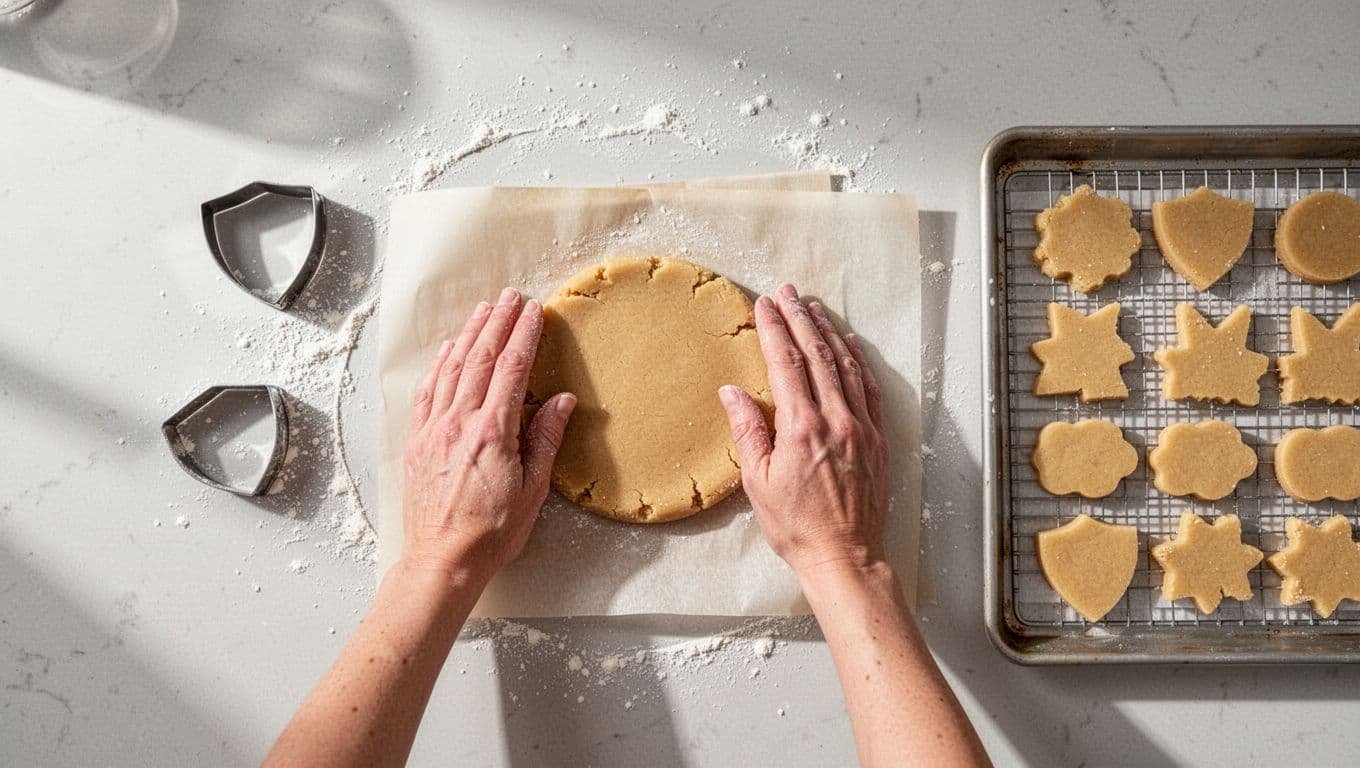
Roll between two sheets of parchment for less sticking, or use a lightly floured counter. Press the cutter straight down, then lift it straight up. Twisting can pull the edges out of shape.
Reroll scraps only once or twice. Too much extra flour and handling makes cookies dry. If the cut shapes feel soft or difficult to move, chill the entire baking sheet for 10 minutes before baking.
Rotate the pan only if your oven browns unevenly. Once cookies leave the oven, let them cool completely before icing. Even slightly warm cookies can melt the design.
Decorate Superman Cookies With Simple Red, Blue, and Yellow Icing
Royal icing gives the cleanest finish because it dries firm enough for stacking. For an easier option, make a thick glaze with powdered sugar and milk. It won’t dry as hard, so serve those cookies on a tray instead of packing them tightly.
Set aside a thicker icing for outlines. Then thin small portions with a few drops of water until the icing flows back into itself in about 10 seconds. That thinner icing is called flood icing.
Start with a red shield outline. Fill the center with yellow icing, then add a red border and a simple S after the yellow area has set. Blue icing can cover the rest of the cookie, or you can use blue around the shield as a background accent.
Use piping bags for fine lines and squeeze bottles for larger areas. A toothpick helps nudge icing into sharp corners and pop any bubbles. A small butter knife also works for spreading glaze on larger cookies.
Let each icing layer set before adding a neighboring color, or the red, yellow, and blue can bleed together at the edges.
Let decorated cookies dry uncovered for several hours. Thick royal icing often needs overnight drying before you stack or bag the cookies. Add sanding sugar, sprinkles, or edible stars while the icing is wet. Skip hard decorations for toddlers and very young children.

Make the Superman S Design Without Perfect Piping Skills
You don’t need a bakery-level steady hand. Print a simple shield image, place it beneath parchment, and practice the S shape with leftover icing before working on the cookies.
Another option is a small stencil. Let the yellow center dry first, place the stencil gently on top, then spread red icing across it with an offset spatula. Lift the stencil straight up.
If icing spreads, it is too thin. Mix in more powdered sugar. If it cracks or won’t flow, stir in water one drop at a time. A slightly uneven S still looks cheerful on a birthday dessert table.
Decorating Ideas for Different Party Ages
For toddlers, make larger cookies with broad color blocks and no hard toppings. A red shield with a yellow center is enough to match the theme.
Young children can add sprinkles or help spoon icing into bags. Older kids may enjoy a decorate-your-own cookie station with small bowls of icing and soft toppings. Let all decorations dry before moving cookies into treat bags.
Plan, Store, and Serve the Cookies at a Birthday Party
Make the dough up to two days before the party. Bake cookies one or two days ahead, decorate the day before, and package them on party day. This schedule keeps the last day free for balloons, drinks, and other food.
Store fully dry cookies in an airtight container at room temperature, with parchment between the layers. The USDA offers practical homemade cookie storage advice for keeping baked goods fresh. Avoid refrigeration unless your icing recipe calls for it, since moisture can soften the cookies.
Freeze undecorated cookies in an airtight container for up to two months. Thaw them at room temperature while still covered, then decorate once they are fully dry. You can also freeze wrapped dough disks, then thaw them overnight in the refrigerator before rolling.
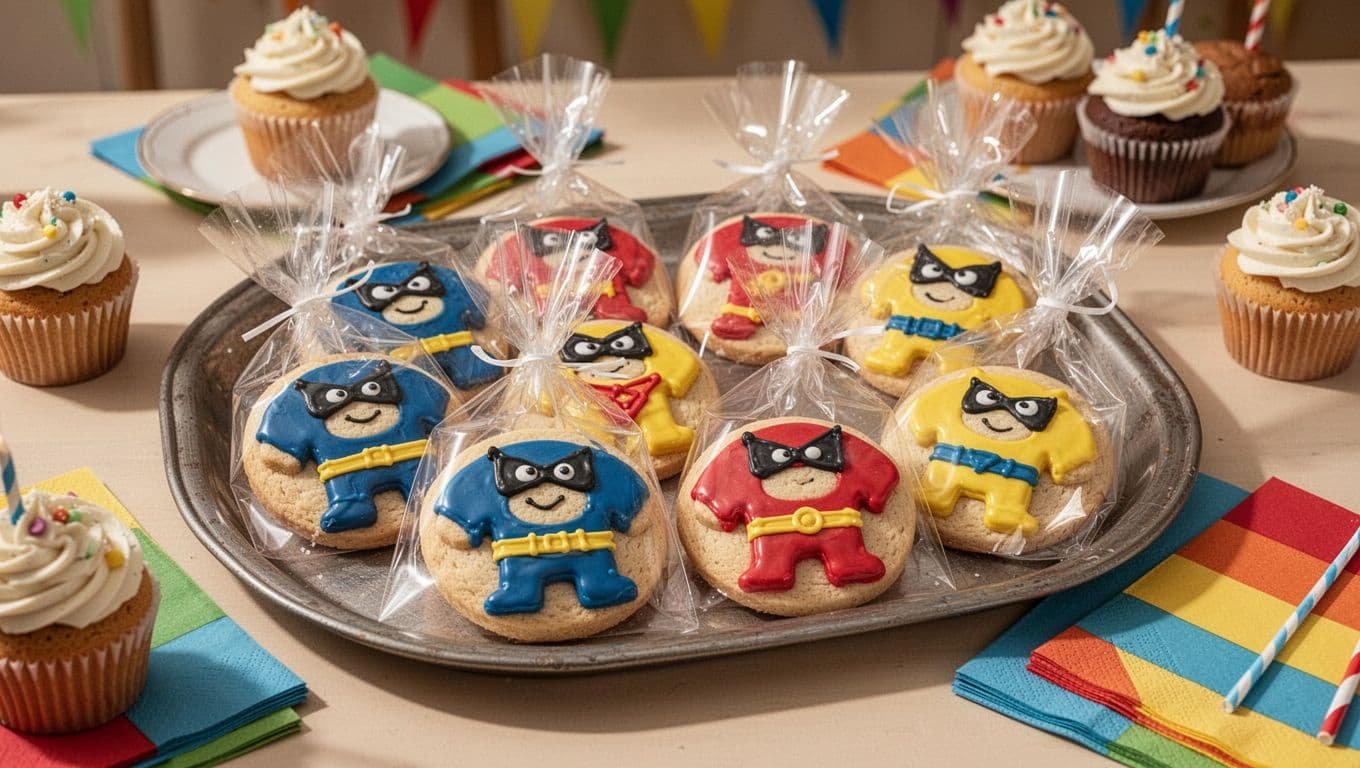
Keep the dessert table away from direct sun and warm windows. Clear bags tied with ribbon make easy favors, while a shield-shaped tray creates a simple centerpiece. Cookies also pair well with cupcakes when guests want a choice.
Avoid Common Cookie and Icing Problems
Cookies that spread usually came from dough that was too warm or flour measured too lightly. Spoon flour into the measuring cup and level it, then chill soft cutouts before baking.
Dry cookies often baked too long or rolled too thin. Keep the dough thickness even, and test one cookie first if your oven tends to run hot.
Uneven icing colors usually need more gel coloring and better mixing. Soft icing points to under-dried layers, so give the cookies more open-air drying time. Keep every bowl of icing covered between uses.
Frequently Asked Questions
Can I use store-bought cookie dough?
Yes, refrigerated sugar cookie dough can save time. Choose dough meant for roll-and-cut cookies, then chill it well before rolling so the shield shapes hold their edges.
How far ahead can I decorate the cookies?
Decorate royal-iced cookies up to three days ahead if you store them in a cool, dry room. Let the icing dry overnight before stacking, packaging, or freezing.
Can I make these cookies without a Superman cutter?
Yes. Cut circles, rectangles, or stars, then pipe a small shield in the middle. The blue, red, and yellow colors make the theme clear even without a custom cutter.
What can children safely help with?
Kids can choose sprinkle colors, add sanding sugar, or help place finished cookies on a tray. Adults should handle the oven, hot baking sheets, and piping bag trimming.
A Bright Finish for a Superhero Celebration
Homemade Superman cookies for kids birthday parties stay manageable when you chill the dough, cool the cookies fully, and add icing in simple layers. Clean lines are nice, but a few imperfect shields won’t matter once the party starts.
Make the cookies ahead when possible, then invite kids to help with safe decorating jobs. These colorful treats bring a personal touch to any superhero dessert table.
Save the pin for later


I’m the creator of My Everyday Dish, a food blog focused on easy homemade recipes, comforting family meals, simple baking, and seasonal food ideas. I love finding practical ways to make everyday cooking less stressful and more enjoyable. Here, I share recipes with simple ingredients, clear instructions, and plenty of flavor, helping you make delicious meals and treats you’ll feel confident serving at home.
Leave a Reply