
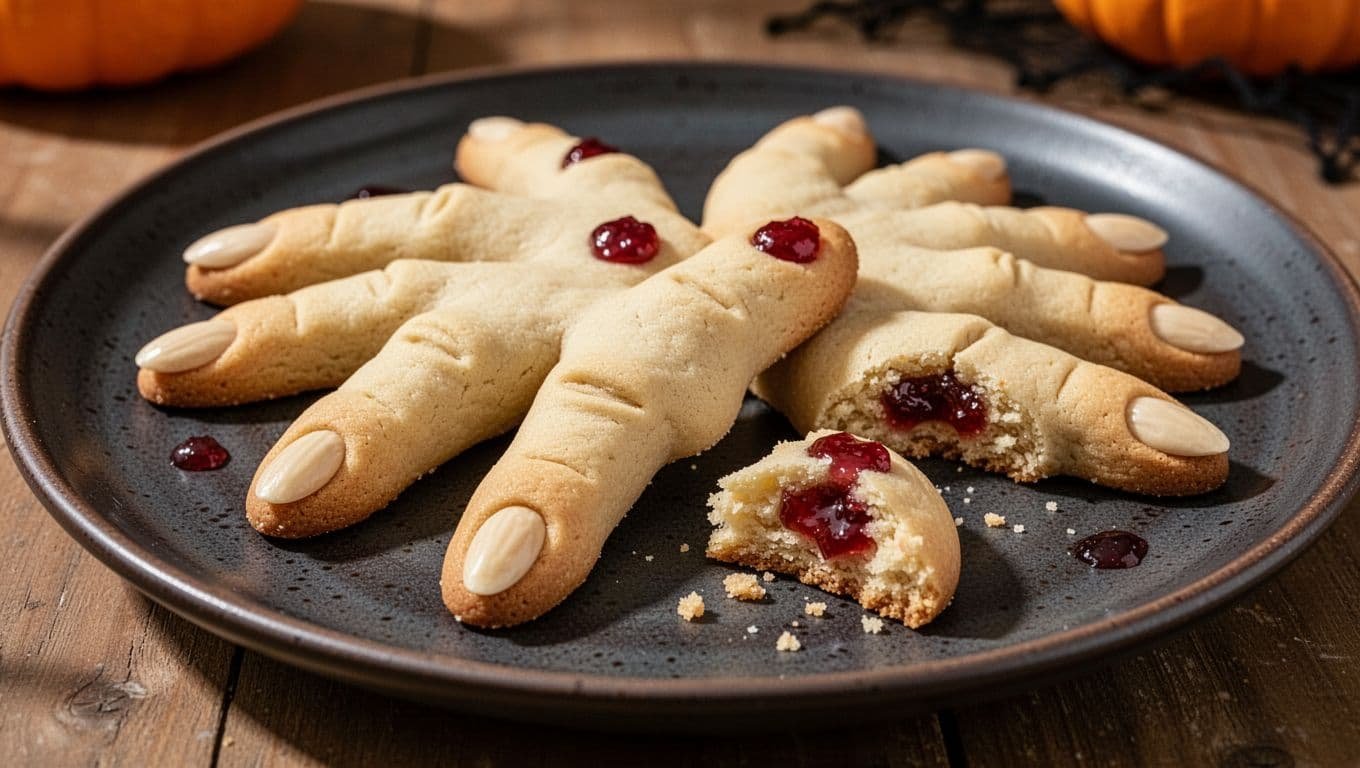
The first time I set these cookies on a Halloween table, guests laughed, then leaned closer to inspect the almond fingernails and knobby little joints. A few people hesitated before taking one, which was exactly the reaction I wanted.
This witch finger cookies recipe looks dramatic but uses a simple buttery dough that children and adults can shape together.
The cookies suit a party platter, a school treat table, or an afternoon of family baking. They have lightly sweet flavor, crisp edges, and tender centers. Clear measurements, decorating ideas, and storage tips make the process easy to plan.
Key Takeaways
These witch fingers start with a chilled vanilla butter dough, then get their eerie shape from narrow logs, pressed almond nails, and shallow knuckle creases. Bake them only until the edges turn pale gold, since darker cookies lose their spooky, skin-like look.
Red decorating gel or raspberry jam adds a gory finish, although the cookies also look great without it. Keep almond allergies in mind before serving or packaging any leftovers.
Witch Finger Cookies Recipe for Halloween
This witch finger cookies recipe makes about 26 cookies. Plan for 25 minutes of prep, 30 minutes of chilling, 18 to 22 minutes of baking, and about 1 hour 15 minutes overall.
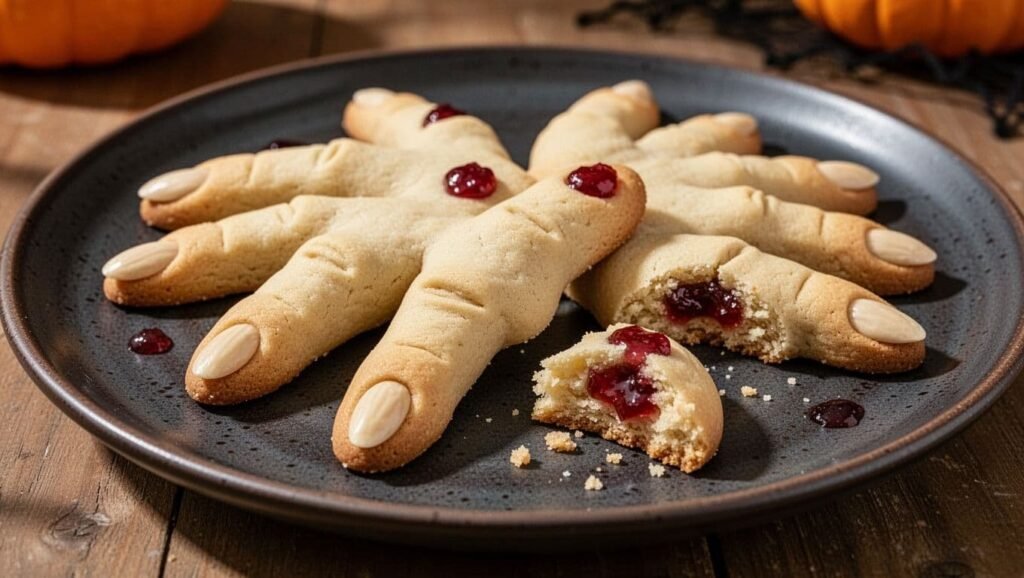
Gather these ingredients:
- 1 cup unsalted butter, softened
- 3/4 cup granulated sugar
- 1 large egg
- 1 teaspoon vanilla extract
- 2 3/4 cups all-purpose flour
- 1 teaspoon baking powder
- 1/2 teaspoon fine salt
- 26 to 30 whole blanched almonds
- Red decorating gel or raspberry jam, optional
Use two mixing bowls, a hand mixer or stand mixer, measuring cups and spoons, parchment paper, a baking sheet, a cooling rack, and a toothpick. Softened butter creams smoothly with sugar, while the egg gives the cookies a tender center. Flour builds the shape, and baking powder keeps the dough from becoming hard.
After mixing, chilled dough is much easier to roll and holds its narrow finger shape in the oven. Blanched almonds have a smooth, pale surface that makes surprisingly convincing nails. If you only have salted butter, skip the added salt. For a nut-free batch, use chocolate chips or almond-free candy pieces instead of almonds. A small amount of red gel food coloring can replace decorating gel.
How to Make Witch Finger Cookies Step by Step
Mix the dough and chill it
- Beat the softened butter and sugar in a large bowl for 2 to 3 minutes. The mixture should look pale, smooth, and fluffy around the edges.
- Add the egg and vanilla. Beat again until the egg disappears into the butter mixture. Scrape the bowl so no streaks remain.
- In a separate bowl, whisk the flour, baking powder, and salt. Add the dry ingredients gradually to the butter mixture on low speed. Stop mixing as soon as a soft, workable dough forms.
- Press the dough into a disk, cover it, and refrigerate it for about 30 minutes. Clean hands are important when handling ready-to-eat dough and almonds, so follow the USDA’s basic food safety guidance as you work.
The chilled dough should feel firm enough to roll without sticking. If it cracks badly when squeezed, let it sit at room temperature for five minutes. Don’t warm it much longer, or the shaped fingers can spread.
Roll narrow cookie fingers
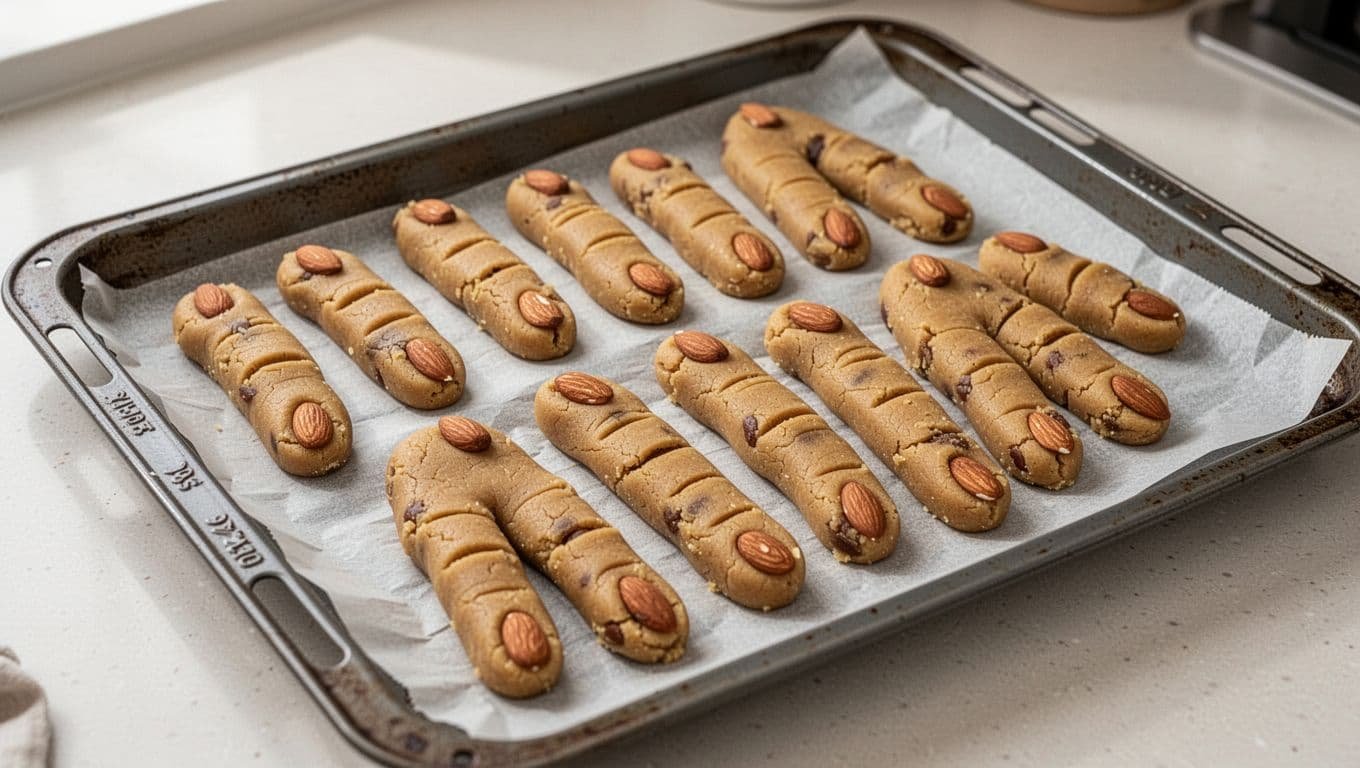
- Divide the dough into 26 similar portions, about 1 tablespoon each. Roll each piece into a 3 1/2-inch to 4-inch log. Keep every log slightly thinner than the finished finger, because the dough expands as it bakes.
- Arrange the logs 2 inches apart on a parchment-lined baking sheet. Press one almond firmly into one end of each log. Then pinch the dough lightly beneath the almond to form a nail bed.
Use a toothpick or the dull side of a small knife to press two or three shallow lines across each cookie. Place a crease near the center and another closer to the almond. Bend a few fingers slightly and pinch the joints to create uneven, bony shapes.
Bake Until the Edges Turn Light Gold
Chill shaped cookies if needed
- If the dough feels soft, refrigerate the baking sheet for 10 minutes before it goes into the oven. This quick second chill helps narrow fingers stay defined.
Avoid crowding the pan. Crowded cookies bake into each other, and the extra heat around them can blur the knuckle lines. If you are unsure about thickness, bake one test cookie first. A test batch shows whether your fingers need to be thinner or your dough needs another few minutes in the refrigerator.
Watch the color, then cool completely
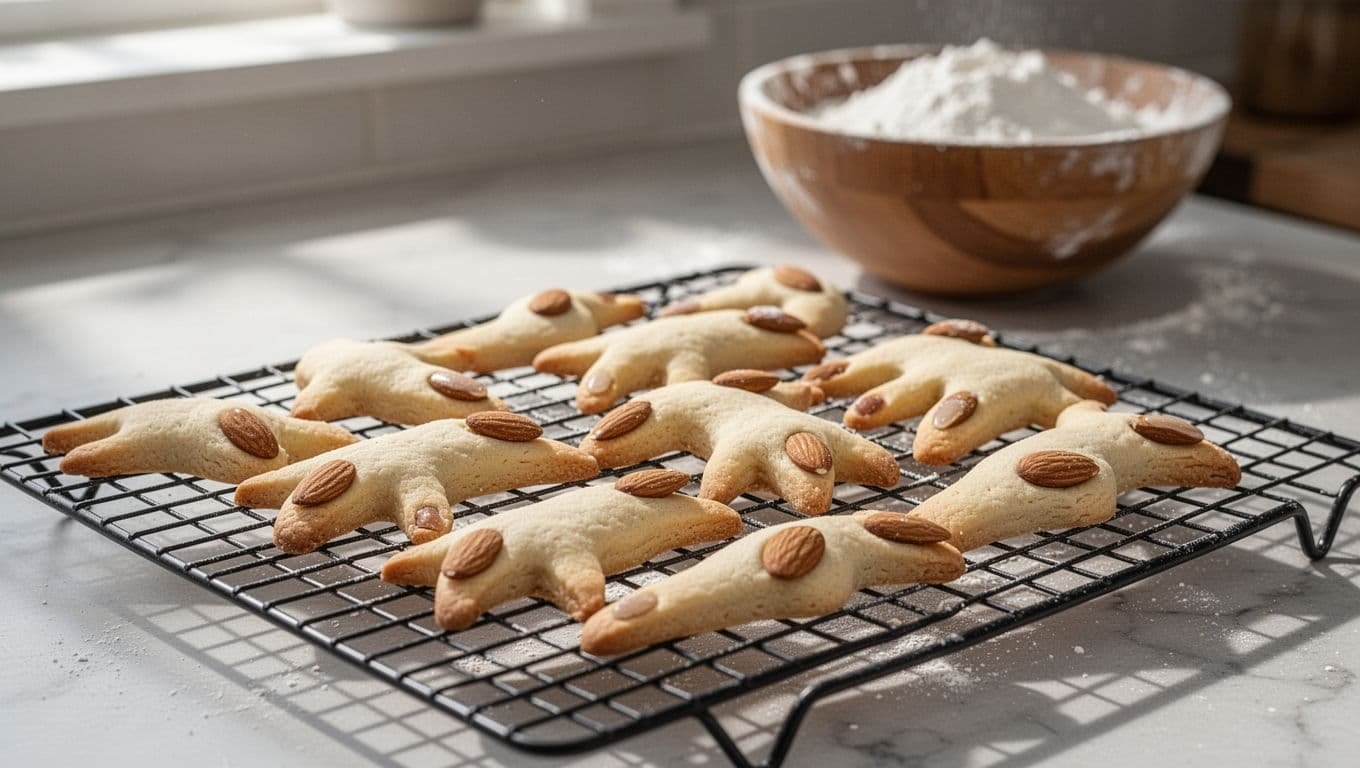
- Bake at 325 degrees F for 18 to 22 minutes. The cookies are ready when their edges are lightly golden and the centers look dry. They should stay pale, not brown.
- Let the cookies rest on the baking sheet for 5 minutes. Then move them carefully to a wire rack. The almonds can loosen while the cookies are hot, so support each finger near the nail instead of lifting it by the almond.
A crisp edge develops as the cookies cool. Meanwhile, the center stays tender if you pull the tray before the whole cookie turns golden.
Read also: 27 Halloween Coffee Recipes for a Spooky Fall
Decorating Ideas and Easy Fixes for Better Halloween Cookies
After the cookies cool, dab red decorating gel or raspberry jam around each almond. Use a toothpick for thin streaks, or add a small blob at the nail bed for a freshly severed look. Powdered sugar makes the fingers look dusty and old, so skip it if you want the bloodier version.
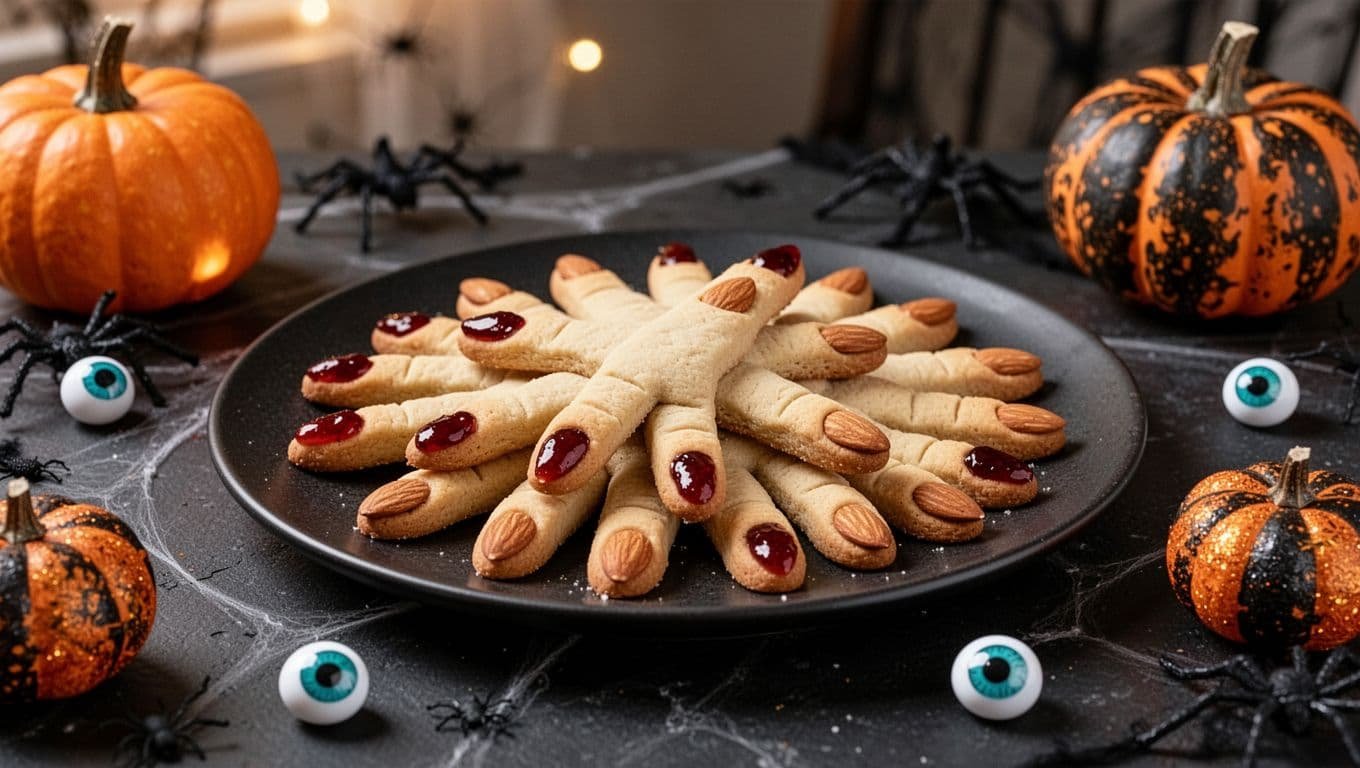
Long, crooked fingers look more believable than perfectly uniform ones. However, keep the thickest parts no wider than your own thumb. Thick dough can remain soft in the middle.
If cookies spread, chill the remaining dough longer and check that the butter was softened rather than melted. Dry, crumbly dough needs a teaspoon of milk worked in gently. For cracks, roll each portion between warm palms for a few seconds before shaping. Press loose almonds deeper into the dough before baking.
For younger children or nut-free guests, use chocolate chips as dark nails or choose candy pieces made without almonds. Keep nut-free cookies on a separate tray and platter. Serve the finished cookies on a dark plate with a few candy eyeballs for a Halloween dessert table that looks playful rather than gruesome.
Read also: 41 Healthy Halloween Food Ideas for Kids and Adults
The most convincing details are the narrow shape and knuckle lines, not extra food coloring.
How to Store, Serve, and Make These Cookies Ahead
Cool the cookies completely before placing them in an airtight container. Separate layers with parchment paper so the almonds and jam accents don’t stick together. For the best crisp edges, enjoy them within five days. The USDA’s cookie storage advice says homemade cookies can be stored at room temperature for two to three weeks.
You can refrigerate the wrapped dough for up to two days. Let it sit out for 10 to 15 minutes before rolling. Freeze shaped, unbaked fingers on a tray until firm, then transfer them to a freezer bag for up to two months. Bake them from frozen, adding 2 to 4 minutes as needed.
Baked cookies also freeze well for up to two months. Thaw them in their container at room temperature, then add jam or gel after they are fully thawed. If you refrigerate dough or freeze cookies, keep the refrigerator at 40 degrees F or below, as advised in the FDA’s food storage guidance.
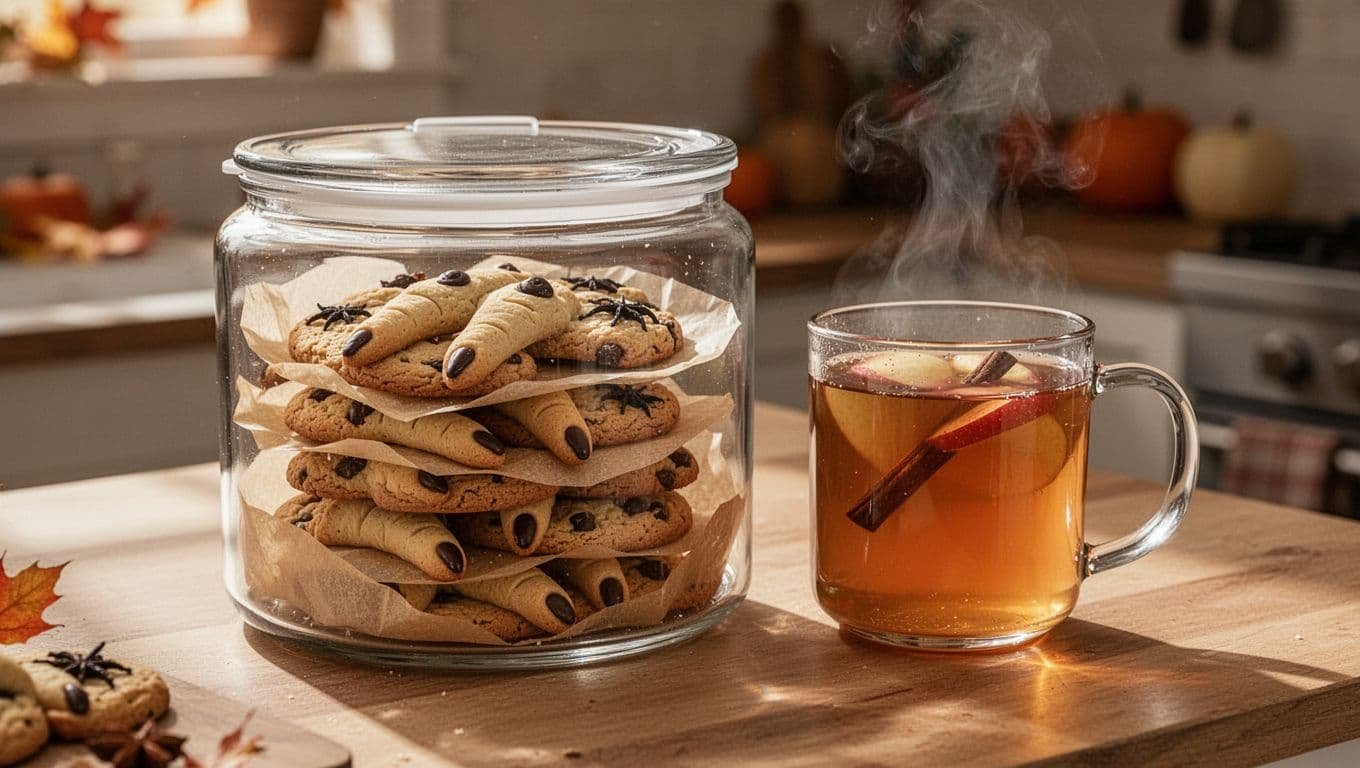
Serve these cookies at room temperature with hot chocolate, apple cider, or coffee. For party favors, pack several in a clear bag or small box, and label any package that contains almonds.
Frequently Asked Questions
Can I make witch finger cookies without almonds?
Yes. Use chocolate chips, candy-coated chocolate pieces, or nut-free chocolate drops for the nails. Press them into the dough with the pointed or flat side facing outward, depending on the look you want.
Why did my cookies lose their finger shape?
Warm dough is the usual cause. Refrigerate the dough before rolling and chill the shaped cookies when the kitchen feels warm. Also keep the logs narrow, because thick pieces spread more.
Should I remove the almonds before eating?
No. The almonds are fully edible and give each cookie its signature nail. Still, let guests know they contain tree nuts, especially at school or community events.
Can I use jam before baking?
Raspberry jam works best after baking. It can melt, darken, and run across the pan in the oven. Adding it after cooling keeps the color bright and concentrated around the nail.
How do I keep the cookies pale?
Bake at 325 degrees F and remove the tray when only the edges are pale gold. Dark baking sheets can brown cookie bottoms faster, so line them with parchment and begin checking at 18 minutes.
A Homemade Halloween Treat Worth Sharing
These witch finger cookies bring the right kind of Halloween discomfort to a dessert plate: funny, creepy, and completely edible. The dough is easy to shape, while the almonds and knuckle lines make every cookie look different.
Invite children to press in the nails and mark the joints, then check for nut allergies before anyone digs in. Make a small test batch if you want to practice the shapes, or bring a full platter to your next Halloween party.
Save the pin for later


I’m the creator of My Everyday Dish, a food blog focused on easy homemade recipes, comforting family meals, simple baking, and seasonal food ideas. I love finding practical ways to make everyday cooking less stressful and more enjoyable. Here, I share recipes with simple ingredients, clear instructions, and plenty of flavor, helping you make delicious meals and treats you’ll feel confident serving at home.
Leave a Reply