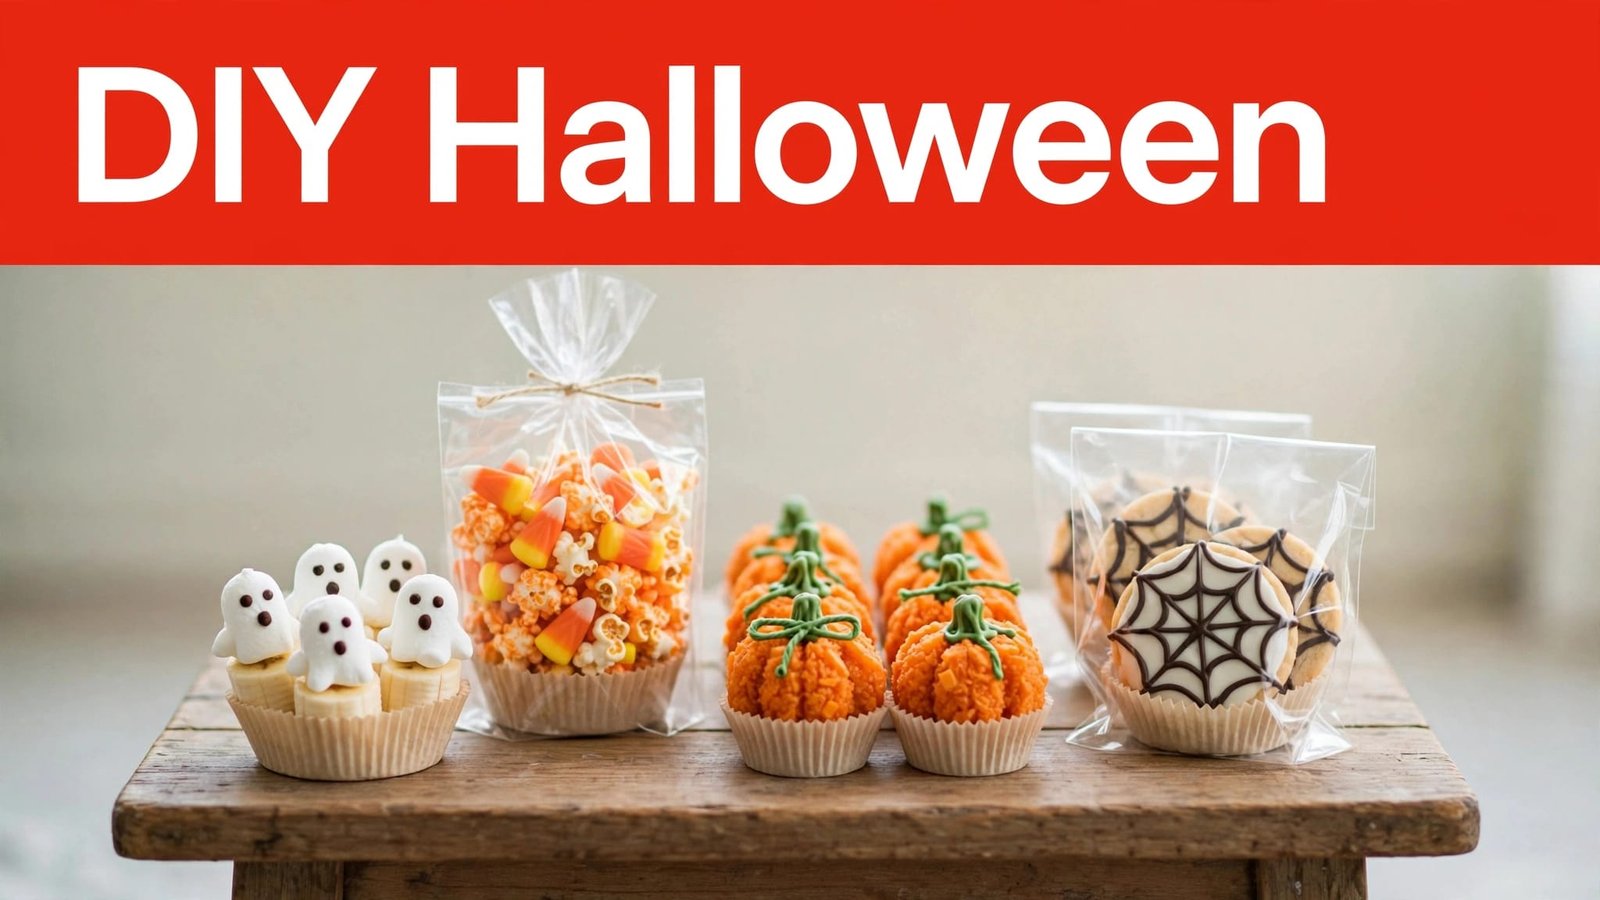
Halloween treats for school should be fun for kids and manageable for the adults preparing them. The best ideas are simple to make, easy for small hands to hold, and quick to package individually, whether you’re a parent, teacher, or classroom volunteer.
This collection includes 29 creative options across fruit treats, cereal bars, pudding cups, cookies, popcorn snacks, and candy-free choices. Some require baking, while others come together with a few store-bought ingredients and simple decorations, so you can choose treats that fit your time, budget, and classroom needs. For more spooky snack inspiration, you might also enjoy these Halloween witch finger foods.
Before you start, check with the teacher about school rules, classroom restrictions, and allergy policies. Some schools allow only sealed, labeled, store-bought items, while others have specific requirements for peanuts, tree nuts, dairy, wheat, or other allergens. Once you know what’s allowed, these numbered ideas will help you find a festive treat that travels well and keeps classroom celebrations simple.
Check School Rules Before You Make Halloween Treats
Before you choose a Halloween treat, ask the teacher or school office what the classroom allows. A quick message can prevent a batch of homemade cupcakes or brownies from being turned away at the door. School policies often vary by grade, classroom, and district.
Some schools allow only commercially packaged treats with factory seals. Others permit homemade food if you attach a complete ingredient list. Follow the school’s policy first, then choose a recipe that fits its requirements. You can also review the FDA’s Halloween food safety guidance before shopping.
Confirm allergens and labeling
Ask whether the classroom has children with allergies to peanuts, tree nuts, dairy, eggs, wheat, soy, or other ingredients. Even a treat that looks simple may contain an unexpected allergen through chocolate, sprinkles, packaged frosting, cereal, or candy decorations.
Every portion should show the treat name and a complete ingredient list. For packaged foods, keep the original label whenever possible. Candy labels can vary between regular and fun-size packages, so don’t assume two versions have identical ingredients or allergen statements.
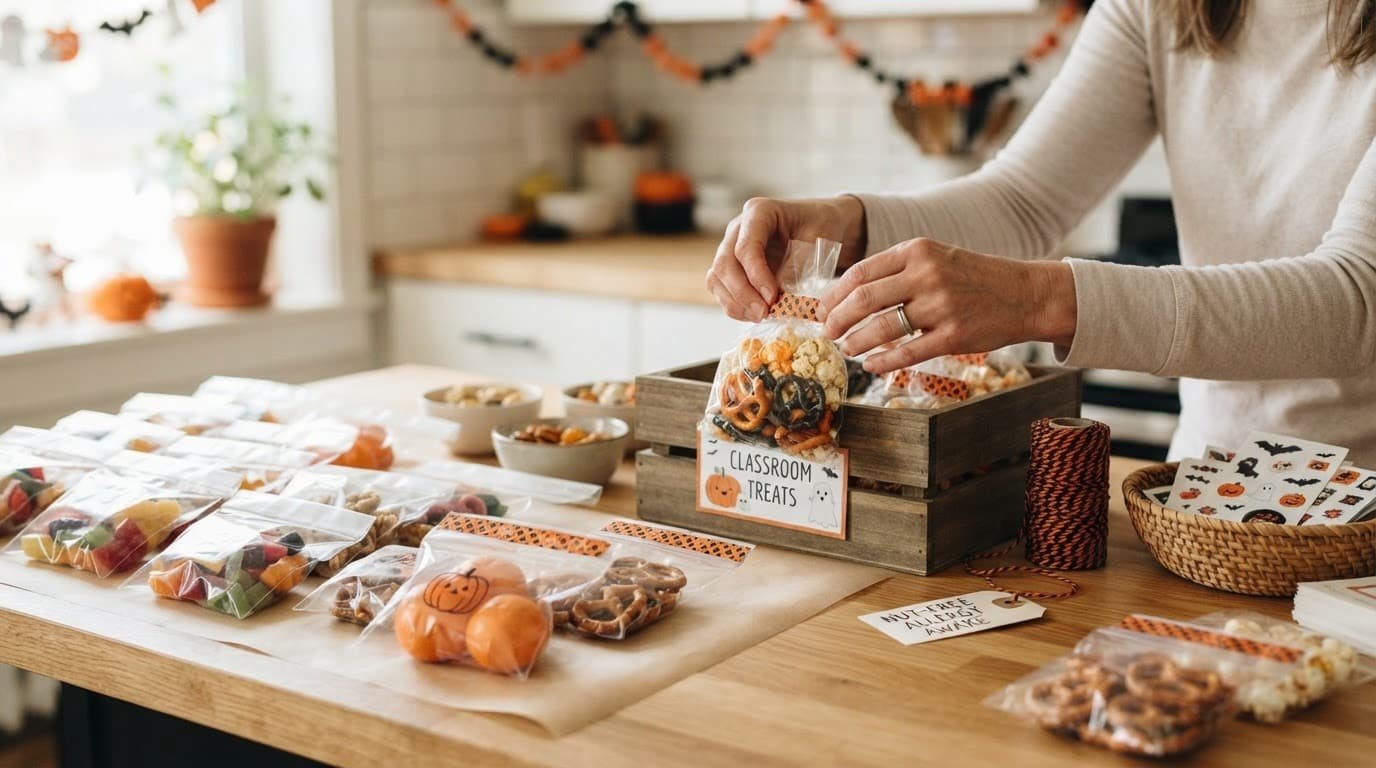
Individually sealed portions are easier to distribute than a shared tray. They limit hand contact, help teachers track ingredients, and allow a child with an allergy to skip a treat without touching the others. Small bags, lidded cups, and sealed wrappers also travel better in backpacks.
Homemade cupcakes, brownies, and treats with unclear ingredients may not be accepted, even when they look festive and carefully prepared.
If the school requires commercial packaging, use sealed snacks and add decorations to the outside of the package. Avoid opening, mixing, or repackaging food unless the teacher approves it.
Read also: 10 Fun Halloween Potluck Food Ideas for Parties
Keep young children safe
Portion size matters, especially for preschoolers and younger elementary students. Avoid sending whole grapes, hard candy, popcorn, nuts, large marshmallows, or chunks of raw apple. These foods can create choking risks for young children. Cut soft foods into small, manageable pieces when the school permits homemade treats.
The FDA’s food safety advice for parents also warns families to watch for choking hazards such as hard candies, peanuts, gum, and small toys in Halloween treats. When in doubt, ask the teacher whether the class includes children who need smaller portions or softer foods.
Never serve raw cookie dough or cake batter. Raw flour and uncooked eggs can carry harmful germs, even when the dough looks and tastes harmless. Keep children from tasting batter while you prepare treats, and bake every recipe according to its directions before packaging it.
A simple pre-party checklist can keep your treats classroom-ready:
- Confirm whether homemade food is allowed.
- Ask about classroom allergies and ingredient restrictions.
- Choose individually sealed portions.
- Label each package with the treat name and ingredients.
- Check every candy label, including fun-size packages.
- Remove choking hazards for younger children.
- Bake dough and batter fully before serving.
Once these rules are clear, you can make the treats below with confidence and avoid last-minute surprises.
Read also: 100 Spooky Halloween Appetizers for a Crowd
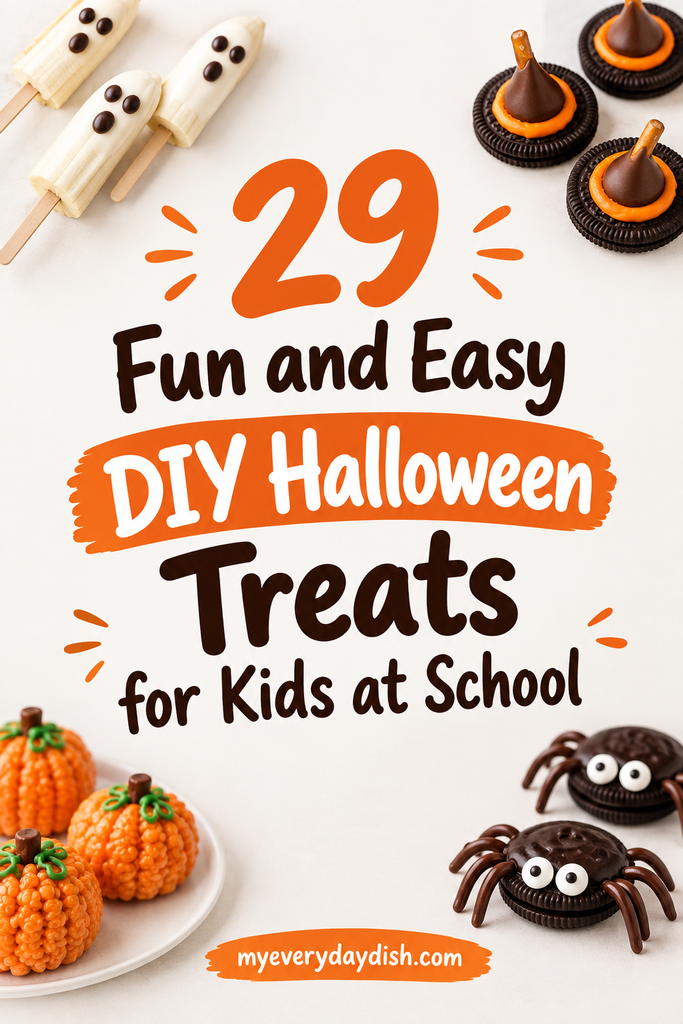
29 Fun and Easy DIY Halloween Treats for Kids at School
Each idea below includes a short ingredient list, quick assembly steps, packaging guidance, and a school-safety reminder. Label every homemade portion with ingredients and allergens, following the FDA’s food allergy guidance. Keep chilled treats cold until serving, and use verified ingredients when a classroom has restrictions.
Fruit Treats That Need Little or No Cooking
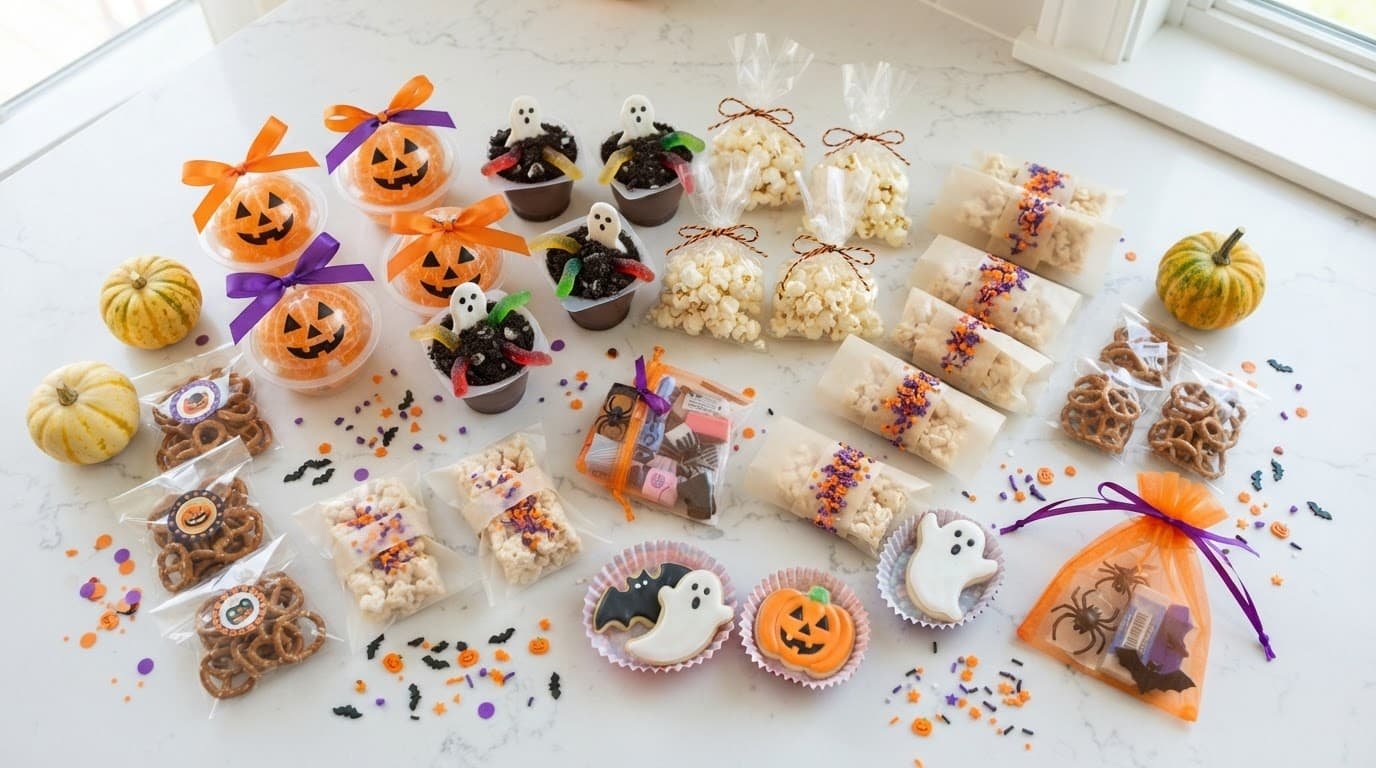
- Banana ghosts: Halve bananas crosswise, add edible eyes, and place each in a lidded cup. Keep refrigerated and serve chilled. Label ingredients, especially if decorations contain allergens.
- Clementine pumpkins: Peel clementines, then add a short celery or cucumber stem. Pack in clear bags or cups. Refrigerate until serving and label if prepared with shared equipment.
- Ghost strawberries: Dip dry strawberries in verified white chocolate, add eyes, and chill until set. Package separately. Check for milk and soy, and prevent chocolate cross-contact with nuts.
- Monster apple bites: Cut apples into small wedges, spread with verified sunflower seed butter, and add candy eyes. Use lidded cups. Refrigerate, label seed ingredients, and avoid large apple pieces for young children.
- Candy corn fruit cups: Layer pineapple, oranges, and whipped topping or yogurt in clear cups. Add lids and chill. Check dairy, colorings, and cross-contact before calling them nut-free.
- Orange pumpkin cups: Cut a small lid from an orange, scoop out the fruit, and refill it with cut fruit. Cover and refrigerate. Label the ingredients and keep cut fruit cold.
Individually Portioned Cups and Layered Snacks
- Graveyard pudding cups: Layer pudding and cookie crumbs, then add a cookie tombstone. Chill two hours, cover with a lid, and label dairy and wheat.
- Pumpkin patch pudding: Spoon pudding into cups, add cookie crumbs, and top with candy pumpkins. Chill, lid, and check dairy, wheat, soy, and coloring.
- Green monster pudding: Layer green-tinted pudding and crushed cookies, then add candy eyes. Chill two hours and cover. Identify dairy, wheat, and food coloring.
- Candy corn gelatin: Pour yellow, orange, and white gelatin layers, chilling each until firm. Cover the finished cups. Label gelatin ingredients, colors, and possible cross-contact.
- Halloween yogurt parfaits: Layer yogurt, chopped fruit, and cereal. Chill, seal, and serve cold. Check dairy, wheat, and cereal allergens before labeling.
- Mini pumpkin pie dip: Add pumpkin dip to cups and place graham sticks beside it in a sealed bag. Chill, cover, and label dairy, wheat, and spices. Never use shared spoons in class.
Bagged Popcorn, Cereal, and Rice Treats
- Popcorn ghosts: Fill clear bags with popcorn, twist the tops, and draw ghost faces on an outer label. Seal tightly and list ingredients. Avoid popcorn for very young children.
- Halloween popcorn mix: Combine popcorn and verified candy pieces, portion into sealed bags, and tag each bag. Check candy, dairy, soy, and nut warnings.
- Boo bark: Spread melted, verified chocolate, add sprinkles, cool, and break into pieces. Bag individually. Check milk, soy, and cross-contact.
- Frankenstein cereal squares: Melt marshmallows with butter, mix in cereal, press into a pan, cool, cut, and decorate with icing. Wrap each square and label dairy.
- Pumpkin cereal treats: Shape warm cereal mixture into pumpkins, cool, and add pretzel stems. Package in bags. Check marshmallow, cereal, and dairy labels.
- Monster cereal circles: Press cereal mixture into circles, cool, drizzle with icing, and add eyes. Seal portions and list ingredients. Popcorn and large marshmallows can choke younger children.
No-Bake Cookies, Donuts, and Pretzel Creations
- Oreo mummy cookies: Drizzle melted white coating over cookies, add eyes, let set, and bag separately. Check wheat, milk, and soy.
- Nutter Butter mummies: Drizzle peanut cookies, add eyes, and let them set. For peanut-free rooms, use verified sandwich cookies instead. Label wheat, peanut, milk, and soy.
- Donut-hole eyeballs: Dip donut holes in coating, add candy eyes, chill until firm, and pack in lidded cups. Check wheat, milk, soy, and cross-contact.
- Vampire donut bites: Dip donut bites in red coating, add icing fangs, set, and bag. Label all packaged ingredients and keep chilled if required.
- Pretzel-cookie monsters: Attach candy eyes to cookies with icing, add pretzel horns, and package individually. Check wheat, milk, soy, and possible nut contact.
- Pretzel broomsticks: Dip pretzel rods in chocolate, attach shredded pretzel pieces, set, and bag. Store cool and label wheat, milk, and soy.
Wrapped Novelty Treats and Easy Candy Alternatives
- Wrapped candy bats: Attach paper wings to labeled candy without opening it. Place each bat in a clear bag and keep the original ingredient information.
- Ghost marshmallow pops: Dip marshmallows in verified chocolate, add eyes, insert sticks, and let set. Bag individually. Avoid marshmallows for young children because they can choke.
- Halloween trail mix cups: Combine only school-approved ingredients, portion into lidded cups, and label every component. Check candy, cereal, and dried fruit carefully.
- Mini mummy snack boxes: Add sealed crackers and packaged fruit to a small box, then wrap it with paper strips. Keep fruit chilled and check wheat and dairy.
- Teal Pumpkin-inspired favor bags: Fill bags with stickers, pencils, erasers, or glow bracelets. Seal and label them as non-food items. This is often the safest choice for allergy-sensitive classrooms.
How to Package and Transport Classroom Halloween Treats
The right packaging keeps Halloween treats fresh, easy to distribute, and simple for children to open. Before you begin, match the container to the treat: dry snacks can go in food-safe bags, while pudding, yogurt, fruit, and other perishable items need covered cups and cold storage.
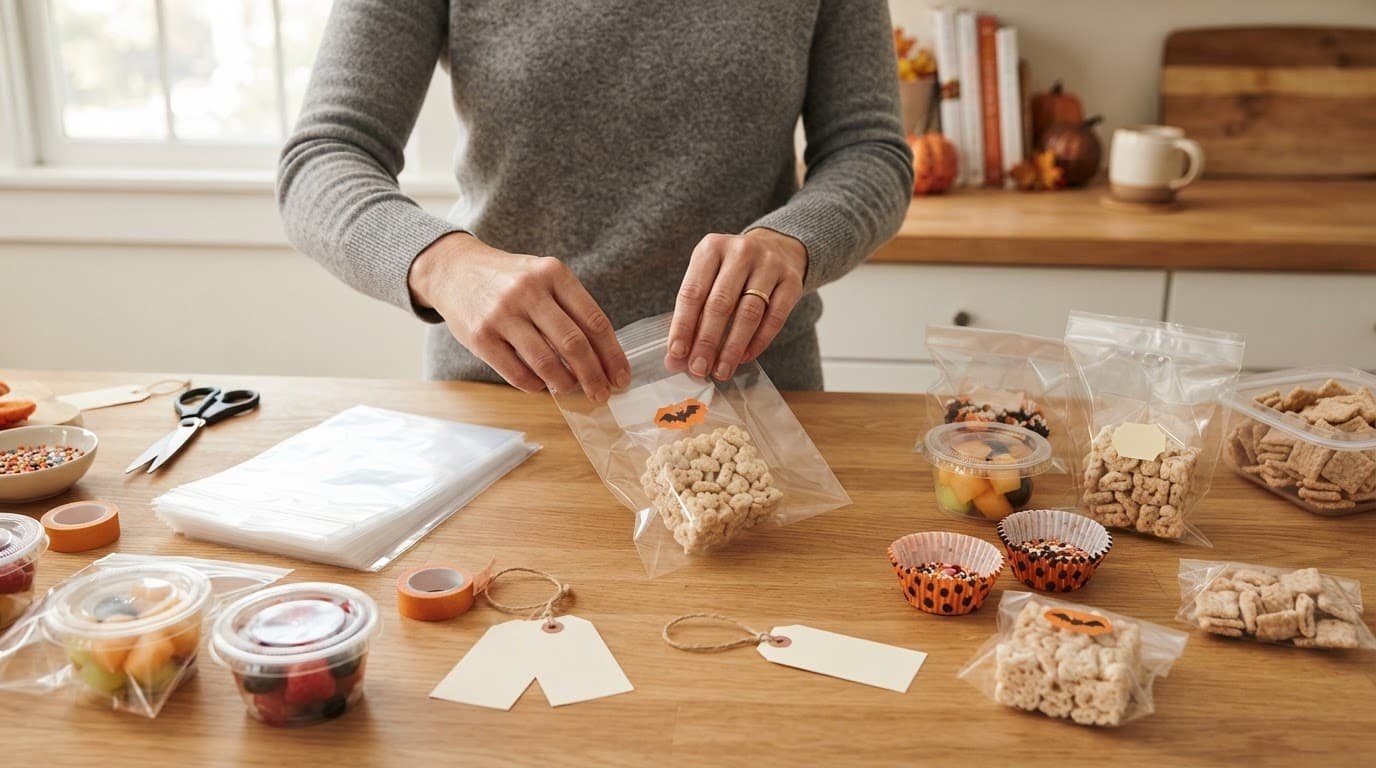
Prepare your supplies and workspace
Make a supply list before shopping so you don’t discover that you’re short on bags or labels at midnight. Gather:
- Food-safe cellophane or resealable bags for dry treats.
- Small lidded cups for fruit, pudding, yogurt, and dips.
- Cupcake liners for cookies, cereal squares, and donut bites.
- Stickers, ribbon, or washi tape for decorating the outside.
- Ingredient tags with the treat name and complete ingredient list.
- An insulated lunch bag or cooler with frozen gel packs.
Wash your hands with soap and water, then clean the counter, trays, utensils, and storage containers. Prepare school treats away from peanuts, tree nuts, and other allergens when the classroom has restrictions. Also check every package label, including chocolate, sprinkles, cereal, candy eyes, marshmallows, and frosting. A familiar brand can change its ingredients or allergen statement.
Allow chocolate-dipped treats and cereal bars to set completely before you wrap them. Otherwise, the coating can smear, the decorations can shift, and the package may stick to the food. Place cookies and bars in cupcake liners before bagging them to reduce handling and keep crumbs contained.
Choose packaging children can open
Package each serving separately instead of placing treats on a shared platter. Individual portions reduce hand contact and help the teacher distribute food without using shared tongs or serving spoons.
For dry treats, slide one cookie, cereal square, pretzel creation, or sealed candy item into a food-safe bag. Fold or seal the top securely, then add a sticker or ingredient tag to the outside. Avoid attaching decorations where they can fall into the food.
Use lidded cups for soft or chilled treats. Leave enough space beneath the lid so pudding, yogurt, and fruit don’t touch the top during transport. Keep spoons separate and package them in a clean sleeve if the teacher requests utensils.
Write the treat name and ingredients clearly on every homemade portion. For packaged foods, keep the original label available whenever possible. Easy-open lids and simple bags work better than elaborate knots, especially for younger children.
A decorative package should never hide the ingredients. Put allergy information where the teacher can find it before serving.
Follow a simple preparation timeline
Confirm school rules, classroom allergies, and the delivery time several days ahead. Shop after you know whether the class permits homemade food, individually sealed portions, or only factory-sealed treats.
Prepare shelf-stable items, such as wrapped cereal bars, cookies, pretzels, and favor bags, the night before. Store them in a cool, dry place away from pets, smoke, cleaning products, and allergen-heavy foods.
Make fruit cups, pudding cups, yogurt parfaits, and other perishable treats as close to delivery as possible. Keep them refrigerated until you leave, then place them in an insulated bag with at least two frozen cold sources. USDA guidance recommends keeping cold foods at 40°F or below and using cold sources above and below the food during transport. See the USDA’s safe lunch packing guidance for additional food safety details.
Deliver chilled treats promptly and ask the teacher where they should stay until the party. Meat-based novelty foods are usually a poor fit for classroom celebrations because they require careful cooking, refrigeration, and temperature control. Consider fruit, cereal treats, sealed snacks, or non-food favor bags instead. Finally, pack only single servings, avoid shared utensils, and keep every package clean, closed, and easy to open.
Choose the Best Treat for Your Classroom
The best Halloween treat depends on more than appearance. Compare preparation time, refrigeration, cost, mess, age group, packaging, and ingredient restrictions before choosing one idea for the class.
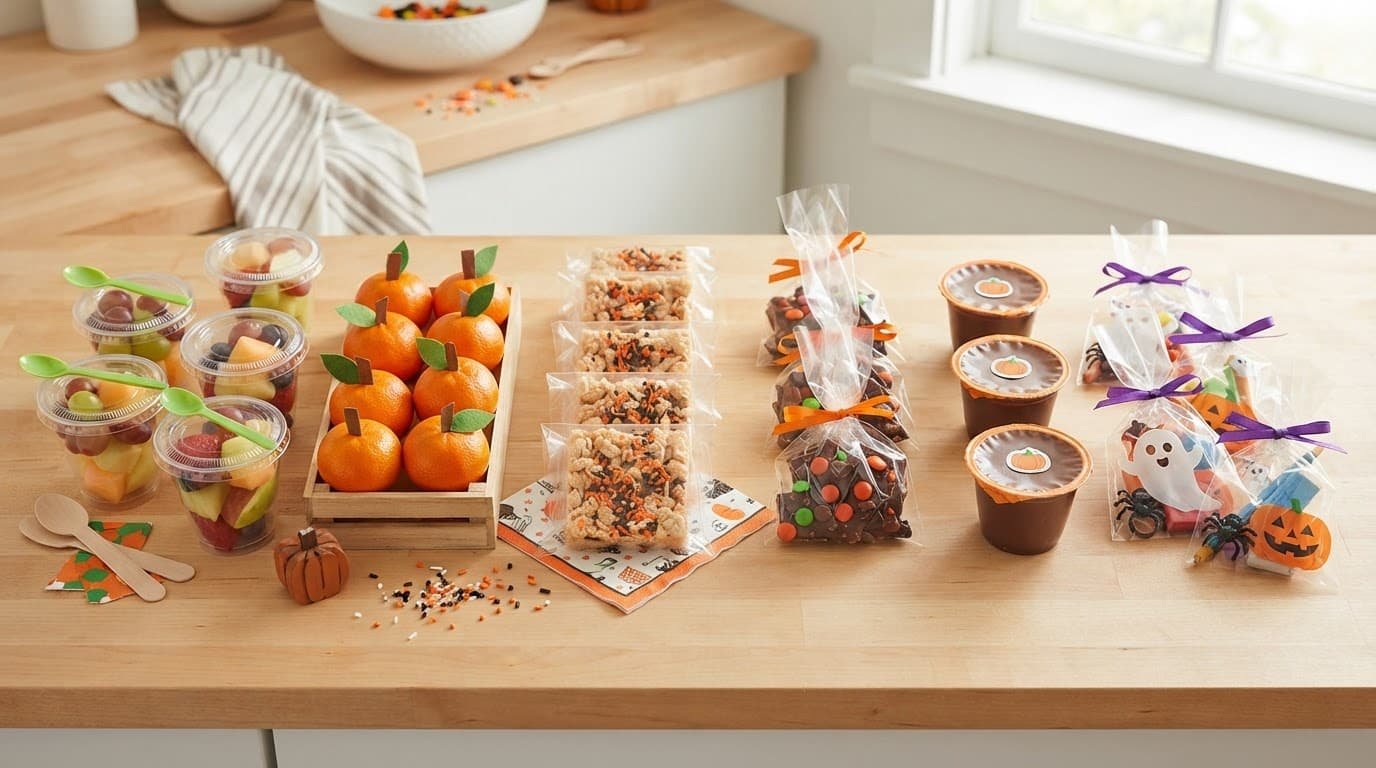
Compare all 29 Halloween treat ideas
Use this quick guide to narrow your choices without making the decision feel overwhelming.
| Treat numbers | Best choice for | Main considerations |
|---|---|---|
| 1, 2, 3, 4, 5, 6 | Fresh, lighter snacks | Fruit needs refrigeration and careful portioning. |
| 7, 8, 9, 10, 11, 12 | Spoon-free or cup treats | Pudding and yogurt need cold storage and school approval. |
| 13, 14, 15, 16, 17, 18 | Make-ahead batches | Cereal treats and popcorn are affordable, but check age and allergy restrictions. |
| 19, 20, 21, 22, 23, 24 | Easy decorated treats | Cookies, donuts, and pretzels travel well but may contain common allergens. |
| 25, 26, 27, 28 | Individually packaged options | Use clear labels and avoid mixed ingredients when restrictions are unclear. |
| 29 | Allergy-conscious celebrations | Non-food favors avoid ingredient concerns, refrigeration, and food mess. |
For a quick, fresh option, choose clementine pumpkins or fruit cups. They need little cooking and are easy to portion, but you must keep them chilled. Bagged popcorn, cereal squares, and boo bark work better for make-ahead batches because you can prepare and package them the day before.
Pudding cups are playful and soft, but they need refrigeration, spoons, and permission from the school. For the simplest allergy-conscious plan, choose sealed non-food favors such as stickers, pencils, erasers, or glow bracelets.
Match the treat to your time and class
Banana ghosts are a good five-minute assembly project. Peel and halve the bananas, add edible eyes, place each portion in a lidded cup, and refrigerate them until delivery. Use this choice for a small class when you can prepare the fruit shortly before the party.
For a larger class, rice cereal treats are easier to make in batches. Melt the butter and marshmallows, stir in the cereal, press the mixture into a lined pan, and let it cool completely. Cut the slab into squares, decorate each piece, wrap them separately, and attach an ingredient label.
Boo bark also suits make-ahead preparation. Melt verified chocolate, spread it on parchment, add approved decorations, and let it set before breaking it into small portions. Package each piece in a sealed bag, then check the label for milk, soy, nuts, and possible cross-contact.
Age matters, too. Younger children may need softer foods and close supervision, so avoid hard candy, gum, whole grapes, nuts, popcorn, and small toy pieces. Chilled fruit and non-food favors may work better than mixed candy bags.
Use this simple decision guide
- Choose banana ghosts when you need a five-minute assembly project.
- Choose clementine pumpkins when you want a fresh treat with almost no cooking.
- Choose rice cereal treats for a larger class and a low-cost make-ahead batch.
- Choose boo bark when you want a festive treat that stores well.
- Choose pudding cups only when the school permits homemade chilled foods.
- Choose sealed non-food favors when food rules or allergy information are strict.
If the school cannot confirm that a treat’s ingredients, preparation, or packaging are acceptable, leave it out. A simpler approved option is always better than a creative treat that cannot be safely served.
Frequently Asked Questions
Choosing a classroom Halloween treat involves more than picking the cutest decoration. These answers cover practical questions about preparation, classroom rules, kid-friendly assembly, and what to do when plans change.
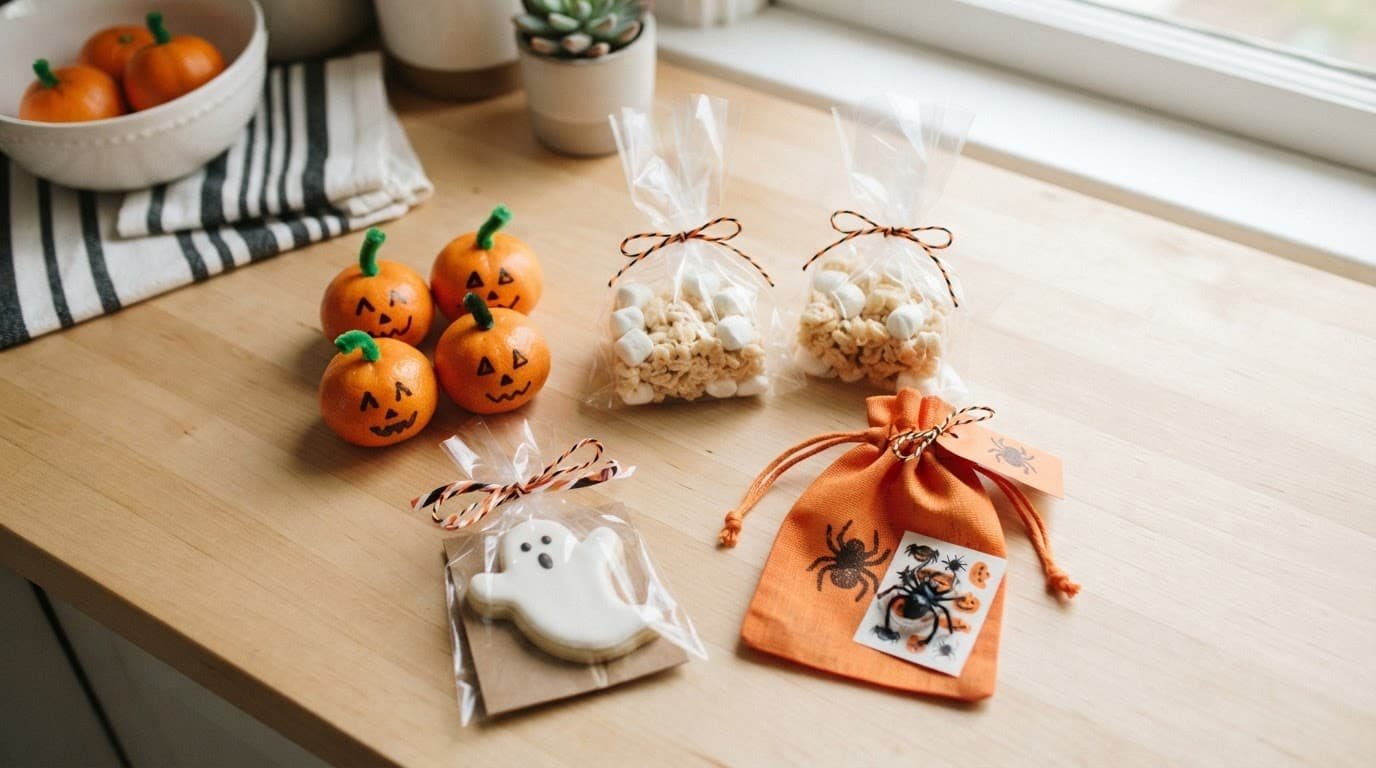
Can children help make these Halloween treats?
Yes, children can help with simple tasks that don’t involve hot pans, sharp knives, or raw batter. They can place candy eyes on cereal treats, add paper wings to sealed candy, count bags, and attach labels to finished packages.
Older children can help measure ingredients or mix a no-bake snack while an adult supervises. However, keep young children away from melted chocolate, stovetops, hot marshmallow mixtures, and toothpicks or wooden sticks.
How far ahead can I make school Halloween treats?
Dry treats, wrapped cookies, cereal squares, pretzel creations, and non-food favor bags can usually be prepared the day before. Store them in sealed containers at room temperature, away from heat, pets, smoke, and ingredients that could cause cross-contact.
Prepare fruit cups, pudding, yogurt parfaits, and other perishable treats as close to delivery as possible. Keep them refrigerated until you leave, then transport them in an insulated bag with frozen cold sources. The USDA’s food safety guidance recommends keeping cold foods at 40°F or below and limiting time at room temperature.
What should I do if the school changes its treat policy?
Keep a backup option ready before you shop for ingredients. A sealed, commercially packaged snack or a non-food favor bag can replace a homemade treat if the teacher later announces stricter rules.
You can also ask whether the classroom needs individual labels, factory-sealed packages, or treats that contain no food at all. Save receipts and avoid opening packages until the school confirms what it accepts.
Can I send homemade treats for a classroom party?
That depends entirely on the school, teacher, and classroom allergy plan. Some schools allow homemade food with a complete ingredient list, while others accept only factory-sealed products because homemade treats are harder to verify.
If the policy is unclear, choose an unopened packaged item or a sealed non-food favor. Homemade food can also create problems for children with allergies because an ingredient list may not reveal cross-contact during preparation.
How can I make treats easier for kids to open?
Choose packaging that matches the child’s age. Resealable bags, paper cupcake liners, and lidded cups are usually easier than tight knots, ribbons, twist ties, or multiple layers of wrapping.
Test one finished package before sending the batch. If an adult needs scissors to open it, use a simpler closure or ask the teacher to distribute the treats instead. Keep decorative stickers and loose pieces on the outside so they don’t fall into the food.
What if a child cannot eat the classroom treat?
Send an approved alternative whenever the teacher shares allergy or dietary information. A separate sealed snack may work, but a sticker sheet, pencil, eraser, or glow bracelet avoids ingredient concerns altogether.
Never promise that a treat is allergy-free unless the school has approved the ingredients and preparation area. Give the teacher the full ingredient information before the party so each child can receive a safe choice without having to explain their needs in front of classmates.
Save the pin for later

I’m the creator of My Everyday Dish, a food blog focused on easy homemade recipes, comforting family meals, simple baking, and seasonal food ideas. I love finding practical ways to make everyday cooking less stressful and more enjoyable. Here, I share recipes with simple ingredients, clear instructions, and plenty of flavor, helping you make delicious meals and treats you’ll feel confident serving at home.
Leave a Reply