
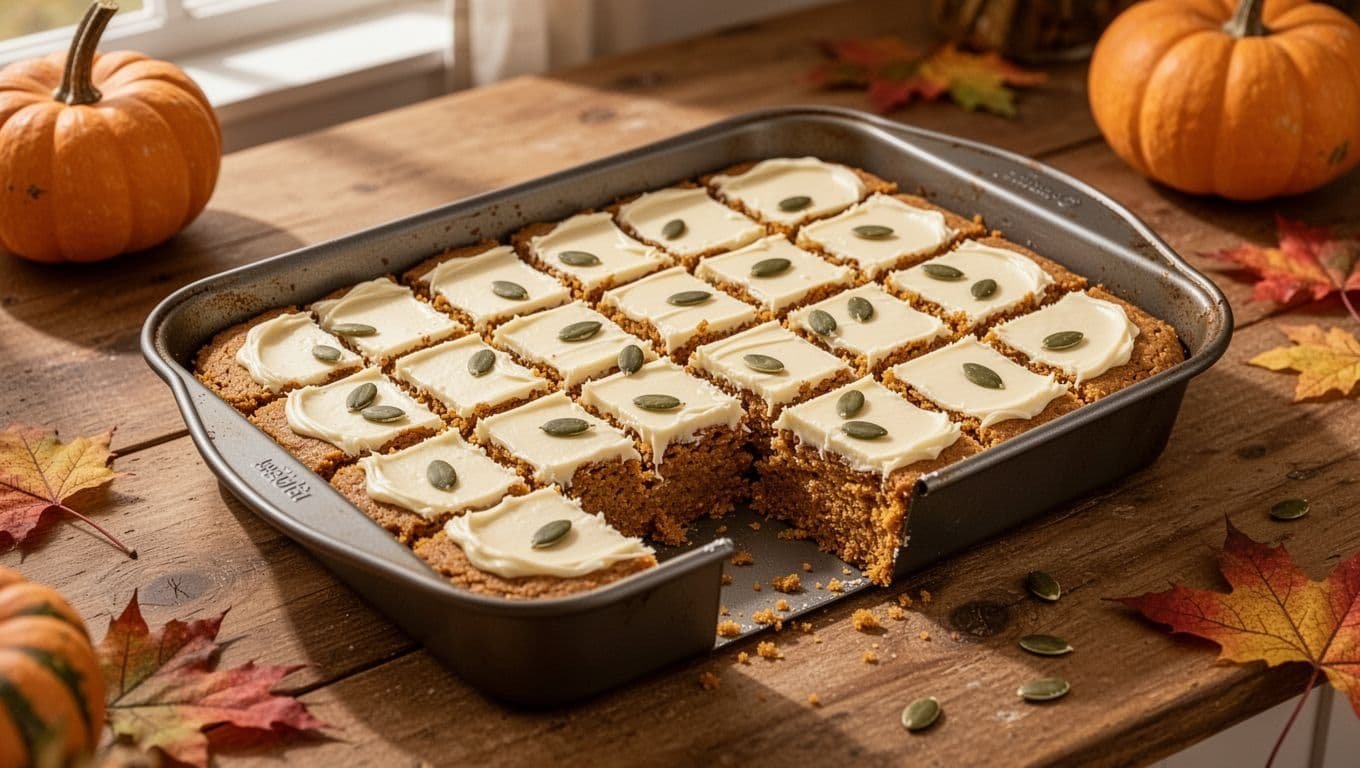
I started making pumpkin bars at home because I wanted a simple fall dessert that felt cozy but still welcomed gluten-free guests at the table.
The first pan disappeared quickly, and I learned that a soft crumb comes down to the flour blend, gentle mixing, and patience while the bars cool.
These gluten free pumpkin bars are warmly spiced, easy to mix by hand, and delicious plain or under a layer of tangy cream cheese frosting. This Homemade Pumpkin Bars Recipe With a Gluten Free Twist uses a reliable 9 x 13-inch pan, plain pumpkin puree, and a full cooling period for neat, clean slices.
Key Takeaways
- Use plain canned pumpkin puree, not sweetened pumpkin pie filling.
- A measure-for-measure gluten-free flour blend with xanthan gum gives the bars structure.
- Bake in a parchment-lined 9 x 13-inch pan for moderately thick, shareable squares.
- Pull the bars when the center is set and a toothpick holds a few moist crumbs.
- Cool completely before frosting or slicing, since warm pumpkin bars break easily.
Homemade Pumpkin Bars Recipe With a Gluten Free Twist
This recipe makes 20 to 24 bars, depending on how large you cut them. A 9 x 13-inch metal pan gives the best balance of height, even baking, and easy portioning.
| Recipe detail | Amount |
|---|---|
| Yield | 20 to 24 bars |
| Prep time | 15 minutes |
| Bake time | 35 to 45 minutes |
| Total time | About 1 hour 40 minutes, including cooling |
| Suggested pan | 9 x 13-inch pan |
For a larger seasonal spread, pair these bars with more cozy pumpkin dessert ideas.
Gather these ingredients:
- 1 cup plain pumpkin puree
- 4 large eggs
- 3/4 cup neutral oil, such as avocado, vegetable, or canola oil
- 1 cup granulated sugar
- 1 cup packed light brown sugar
- 2 teaspoons vanilla extract
- 2 cups measure-for-measure gluten-free flour blend
- 2 teaspoons baking powder
- 1 teaspoon baking soda
- 2 teaspoons ground cinnamon
- 2 teaspoons pumpkin pie spice
- 1/2 teaspoon salt
- 1 cup chocolate chips, optional
- Cream cheese frosting, optional
Choose a gluten-free flour blend that includes xanthan gum or another binder. If yours doesn’t include one, add the amount listed in the blend’s package directions. That binder helps the batter hold together after baking.
Read also: Easy Pumpkin Snickerdoodle Cookies With Creamy Icing

How to Make Soft Gluten Free Pumpkin Bars Step by Step
Prepare the pan and ingredients
I preheat the oven to 350°F and line a 9 x 13-inch pan with parchment paper. Leave enough paper hanging over two sides to create handles for lifting the cooled bars out later.
Bring the eggs to room temperature if you have time. They blend more smoothly into the pumpkin mixture. I measure everything before mixing because the batter comes together quickly once the wet and dry ingredients meet.
Whisk the wet mixture and combine the dry ingredients
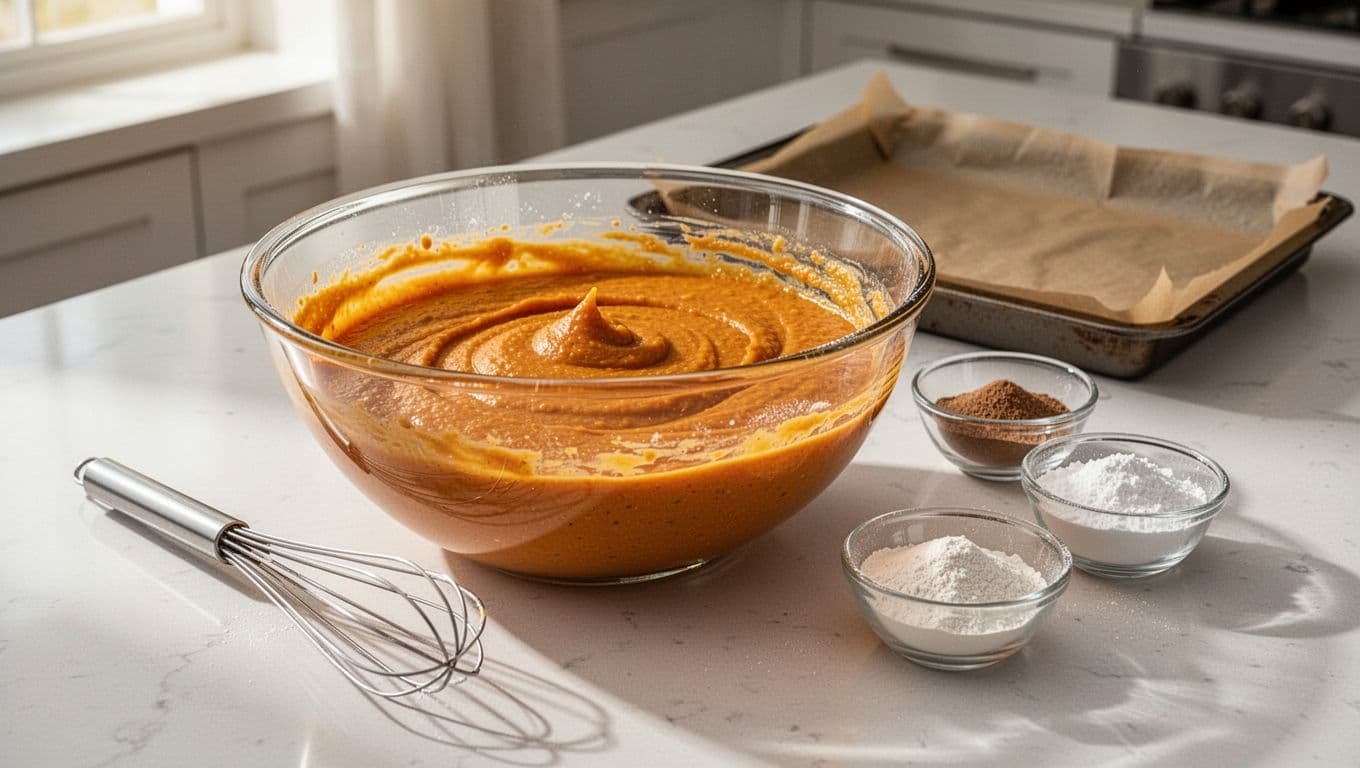
In a large bowl, I whisk the pumpkin puree, eggs, oil, granulated sugar, brown sugar, and vanilla until the mixture looks smooth and glossy. Break up any packed brown sugar lumps with the whisk.
In a second bowl, I stir together the gluten-free flour, baking powder, baking soda, cinnamon, pumpkin pie spice, and salt. This step distributes the leaveners and spices evenly, so no bite tastes overly salty or bland.
Add the dry mixture to the pumpkin mixture. I fold it in with a silicone spatula only until the last streaks of flour disappear. If I want chocolate chips, I fold them in at the end.
Read also: 21 Homemade Pumpkin Dessert Recipes Without Eggs
Spread the batter and watch for doneness
Scrape the batter into the prepared pan and spread it evenly into the corners. The batter is thicker than cake batter, so take a moment to level the surface.
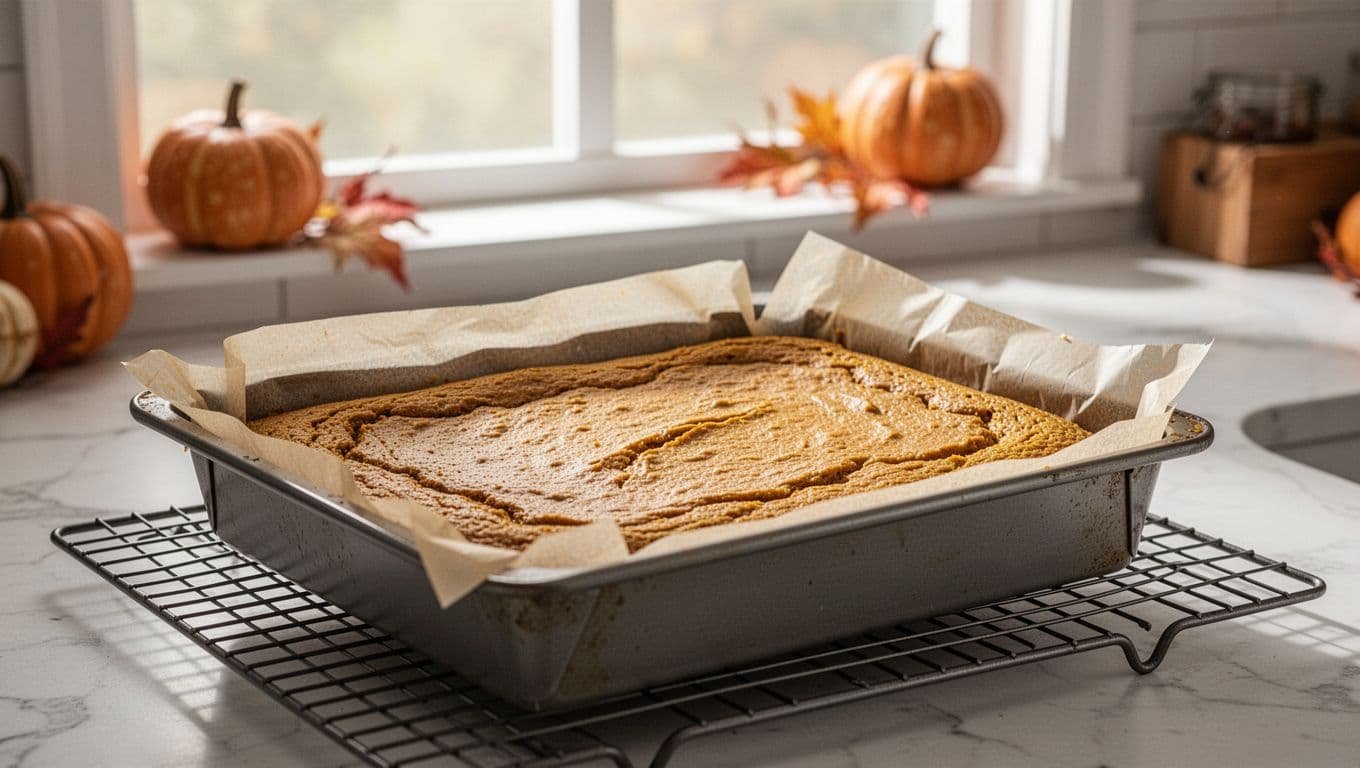
Bake for about 35 to 45 minutes. Oven temperatures and pan materials vary, so start checking near the earlier end of that window. The center should look set, and a toothpick inserted near the middle should come out with a few moist crumbs.
A toothpick with wet batter means the center needs more time. A completely dry toothpick can mean the bars have baked longer than needed.
A 10 x 15-inch pan makes thinner bars that may bake faster. An 8 x 8-inch or 9 x 9-inch pan produces thicker bars and needs more time in the oven. In either case, use the set center and moist-crumb test instead of relying on the clock alone.
Cool before lifting, frosting, and cutting
Let the pan cool fully on a wire rack. The bars continue to firm up as they cool, which makes them much easier to lift without cracking.
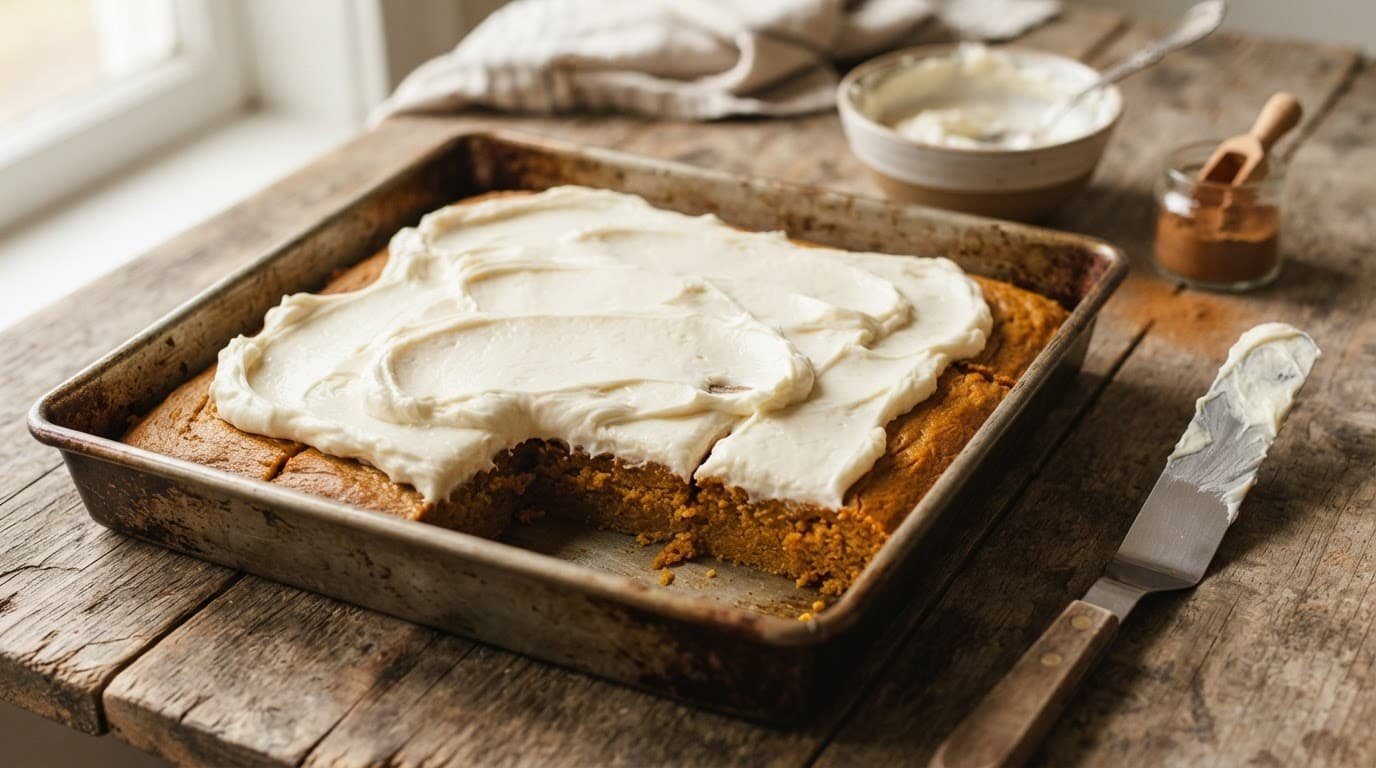
Once cool, use the parchment handles to lift the slab onto a cutting board. Frost the surface if you like, then slice with a sharp knife. Wipe the blade between cuts for tidy squares, especially when using cream cheese frosting.
Easy Topping Ideas, Substitutions, and Storage Tips
Make a simple cream cheese frosting
For a classic frosting, beat 8 ounces softened cream cheese with 1/2 cup softened unsalted butter. Add 3 1/2 to 4 cups powdered sugar, 1 teaspoon vanilla, and 1/4 teaspoon salt. Spread it over completely cool bars, or the frosting will soften and slide.
For a dairy-free option, use a dairy-free cream cheese alternative and plant-based butter. You can also skip frosting altogether and add chocolate chips for a sweeter finish.
Neutral oil can be replaced in part with unsweetened applesauce. However, too much applesauce makes the bars dense. Eggs provide much of the structure here, so follow the directions on any egg-replacement product rather than making a direct swap.
Store them with food safety in mind
For guests with celiac disease or strong gluten sensitivity, start with a certified gluten-free flour blend and check every packaged ingredient. The FDA’s gluten-free food labeling guidance covers the U.S. standard for products labeled gluten-free. Check spices, baking powder, chocolate chips, and frosting ingredients for gluten-containing additives or cross-contact warnings.
Keep unfrosted bars covered at room temperature for a short period. Refrigerate frosted bars promptly in a covered container, then let them sit close to room temperature before serving for the softest texture.
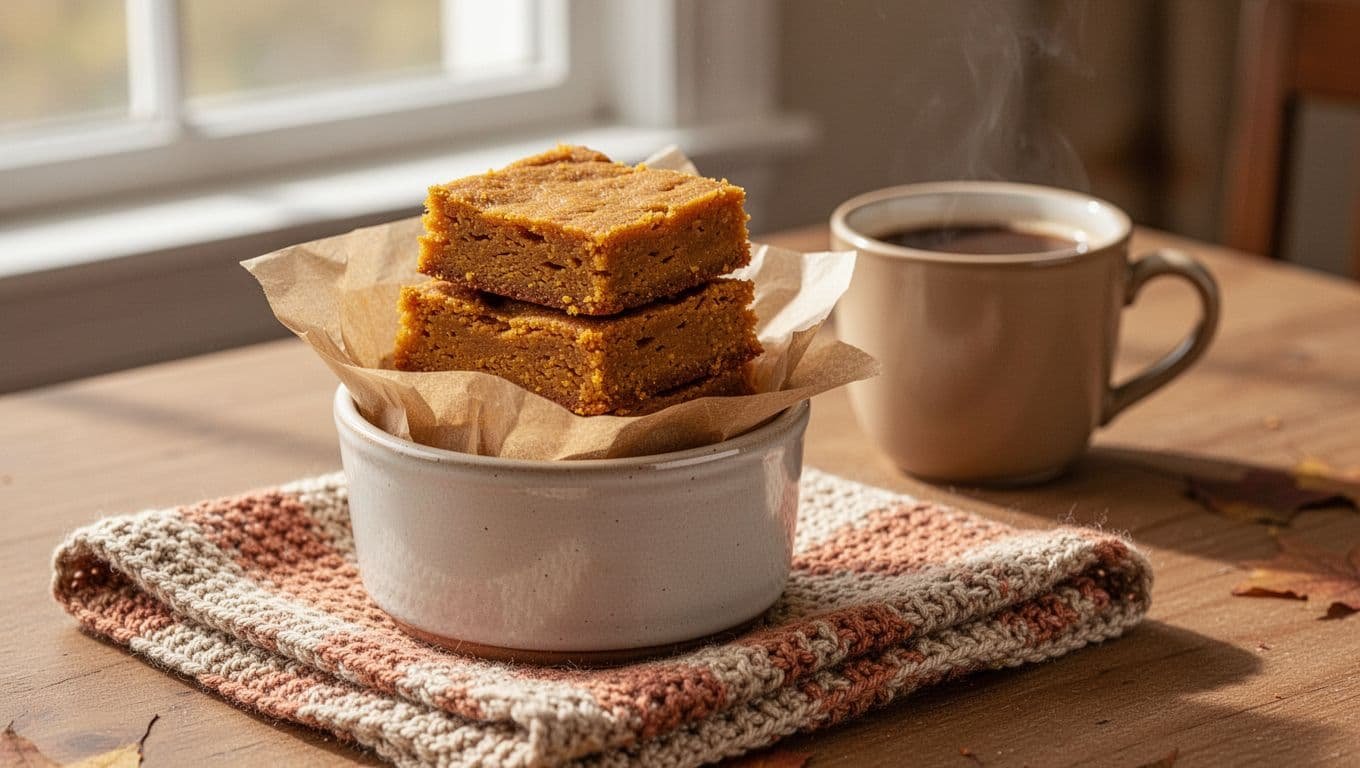
Freeze individual portions with parchment between layers. This keeps the frosting and soft cake from sticking together.
Frequently Asked Questions
Can I use fresh pumpkin instead of canned puree?
You can, but canned plain pumpkin puree gives more consistent results. Fresh pumpkin puree can hold extra moisture, which may change the bake time and make the bars softer than intended. If using homemade puree, drain it well before measuring.
Why did my pumpkin bars sink in the middle?
A sunken center often means the bars needed more oven time or the batter was mixed too aggressively after adding flour. Check that your baking powder and baking soda are fresh, then use the toothpick test near the center before removing the pan.
Can I make the bars without cream cheese frosting?
Yes. The pumpkin, brown sugar, cinnamon, and pumpkin pie spice give the bars plenty of flavor on their own. A light dusting of powdered sugar after cooling is another simple option.
How do I get neat squares with frosting?
Cool the bars fully before frosting, then chill them briefly if the frosting feels soft. Use a long sharp knife and wipe it clean after each cut. The parchment lining also helps you move the slab without damaging the edges.
What does a gluten-free label mean for these ingredients?
In the United States, foods carrying a gluten-free claim must contain less than 20 parts per million of gluten. The FDA explains the standard in “Gluten-Free” Means What It Says. For celiac-safe baking, keep flour dust, shared utensils, and other possible cross-contact away from the ingredients.
Bring a Pan to the Table
I keep coming back to these homemade gluten free pumpkin bars because they use familiar ingredients and still feel special enough for fall gatherings. A bowl for the wet ingredients and another for the dry mixture are all you need.
Use plain pumpkin puree, measure the gluten-free flour carefully, and stop mixing as soon as the batter comes together. Most of all, let the bars cool before cutting. Serve a frosted square with coffee, or bring the whole pan to a fall gathering.
Save the pin for later

I’m the creator of My Everyday Dish, a food blog focused on easy homemade recipes, comforting family meals, simple baking, and seasonal food ideas. I love finding practical ways to make everyday cooking less stressful and more enjoyable. Here, I share recipes with simple ingredients, clear instructions, and plenty of flavor, helping you make delicious meals and treats you’ll feel confident serving at home.
Leave a Reply