
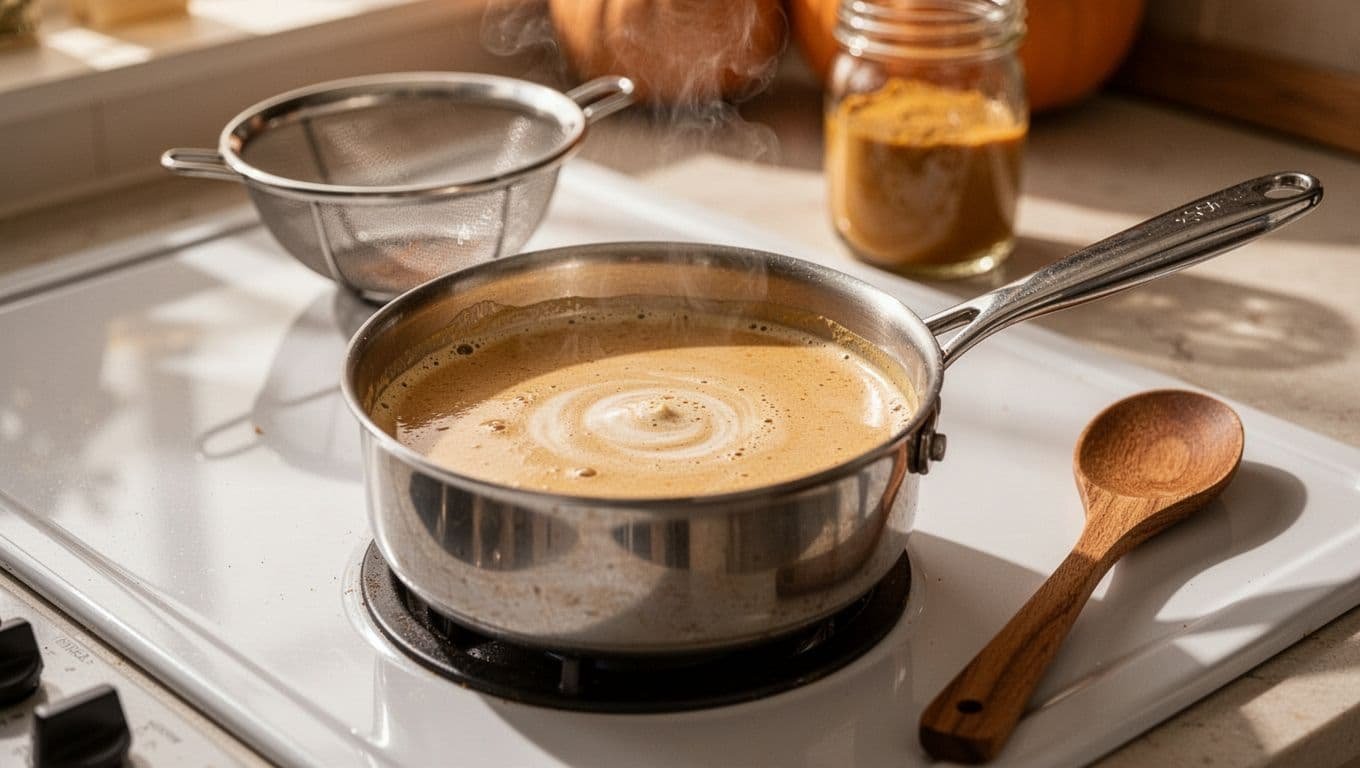
A mug of pumpkin spice coffee feels especially comforting on a cool fall morning. The warm spices, creamy texture, and gentle sweetness can turn an ordinary breakfast into something worth slowing down for.
Making homemade pumpkin spice creamer gives you control over every part of that experience. This version uses real pumpkin puree, warm pumpkin pie spice, maple syrup, vanilla, and your choice of dairy or plant-based milk. You can make it sweeter, lighter, richer, or more strongly spiced without buying a large bottle of creamer filled with ingredients you don’t recognize.
The method is simple: blend, warm gently if you like, cool, and refrigerate. You’ll also find flexible milk swaps, storage guidance, and easy ways to use the creamer beyond coffee.
Healthy Homemade Pumpkin Spice Creamer for Fall Mornings
This homemade creamer is a more transparent choice than many packaged options because you decide the sweetness, milk, and ingredient list. It isn’t a medical product or a low-calorie claim. Its appeal comes from real pumpkin flavor, familiar pantry ingredients, and the ability to adjust the recipe to your taste.
The pumpkin puree adds body and a mild earthy sweetness. Maple syrup gives the coffee a rounded fall flavor without requiring a long list of sweeteners or stabilizers.
| Recipe detail | Amount |
|---|---|
| Approximate yield | About 3 cups |
| Preparation time | 10 minutes |
| Optional warming time | 5 to 8 minutes |
| Serving suggestion | 2 to 4 tablespoons per cup of coffee |
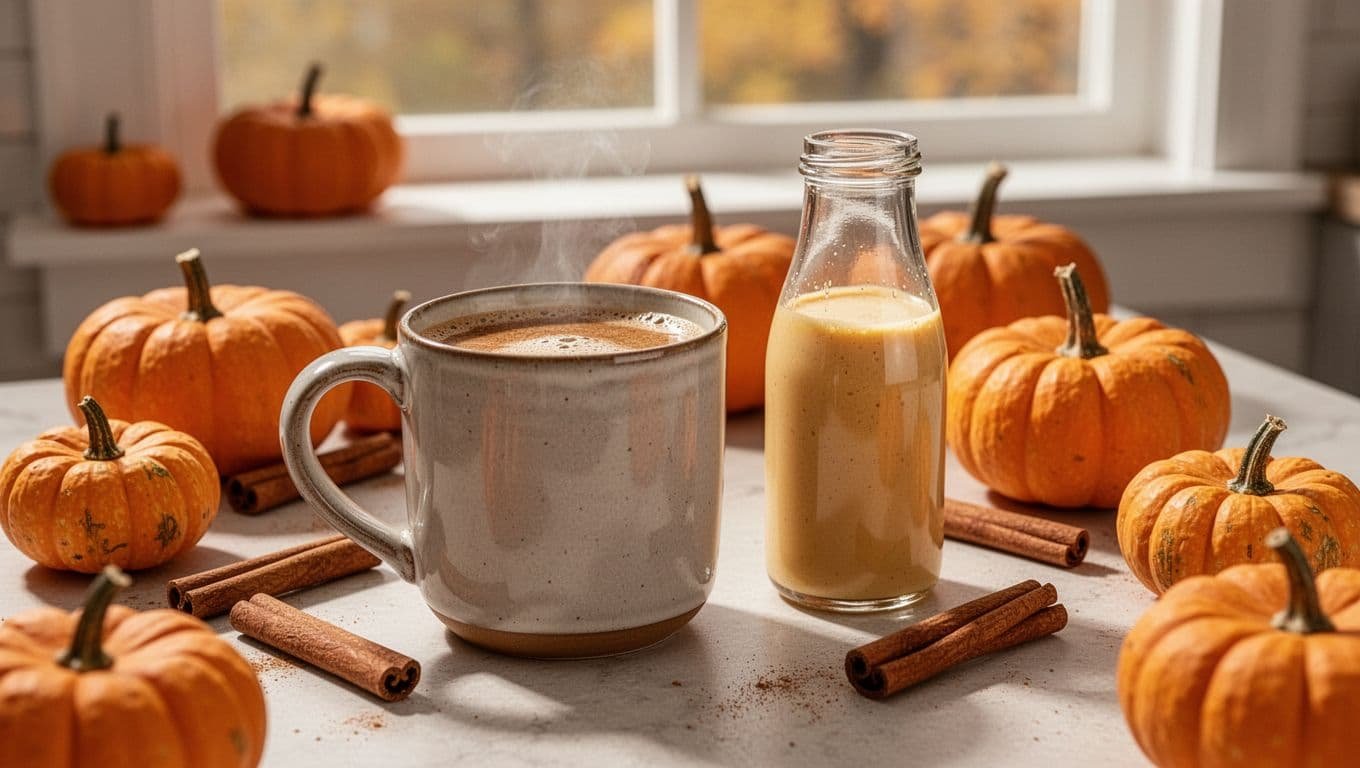
Gather These Simple Ingredients
- 2 1/2 cups milk or unsweetened plant milk
- 1/3 cup plain pumpkin puree
- 1/4 cup pure maple syrup
- 1 teaspoon pumpkin pie spice
- 1 teaspoon vanilla extract
- A small pinch of salt
Use plain canned pumpkin puree, not pumpkin pie filling. Pie filling already contains sugar and spices, so it can make the finished creamer too sweet and difficult to balance.
The milk creates the base, while pumpkin adds flavor and thickness. Maple syrup sweetens the mixture, vanilla softens the spice, and salt keeps the flavors from tasting flat. For a stronger cinnamon note, add 1/2 teaspoon ground cinnamon. Extra nutmeg works too, but use only a small pinch. A splash of half-and-half can create a richer texture.
If you’re using plant milk, check the label and choose an unsweetened version when you want more control over the final sweetness.
Read also: Easy Pumpkin Snickerdoodle Cookies With Creamy Icing
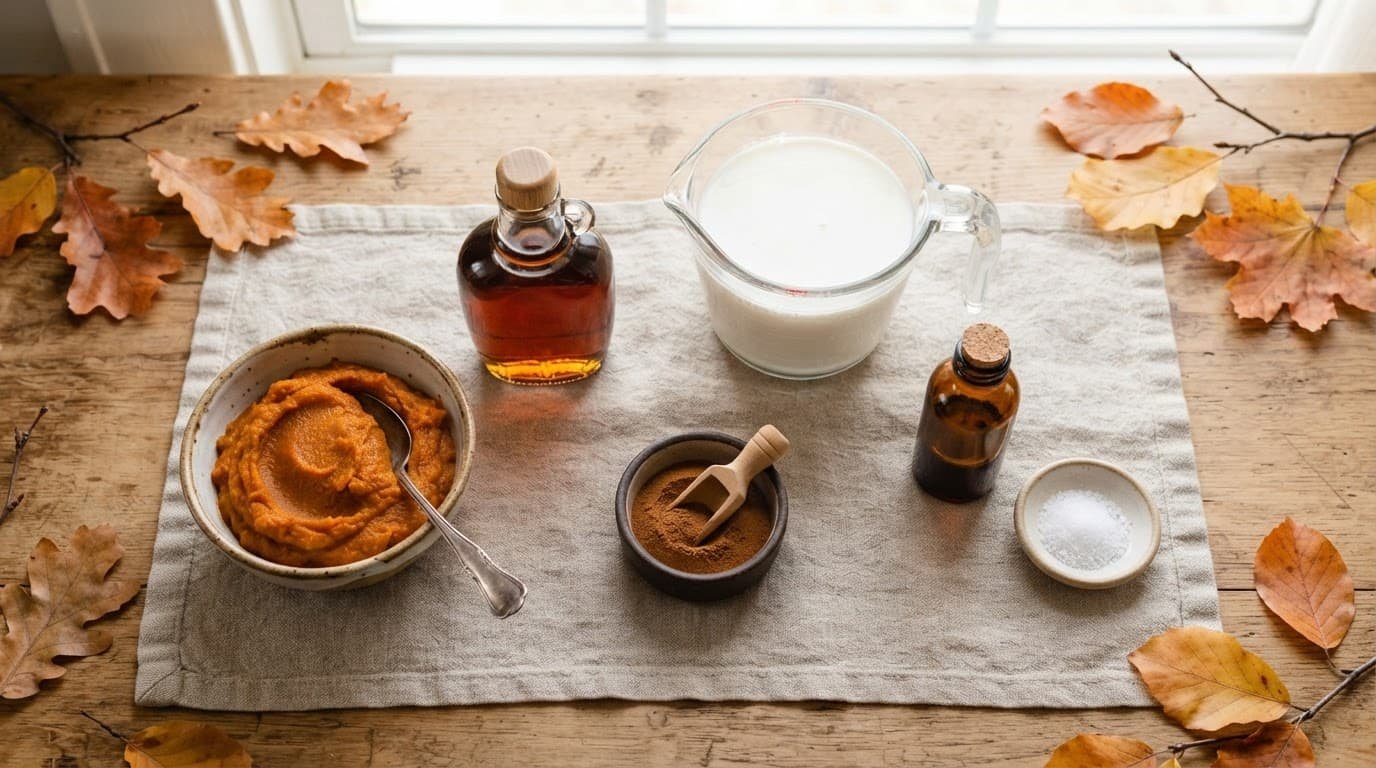
Choose the Best Milk for Your Coffee
Dairy milk gives the creamer a familiar, gently rich flavor. Half-and-half adds more richness and produces a thicker pour. Oat milk is often the creamiest plant-based option, while almond milk keeps the mixture lighter and more delicate.
Soy milk adds body without an especially strong flavor. Coconut milk can work well, but its coconut taste may stand out beside the pumpkin and spice. Plant-based milks may separate more easily than dairy milk, especially after chilling. That’s normal, and a quick shake usually brings the mixture back together.
How to Make Pumpkin Spice Creamer Step by Step
The creamer can be served cold or warmed before storage. Warming helps the spices blend into the milk, but it isn’t required. Either way, avoid boiling the mixture because dairy can curdle and plant milk can develop an unpleasant texture.
Blend the Pumpkin, Spices, and Sweetener
- Measure the milk, pumpkin puree, maple syrup, pumpkin pie spice, vanilla, and salt. Accurate measurements help keep the pumpkin and spice flavors balanced.
- Add everything to a blender. Blend for 15 to 30 seconds, just until the mixture looks smooth and evenly colored. Don’t overblend, especially if your blender creates a lot of foam.
- If you don’t have a blender, add the ingredients to a bowl or saucepan and whisk thoroughly. Break up the pumpkin against the side of the bowl so no large pockets remain.
- Taste a small amount before heating. Add a little more maple syrup if you prefer a sweeter creamer, or add a pinch more spice for a stronger fall flavor. Remember that strong coffee can make the creamer taste less sweet, so make small adjustments rather than adding a large amount at once.
Warm It Gently for a Smooth, Cozy Finish
Pour the blended mixture into a saucepan and warm it over low heat. Stir often with a whisk or silicone spatula so the pumpkin doesn’t settle on the bottom.
The goal is to heat the creamer through, not to simmer it. Remove the saucepan when the mixture feels warm and looks smooth. If you see bubbling around the edges, lower the heat immediately.
You can skip this step when you want a cold creamer or the fastest possible method. If small pumpkin or spice clumps remain, pour the mixture through a fine-mesh sieve before cooling.
Read also: 21 Homemade Pumpkin Dessert Recipes Without Eggs
Cool, Bottle, and Add It to Coffee
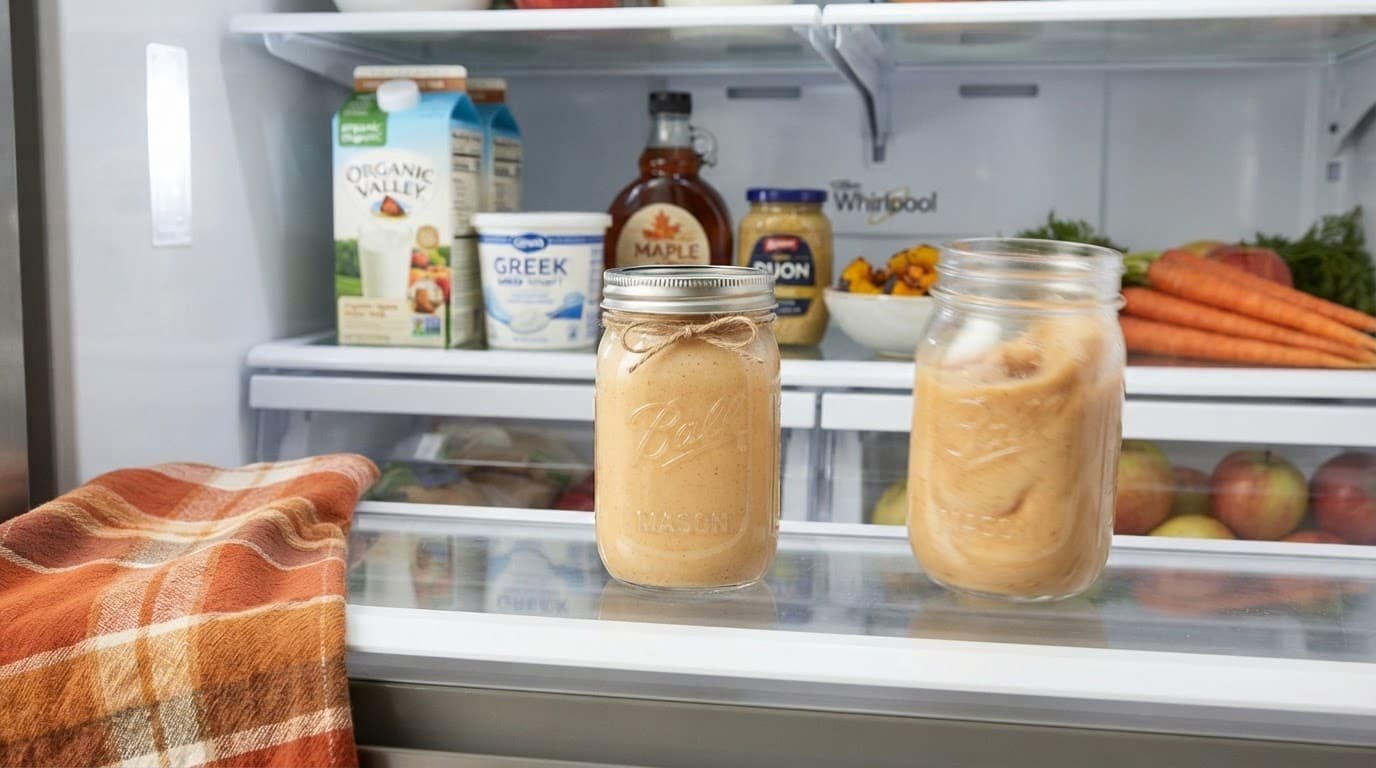
Let the creamer cool to room temperature before refrigerating it. Pour it into a clean mason jar, glass bottle, or another airtight container. Leave enough room for the liquid to move when you shake it.
Start with 2 tablespoons per cup of coffee, then add more if you prefer a creamier, sweeter drink. Many people like 2 to 4 tablespoons, depending on the strength of the coffee.
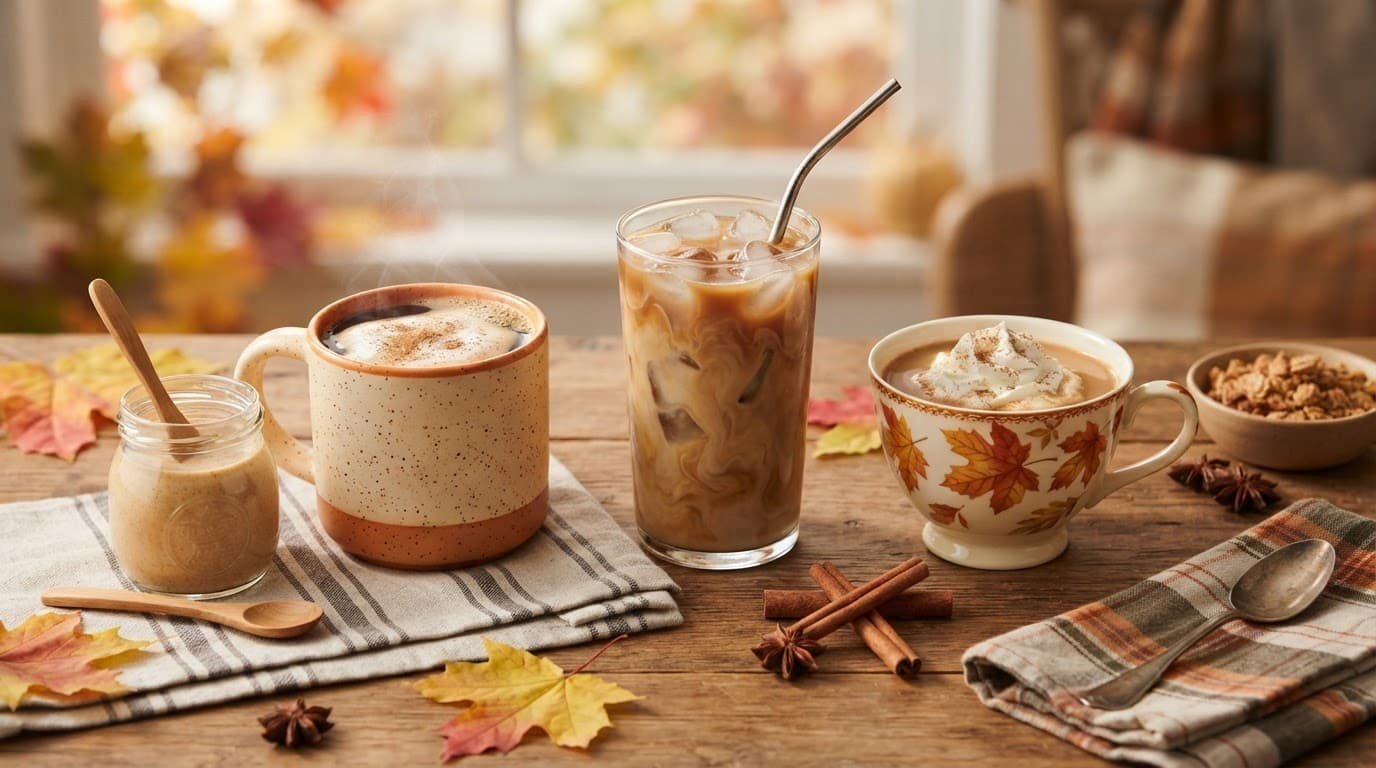
The creamer also works in iced coffee, cold brew, chai tea, oatmeal, smoothies, and hot chocolate. Chill it first for cold drinks, and add it directly to hot drinks.
Easy Ways to Customize Your Homemade Fall Coffee Creamer
The base recipe is easy to adjust because the main changes affect flavor and texture rather than the cooking method. Make a small batch first, then adjust the next one after you know how it tastes in your usual coffee.
Make It Dairy-Free or Vegan
Use unsweetened oat, almond, soy, or coconut milk for a dairy-free version. Oat milk usually gives the fullest texture, almond milk creates a lighter creamer, and coconut milk adds a noticeable tropical flavor.
Check the labels on every ingredient if dietary requirements matter to you. The maple syrup, vanilla, and spice blend should fit your chosen eating pattern. Plant-based versions can separate more than dairy versions, so shake the jar before each serving.
Adjust the Sweetness and Spice
Reduce the maple syrup for a less sweet coffee, or add a little more for a dessert-like drink. Honey, brown sugar, or a suitable sugar substitute can work, although each changes the flavor slightly.
Cinnamon, ginger, nutmeg, and cloves can also be adjusted. Add small amounts because nutmeg and cloves become strong quickly. If you serve the creamer with dark coffee, a little extra spice may help it stand out.
Create a Richer or Lighter Texture
Replace part of the milk with half-and-half or cream for a richer creamer. Low-fat dairy milk or a lighter plant milk creates a thinner version that blends easily into coffee.
Extra pumpkin puree makes the creamer thicker, but it may also increase settling. Blend well before deciding whether the mixture needs more pumpkin or less milk.
Storage, Serving, and Common Homemade Creamer Mistakes
Homemade creamer contains no commercial preservatives, so refrigeration matters. Keep it in a sealed container at 40 degrees F or below, and follow the earliest expiration date of the ingredients you used.
For best quality, plan to use the creamer within about 5 to 7 days, with one week as a practical outside limit. Official guidance for homemade creamer isn’t specific, and the USDA Food Safety and Inspection Service recommends using many refrigerated prepared foods within 3 to 4 days, so a smaller batch is the more cautious choice. Its leftovers and food safety guidance offers a useful reference for refrigerated foods.
Discard the creamer if it smells sour, changes color, develops persistent clumps, or tastes unusual.
Keep It Fresh in the Refrigerator
Use a clean mason jar, glass bottle, or other airtight container. Let the creamer cool before sealing it and placing it in the refrigerator. Shake well before every use because real pumpkin naturally settles.
Freezing is possible, but the texture may change after thawing. Dairy versions usually have a better chance of staying smooth than some plant-based versions, while oat milk may become grainy or separate. A small refrigerated batch is often easier to enjoy.
Never leave the creamer at room temperature for long periods. The USDA’s food safety basics advises discarding perishable food left out for more than two hours.
Fix Separation and Other Texture Problems
Separation is expected because homemade creamer uses real pumpkin without commercial stabilizers. Shake the container firmly or whisk an individual serving before adding it to coffee.
If the creamer becomes unusually thick, warm it gently over low heat and stir. Never boil it. When clumps remain after shaking, or the creamer has an unusual smell, discard it instead of trying to repair it.
Serve It Beyond a Basic Cup of Coffee
Pour it into iced coffee, cold brew, chai tea, hot chocolate, oatmeal, or French toast. It also works in fall desserts that need a little extra pumpkin and spice.
Start with a small amount so the creamer doesn’t overpower the drink or food. Add more after tasting, especially when using a delicate tea or light roast coffee.
Frequently Asked Questions
Can I use pumpkin pie filling instead of pumpkin puree?
Pumpkin pie filling isn’t the best choice because it already contains sugar and spices. The extra ingredients can make the creamer overly sweet and difficult to balance. Use plain canned pumpkin puree for a more predictable flavor and texture.
Why does homemade pumpkin spice creamer separate?
Separation is common because the recipe contains real pumpkin and doesn’t use commercial emulsifiers or stabilizers. Shake the container before serving, or whisk a single portion until smooth. Separation by itself doesn’t mean the creamer has spoiled, but an unusual smell or persistent clumps are reasons to discard it.
Can I make this creamer without a blender?
Yes. A whisk works well when you stir the pumpkin thoroughly into the milk and maple syrup. Warm the mixture gently, then strain it through a fine sieve before storage if small clumps remain.
Can I freeze homemade pumpkin spice creamer?
Some dairy-based versions can be frozen in a freezer-safe container for up to about three months. Thaw the creamer in the refrigerator and shake it well before using. Oat milk and some other plant milks may separate or develop a grainy texture after freezing, so small refrigerated batches are often preferable.
How much creamer should I add to my coffee?
Start with 2 tablespoons per cup and add more if needed. Strong coffee, cold brew, and lighter roasts may all need different amounts. Adjust the serving until the coffee still tastes balanced while the pumpkin spice remains noticeable.
Conclusion
Homemade pumpkin spice creamer brings real pumpkin, familiar spices, maple sweetness, and a milk choice you control into your morning coffee. You can make it dairy-free, richer, lighter, sweeter, or more strongly spiced without changing the basic method.
Make a small batch, cool it before refrigeration, and shake it before each serving. Store it carefully and discard it when the smell, color, texture, or taste seems off. Then pour a little into your favorite coffee and enjoy a cozy fall morning at home.
Save the pin for later

I’m the creator of My Everyday Dish, a food blog focused on easy homemade recipes, comforting family meals, simple baking, and seasonal food ideas. I love finding practical ways to make everyday cooking less stressful and more enjoyable. Here, I share recipes with simple ingredients, clear instructions, and plenty of flavor, helping you make delicious meals and treats you’ll feel confident serving at home.
Leave a Reply