
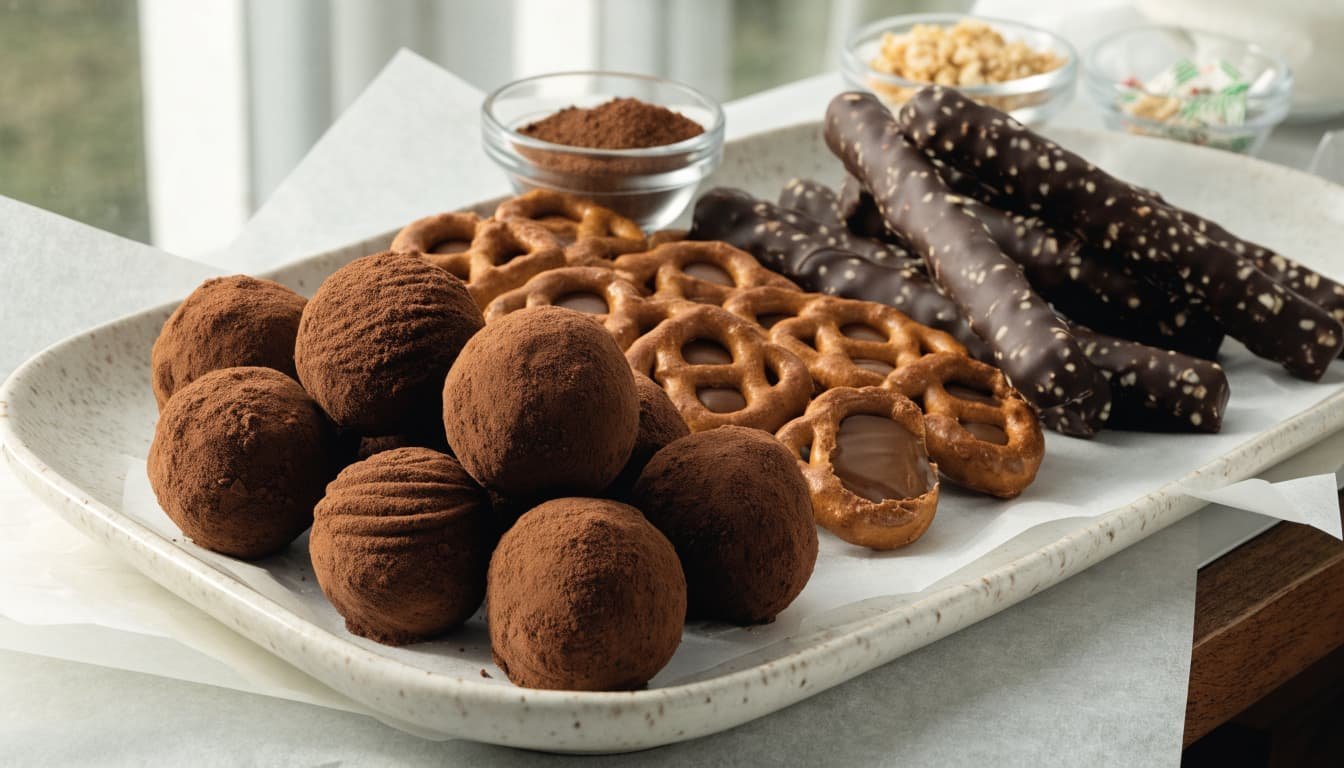
Homemade Christmas candy is a simple way to share something sweet with family and friends, whether you’re filling a gift tin or setting out a holiday treat tray.
These 12 recipes include easy, no-thermometer options like fudge and pretzel bites, along with classic candies that need careful temperature checks. Each has clear steps and practical tips for setting, storing, and gifting, so you can choose what fits your time and comfort level. Add gingerbread house cookies with royal icing to your holiday tray, then start with the first easy candy recipe.
12 Easy Homemade Christmas Candy Recipes for the Holidays
These first three Christmas candy recipes use familiar ingredients and simple steps, so you can make them without much special equipment. Start with fudge or peppermint bark if you want a no-thermometer treat, then try saltine crack for a crisp, buttery candy. For more holiday baking ideas, add easy gluten-free Christmas cookies to the tray.
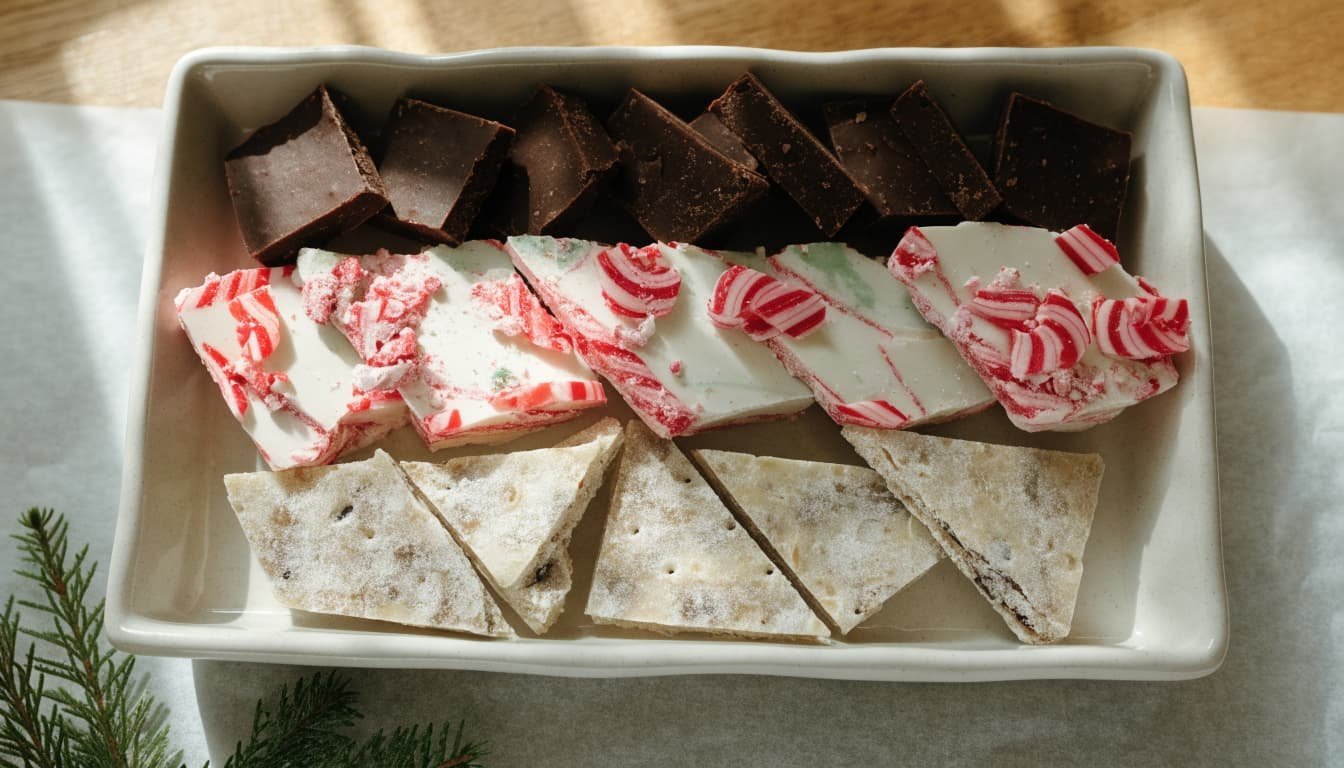
1. Three-Ingredient Chocolate Fudge
This condensed-milk fudge sets in the refrigerator and doesn’t need a candy thermometer. Use gentle heat to keep the chocolate smooth.
Ingredients:
- 3 cups chocolate chips
- 1 can (14 ounces) sweetened condensed milk
- 1 teaspoon vanilla extract
- Line an 8-inch square pan with parchment paper, leaving some overhang to lift out the fudge.
- Combine the chocolate chips and condensed milk in a saucepan. Warm over low heat, stirring often, until melted and smooth. Or microwave in short bursts, stirring between each one.
- Remove from the heat and stir in the vanilla. Spread the mixture evenly in the prepared pan.
- Refrigerate until firm, then lift out and cut into squares.
Don’t overheat the chocolate. If it looks nearly melted, take it off the heat and stir until the remaining pieces dissolve.
2. Two-Layer Peppermint Bark
Dark chocolate, white chocolate, and crushed candy canes make a crisp, festive bark. Add the candy cane pieces while the white layer is still soft so they stick.
Ingredients:
- 8 ounces dark or semisweet chocolate, chopped
- 8 ounces white chocolate, chopped
- 2 candy canes, crushed
- Line a rimmed baking sheet with parchment. Melt the dark chocolate gently in a heatproof bowl over simmering water, or microwave in 30-second bursts, stirring between each.
- Spread the melted chocolate into a thin layer on the parchment. Chill for about 10 minutes, until mostly set but not completely cold.
- Melt the white chocolate using the same gentle method. Spread it over the dark layer.
- Sprinkle the crushed candy canes over the white chocolate right away. Chill until both layers are firm, then break the bark into pieces.
3. Saltine Christmas Crack
Saltines give this candy a crisp, salty base beneath a buttery brown-sugar topping and chocolate. This version bakes at 350°F for 5 minutes, following the tested saltine toffee recipe.
Ingredients:
- About 40 saltine crackers
- 1 cup (2 sticks) butter
- 1 cup packed brown sugar
- 2 cups semisweet chocolate chips
- Heat the oven to 350°F. Line a rimmed baking sheet with foil or parchment, then arrange the saltines in a single layer.
- Melt the butter and brown sugar in a saucepan. Bring to a boil, stirring, and cook for 3 minutes until thick and bubbly.
- Pour the topping over the crackers and spread it evenly. Bake for 5 minutes.
- Remove the pan and scatter chocolate chips over the hot topping. Let them soften for a few minutes, then spread the chocolate.
- Cool completely until firm, then break into pieces.
Three More Chocolate Treats That Are Easy to Share
These chocolate candies pair a soft ganache center with crisp, salty pretzels. Each recipe uses simple assembly and coatings you can change to suit your holiday tray.
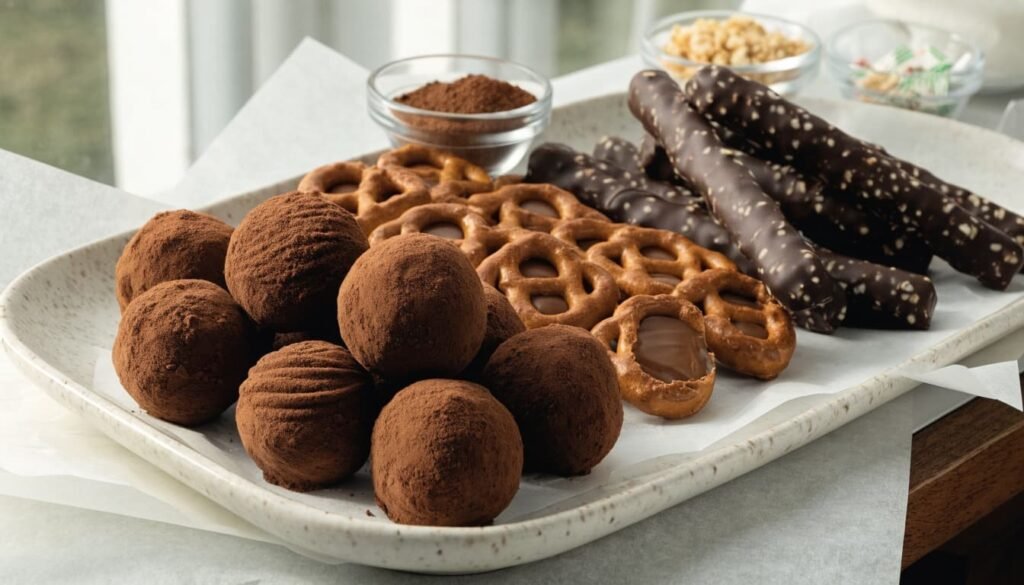
4. No-Fuss Chocolate Truffles
Chocolate truffles have a soft ganache center, so chill the mixture before shaping. Roll the finished candies in cocoa, chopped nuts, or melted chocolate.
Ingredients:
- 8 ounces semisweet chocolate, finely chopped
- 1/2 cup heavy cream
- 1 teaspoon vanilla extract
- Cocoa powder, chopped nuts, or melted chocolate for coating
- Place the chopped chocolate in a heatproof bowl. Warm the cream until steaming, then pour it over the chocolate.
- Let it sit for 2 minutes, then stir until smooth. Mix in the vanilla and refrigerate until firm enough to scoop, about 2 hours.
- Scoop small portions and roll them quickly between your palms. If the ganache softens, chill it again before continuing.
- Roll each truffle in cocoa or nuts, or dip it in melted chocolate. Refrigerate until set.
Keep ganache-filled truffles chilled and serve them shortly before eating. Follow USDA guidance for perishable foods, rather than leaving them out for a long time. For another soft-centered treat, try our gluten-free pumpkin truffles.
5. Rolo Pretzel Bites
These bites have a crisp pretzel base and a soft chocolate-caramel center. Add a pecan half for a salty-sweet finish, or press on another pretzel for extra crunch.
Ingredients:
- 24 small pretzels
- 24 chocolate caramel candies, such as Rolos
- 24 pecan halves or small pretzels
- Heat the oven to 250°F. Arrange the pretzels in a single layer on a baking sheet.
- Place one unwrapped chocolate caramel candy on each pretzel.
- Warm for 3 to 4 minutes, just until the candies look soft. They should hold their shape rather than melt into puddles.
- Carefully remove the pan, then press a pecan half or another pretzel onto each candy. Cool until firm.
If children help with assembly, have an adult handle the hot baking sheet. These crunchy bites are easy to portion into small paper cups for sharing.
6. Chocolate-Covered Pretzel Rods
Pretzel rods stay crisp beneath a smooth chocolate coating, and you can finish them with sprinkles or crushed peppermint. Add the toppings while the chocolate is still wet so they stick.
Ingredients:
- 12 pretzel rods
- 8 ounces semisweet or milk chocolate, chopped
- Sprinkles or crushed peppermint
- Line a baking sheet with parchment paper. Melt the chocolate gently in a heatproof bowl, stirring often.
- Dip each pretzel rod into the chocolate, leaving part of the handle uncovered. Turn it to coat, then let the excess chocolate drip back into the bowl.
- Sprinkle with peppermint or festive sprinkles before the coating sets.
- Lay the rods on the parchment and leave them until firm.
Keep water away from the melting chocolate, since even a little can make it seize and turn grainy. For more easy chocolate pretzel bites, use the same simple chocolate-and-pretzel pairing.
Classic Christmas Toffee and Caramel Candies
These three candies need more attention at the stove because hot sugar changes quickly as it cooks. Use a sturdy pan, keep children away from the cooking area, and follow the timing and temperature in your chosen recipe.
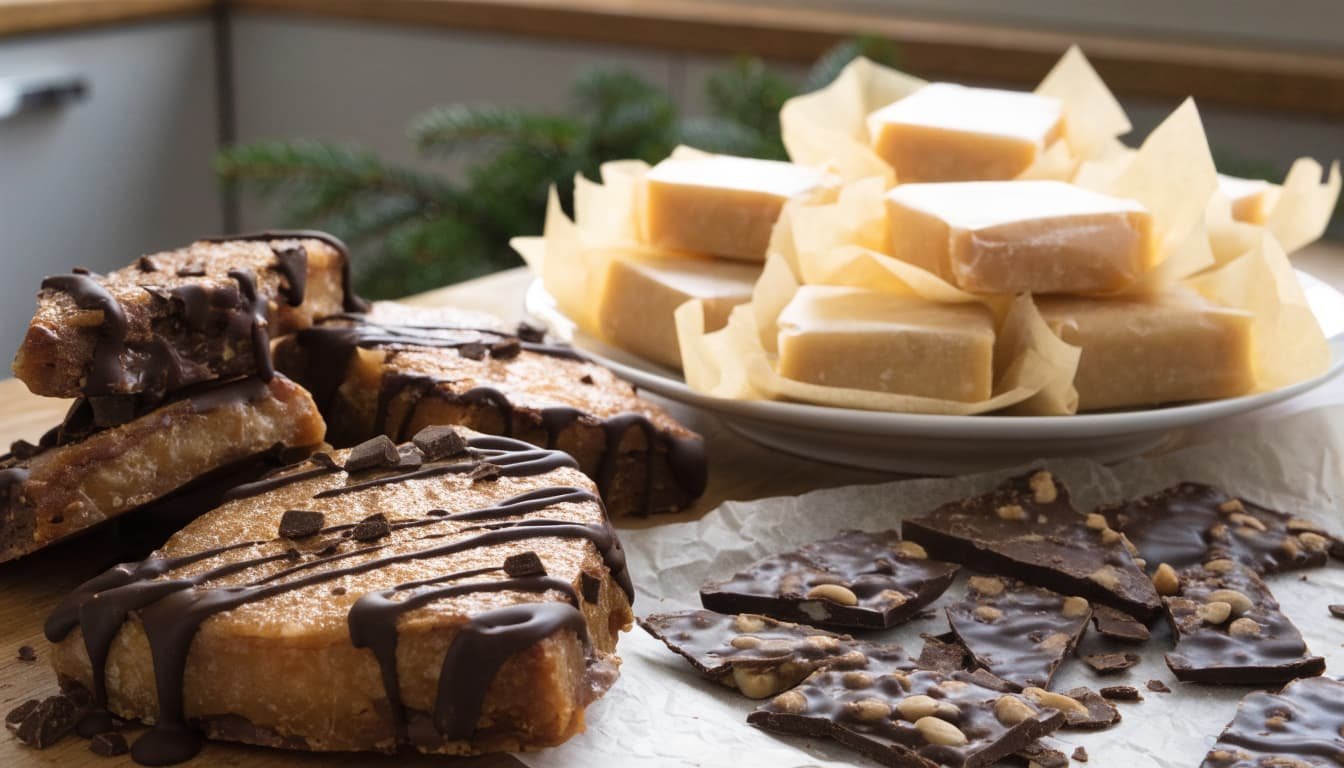
7. Quick Microwave Toffee
Microwave toffee skips the saucepan, but the butter and sugar still need close attention. Have a lined baking sheet ready before you start, since the hot mixture needs to be spread right away.
- Combine butter and sugar in a large microwave-safe bowl. Microwave for the intervals specified in your recipe, stirring carefully at each interval.
- Continue until the mixture reaches the recipe’s stated color and temperature. A candy thermometer helps check for a hard, crisp finish, but follow the recipe’s specific directions if its timing or target differs.
- Pour the hot toffee onto the lined pan and spread it into an even layer. Add chocolate over the top, then spread it as it softens.
- Let the toffee cool completely until firm, then break it into pieces.
Hot syrup can cause serious burns. Don’t touch or taste it, even if the bowl or toffee looks cool at the edges.
8. Soft Homemade Caramels
Soft caramels take steady stirring and a thermometer, since a small temperature change affects how firm they set. For a recipe targeting 238 to 240°F, add the evaporated milk gradually instead of pouring it all in at once.
- Combine sugar, butter, and corn syrup in a heavy-bottomed pot. Cook as directed, stirring to keep the mixture even.
- Slowly add evaporated milk while stirring. Continue cooking until the thermometer reaches the recipe’s target temperature.
- Pour the caramel into a parchment-lined pan and leave it to cool completely.
- Lift it out, cut into small pieces, and wrap each piece so they don’t stick together.
Cooking above the target can make the caramels firmer or chewier. Before you begin, check that your thermometer reads accurately with King Arthur Baking’s thermometer advice. If you want another holiday use for caramel and brittle, try our caramel brûlée latte recipe.
9. Chocolate Peanut Brittle
Peanut brittle cooks quickly once the sugar syrup heats up, so measure ingredients first and keep the prepared pan close. Use the sequence and temperature specified by your recipe, since brittle formulas can differ.
- Cook the sugar syrup as directed, then stir in the peanuts at the point specified in the recipe.
- Continue cooking and stirring until the syrup reaches the recipe’s stated color and consistency. A candy thermometer is useful for sugar candy because it gives you a more reliable check than appearance alone.
- Carefully pour the mixture onto a lined or greased pan. Spread it thinly, then leave it undisturbed until completely cool and crisp.
- Add melted chocolate over the brittle or dip pieces in chocolate, whichever method your recipe calls for. Let the coating set before storing.
Hot syrup can cause serious burns, so keep hands clear while pouring and spreading. Let the brittle cool fully before breaking it into pieces.
Festive Hard Candies and Simple Chocolate Bites
These last three Christmas candy recipes add cinnamon, a little crunch, and an easy chocolate option to your holiday tray. The two hard candies need a thermometer and careful handling, while the chocolate nonpareils set with little effort.
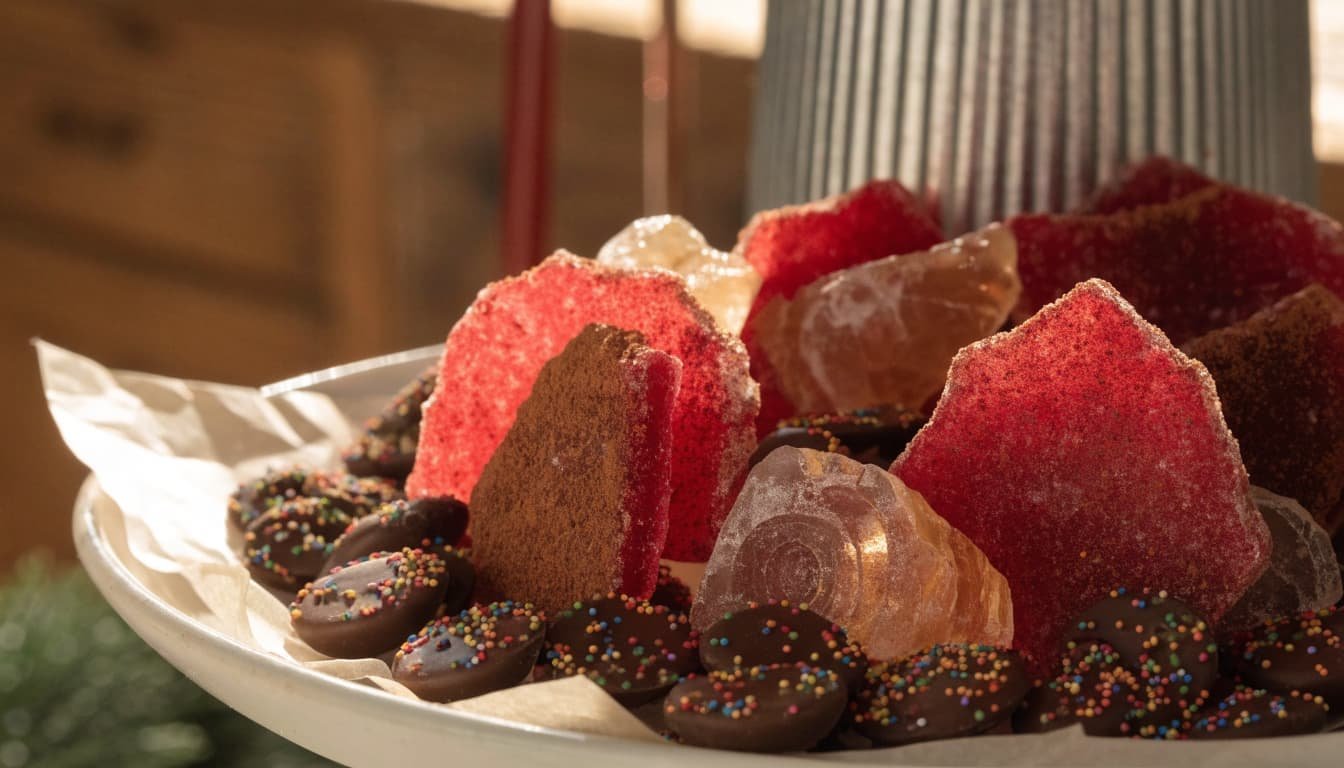
10. Cinnamon Hard Candy
Cinnamon hard candy cooks to the hard-crack stage, then cools into crisp pieces you can break by hand. For this recipe, the target is 300°F, the temperature used for hard-crack candy. King Arthur Baking explains the hard-crack stage.
Ingredients:
- 2 cups granulated sugar
- 2/3 cup light corn syrup
- 3/4 cup water
- Cinnamon candy flavoring, measured as directed by your recipe
- Red food coloring
- Line a heat-safe baking sheet or counter surface with a silicone mat, or lightly grease it. Keep it close to the stove before you start.
- Combine the sugar, corn syrup, and water in a heavy saucepan. Stir over medium heat until the sugar dissolves, then stop stirring once the mixture boils.
- Cook until a candy thermometer reads 300°F. Remove the pan from the heat, then quickly stir in the cinnamon flavoring and a few drops of coloring.
- Carefully pour the syrup onto the prepared surface. Cool completely, then break the candy into pieces.
Hot syrup can cause serious burns. Keep children away from the stove and the poured candy until it has cooled fully.
11. Chocolate Nonpareils
These small chocolate rounds are easy to make and simple to portion for a candy tin. Spoon the chocolate for a casual shape, or pipe it if you want more uniform pieces. For another easy chocolate-and-sprinkle treat, try our Halloween chocolate bark.
Ingredients:
- 8 ounces semisweet or milk chocolate, chopped
- Nonpareil sprinkles
- Line a baking sheet with parchment paper. Melt the chocolate gently in a heatproof bowl, stirring often.
- Spoon small rounds of chocolate onto the parchment, or transfer it to a piping bag and pipe dots.
- Add nonpareil sprinkles while the chocolate is still soft. Leave the candies until set.
12. Cinnamon Rock Candy
Cinnamon rock candy cooks like other hard candy, but you pour it into a pan before breaking it into shards. Follow your recipe’s flavoring amount, since cinnamon flavorings can vary in strength.
Ingredients:
- 3 cups granulated sugar
- 1 cup light corn syrup
- 1 cup water
- Cinnamon candy flavoring, measured as directed by your recipe
- Red food coloring
- Grease a heat-safe baking pan or line it with a silicone mat. Combine the sugar, corn syrup, and water in a heavy saucepan.
- Cook over medium heat, stirring until the sugar dissolves. Stop stirring once the mixture boils, then cook until it reaches the hard-crack stage, about 300°F.
- Remove the pan from the heat and stir in the cinnamon flavoring and food coloring. Pour the hot syrup into the prepared pan.
- Cool completely, then break the candy into shards.
Store both hard candies in an airtight container in a cool, dry place. Avoid refrigeration, since moisture can make the pieces sticky.
Frequently Asked Questions
The right storage method depends on the candy’s ingredients and texture. Use these answers to plan your baking, avoid sticky or softened pieces, and package each treat for the way it needs to be stored.
Which Christmas candies need a candy thermometer?
Caramels, toffee, brittle, and hard candy are more sensitive to cooking temperature because the sugar mixture needs to reach a specific stage. A thermometer gives you a clearer stopping point than color or cooking time alone. Simple fudge, bark, and pretzel candies can be made without one, which makes them useful choices if you want an easier recipe.
How far ahead can I make homemade Christmas candy?
Make-ahead time depends on the recipe and its ingredients. Dry candies such as hard candy may keep differently from chocolate treats or candies with soft centers, so follow the recipe’s storage directions rather than using one timeline for everything. Pay close attention to moist or dairy-based fillings, which may need refrigeration and a shorter storage window.
Why did my hard candy turn sticky?
Moisture is a common reason hard candy loses its crisp texture. Humid air or loose packaging can leave the surface tacky, even if the candy cooled properly. Let each piece cool completely, then seal it in an airtight container and store it in a cool, dry place.
Can I freeze homemade Christmas candy?
It depends on the type of candy, so don’t assume every recipe will freeze well. Some candies handle freezing better than others, while temperature changes can affect chocolate’s texture or appearance. Check the recipe’s freezing directions, and follow its thawing instructions too.
How should I package candy for holiday gifts?
Wait until the candy is fully cool before wrapping or sealing it, since trapped warmth can create moisture inside the package. Separate different types with parchment paper, then use airtight packaging to limit exposure to air and humidity. Candies with fillings that need refrigeration should stay chilled, and shouldn’t be presented as shelf-stable gifts; the USDA’s shelf-stable food guidance explains why perishable foods need proper handling.
Conclusion
Homemade Christmas candy can be as simple or hands-on as you like. Choose a few recipes that fit your time and comfort level, then follow each recipe’s cooling and storage notes so the treats keep their texture.
Once the candies are ready, share them with family and friends or add them to a holiday treat tray. A small mix of homemade sweets is an easy way to make the season feel special.
Save the pin for later


I’m the creator of My Everyday Dish, a food blog focused on easy homemade recipes, comforting family meals, simple baking, and seasonal food ideas. I love finding practical ways to make everyday cooking less stressful and more enjoyable. Here, I share recipes with simple ingredients, clear instructions, and plenty of flavor, helping you make delicious meals and treats you’ll feel confident serving at home.
Leave a Reply