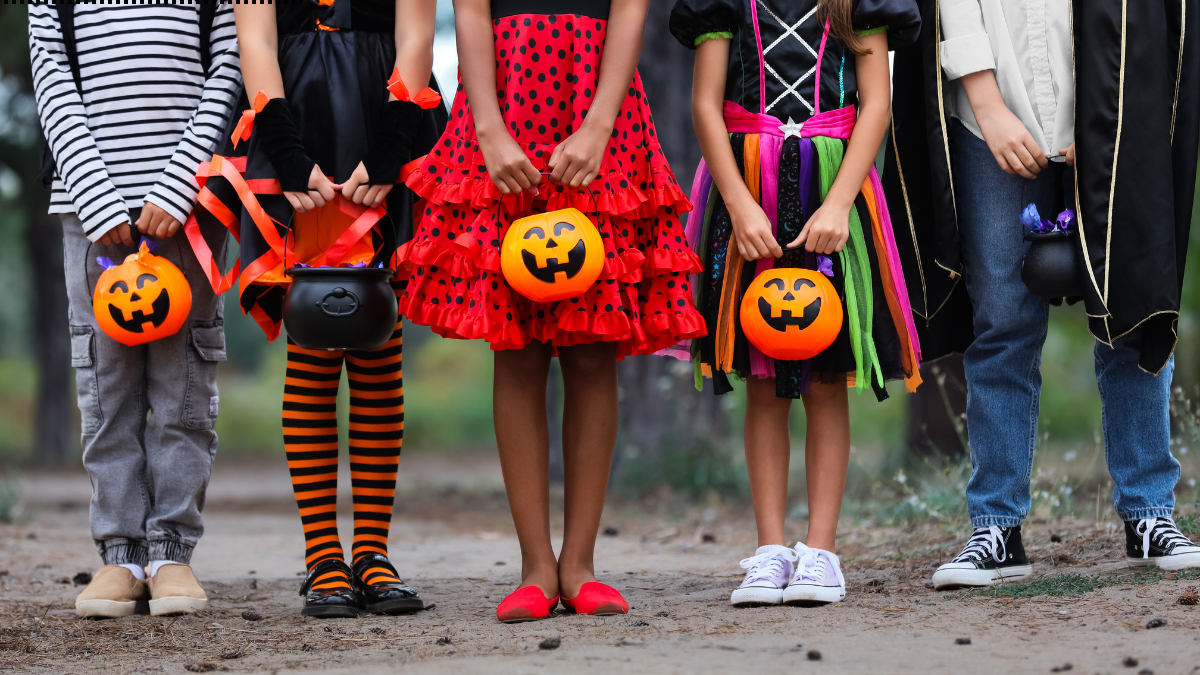
School-party treats need to do more than look festive. The best Halloween treats for kids to bring to a school party are easy to carry, simple to serve, portioned for little hands, and made with classroom allergy rules in mind.
This list includes baked sweets, no-bake treats, fruit snacks, individually wrapped ideas, and make-ahead options. Before choosing one, ask the teacher about homemade food, refrigeration, utensils, sticks, and allergy restrictions. Read every ingredient label, including decorations, and never assume a product is nut-free because it looks plain. Some ideas may need adjustments for preschoolers or children with food allergies.
18 Fun Halloween Treats for Kids to Bring to a School Party
These Halloween treats for kids to bring to a school party are grouped by style, so you can quickly find baked, no-bake, fruit-based, and portable options. Keep portions small, pack them securely, and label ingredients for the teacher. The FDA identifies nine major food allergens, including milk, egg, fish, shellfish, tree nuts, peanuts, wheat, soy, and sesame, so every packaged ingredient deserves a careful check. The FDA’s food allergy guidance offers more label information.
1. Mummy Brownie Bites
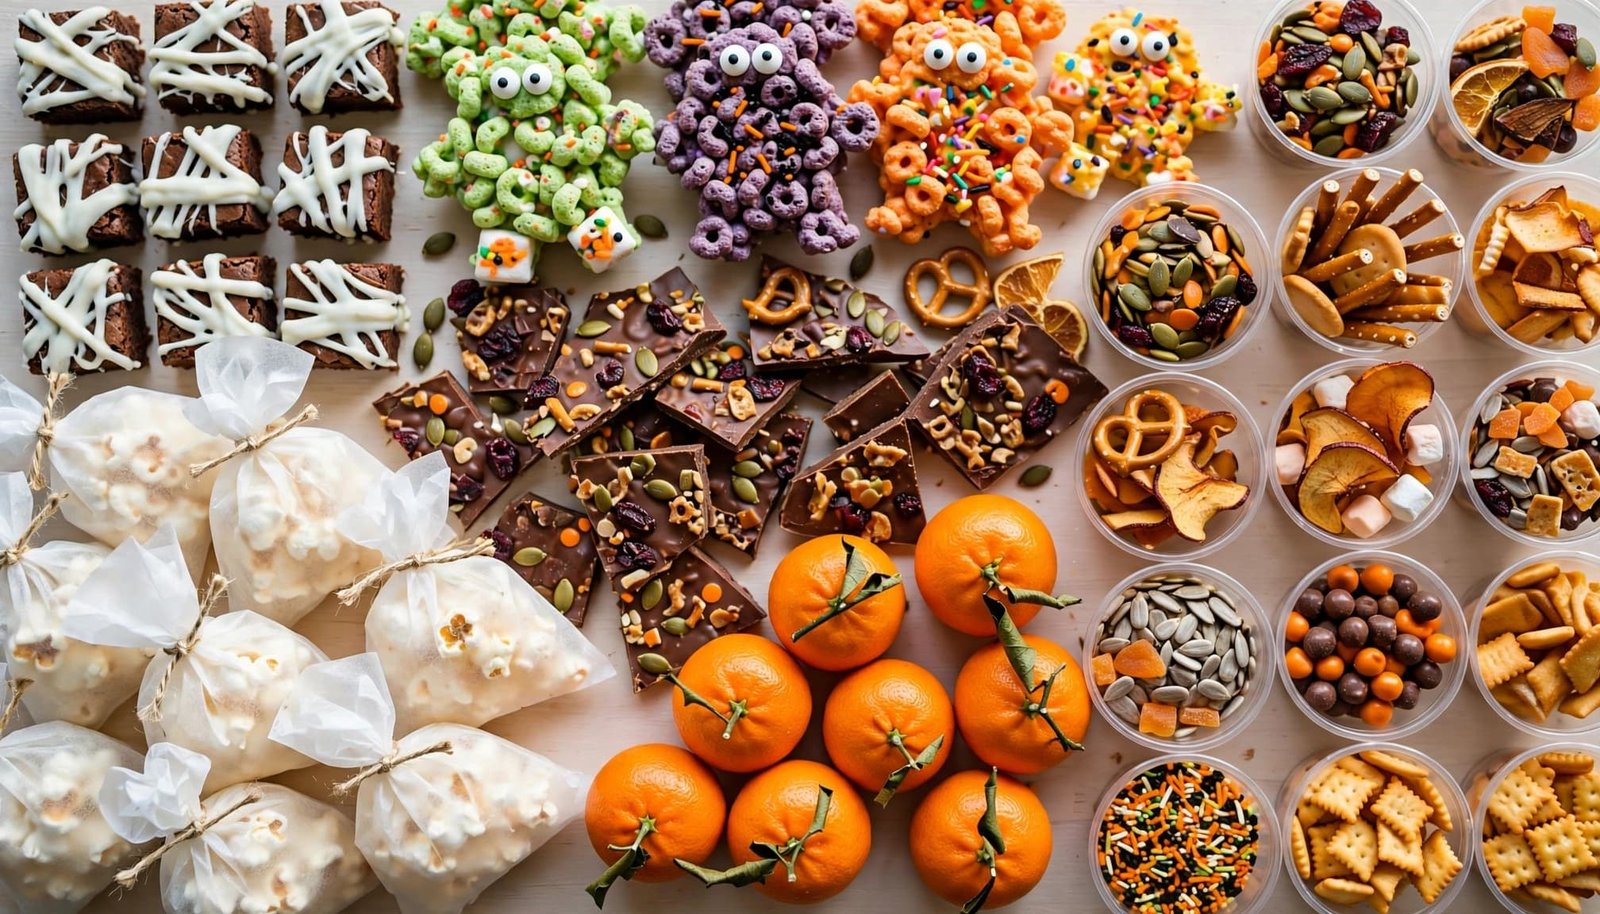
Bake brownies from a boxed mix or your favorite recipe, then cut them into small squares. Pipe white icing or drizzle melted white candy coating across each piece to create mummy bandages. Add candy eyes before the coating sets. Check the brownie mix, icing, and eyes for common allergens. Individual wrappers make these easy for children to pick up.
2. Monster Rice Cereal Treats
Shape marshmallow cereal treats into small rectangles or balls. Add colored icing, sprinkles, and candy eyes for a friendly monster look. Make them a day ahead and wrap each one separately. Check labels for gelatin, dairy, soy, and other allergens. For very young children, skip hard decorations and use soft icing details instead.
3. Halloween Cookie Sandwiches
Fill two small cookies with orange or purple frosting, then add Halloween sprinkles around the edge. Store-bought cookies save time, but check the package for peanuts, tree nuts, milk, egg, wheat, soy, and sesame. Place each sandwich in a small bag or cupcake liner to keep frosting off other treats.
4. Chocolate Spider Cookies
Start with round chocolate cookies and add chocolate or black icing legs with candy eyes. For an easy version, spread melted chocolate over each cookie and add pretzel pieces as legs. Pretzels may contain wheat or share equipment with nuts, so confirm the classroom rules and offer a clearly labeled alternative when needed.
5. Pumpkin Patch Pudding Cups
Layer chocolate pudding and crushed cookies in small clear cups. Add candy pumpkins or icing vines on top. Because these cups need spoons, they work best when the party has serving supplies. Keep them chilled during transport, and ask whether refrigerated food is allowed in the classroom.
6. Halloween Crispy Cups
Press cereal mixed with melted chocolate or candy coating into paper liners. Finish with sprinkles or candy eyes, then chill for at least one hour. Store the cups in the refrigerator or freezer until party day. Silicone liners or paper cases make individual portions easy to remove and serve.
No-Bake Halloween Treats That Travel Well
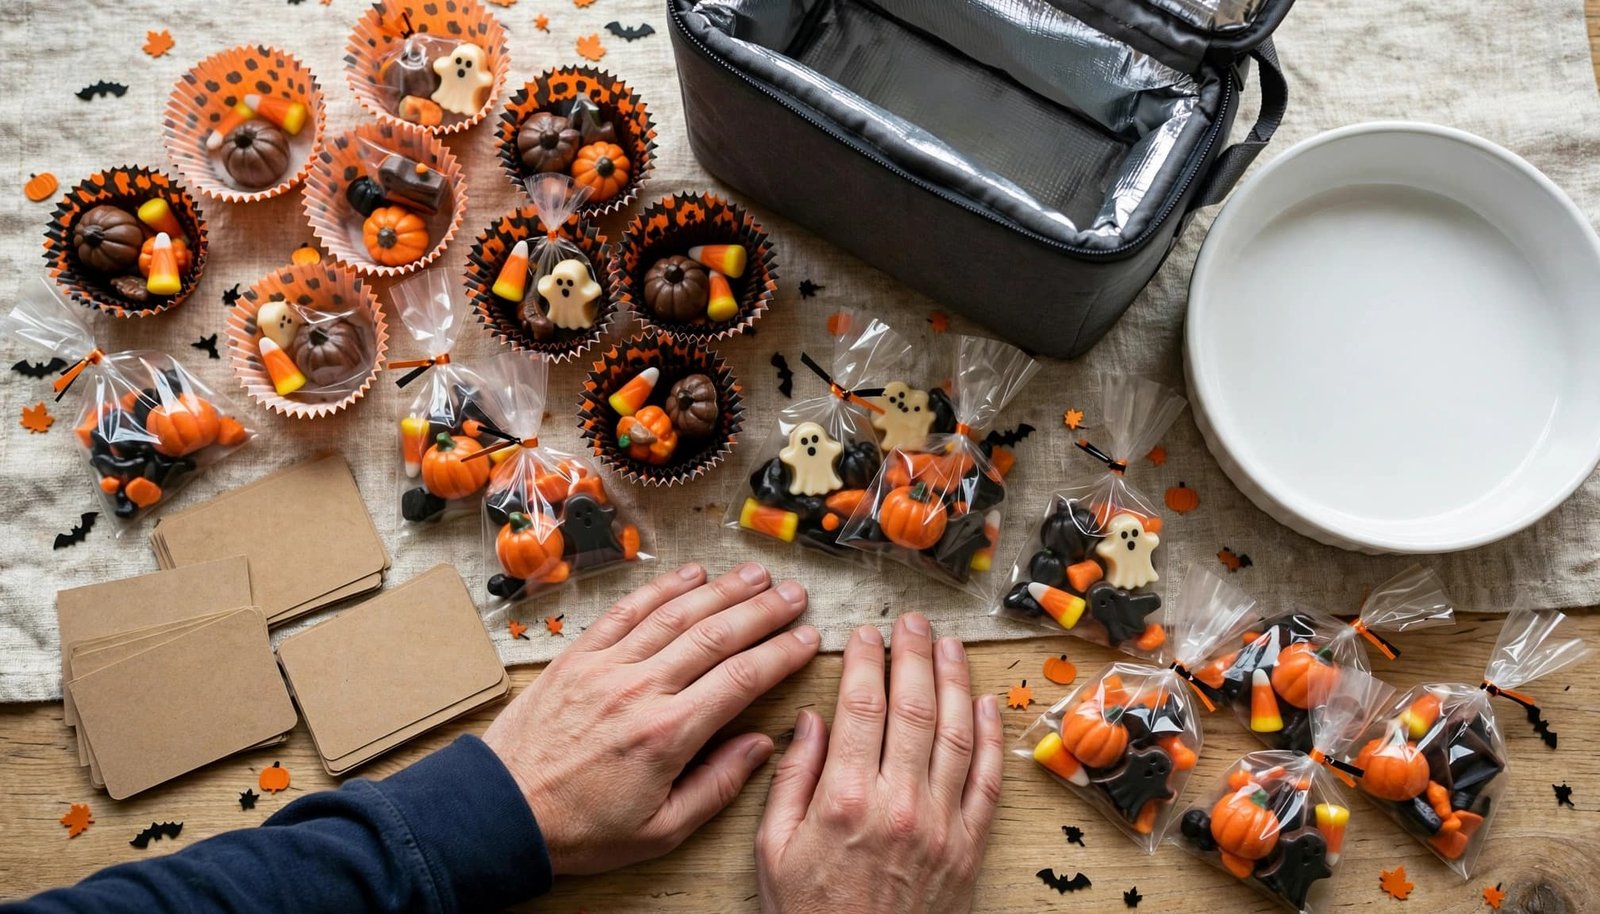
No-bake treats are useful when you need a large batch without turning on the oven. Bark and dry snack bags can usually be made two or three days ahead, while fresh fruit is best prepared the morning of the party. Airtight containers, parchment paper, cupcake liners, and sturdy boxes help prevent crumbling and sticking.
Treats that stay firm at room temperature travel more easily than pudding, dipped fruit, or soft icing. Refrigerated options need an insulated bag and a teacher’s approval. Pack each serving separately whenever possible, and keep chilled treats away from warm car interiors.
7. Halloween Chocolate Bark
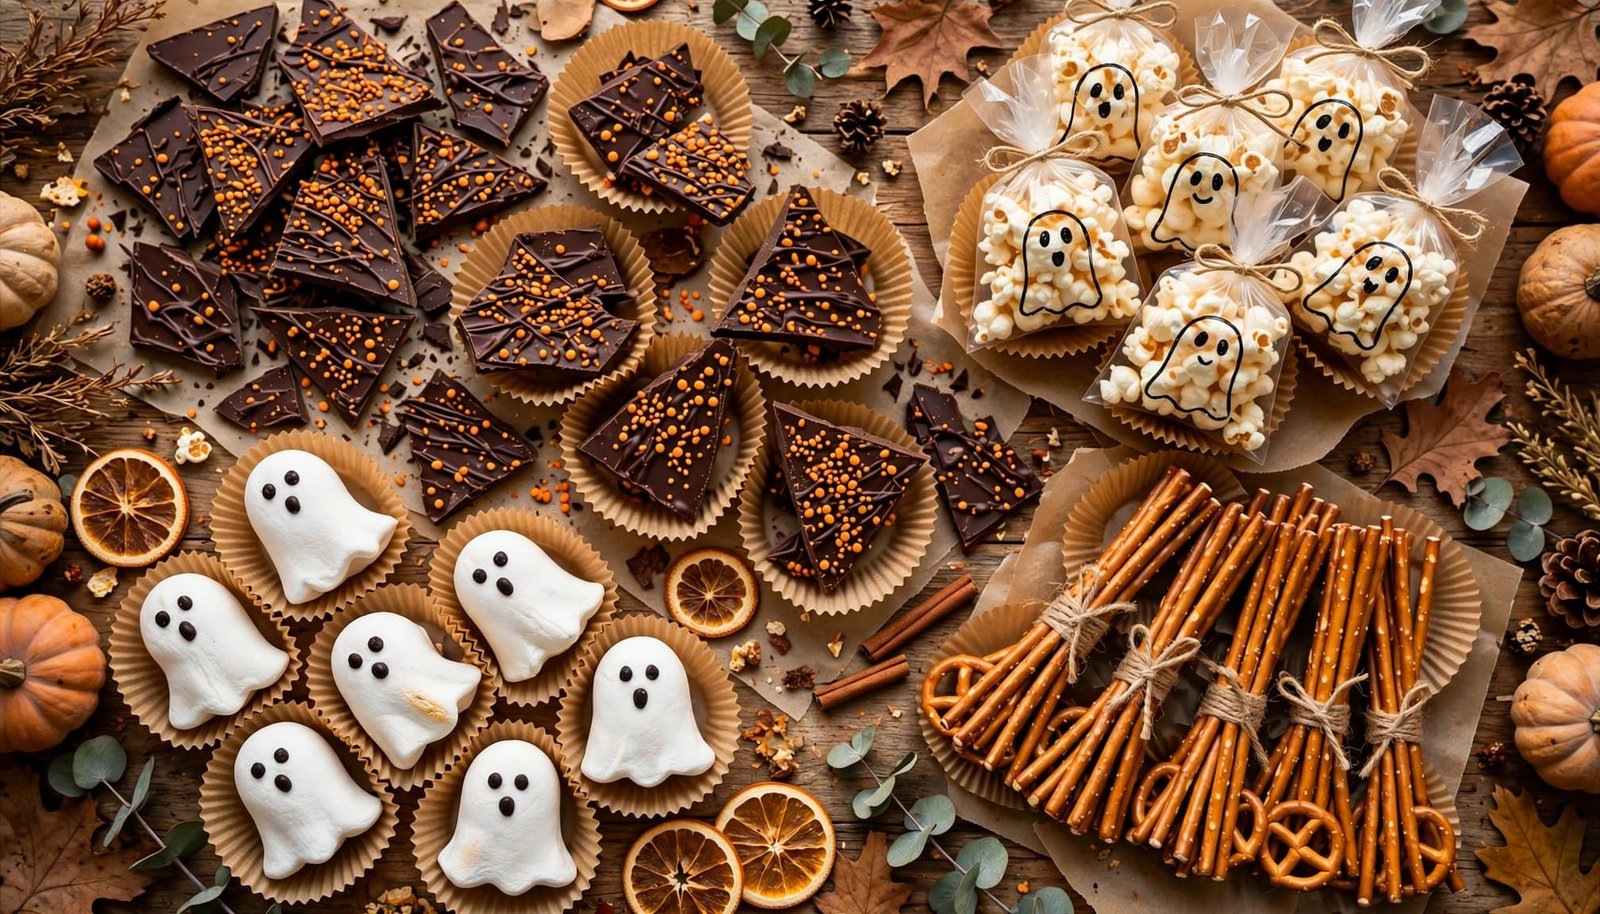
Spread melted chocolate or candy coating on parchment. Add Halloween sprinkles and clearly checked candies, then chill it for about 20 minutes before breaking it into small pieces. White, milk, or dark chocolate can work, depending on the classroom rules. Chocolate and toppings may contain milk, soy, peanuts, tree nuts, or wheat, so check the finished treat carefully.
8. Popcorn Ghost Bags
Fill clear food-safe bags about two-thirds full with popcorn. Tie each bag with ribbon and draw a ghost face on the outside of the bag. This option is easy to prepare in large batches, but popcorn can be a choking hazard for children under age 4. It may not suit a mixed-age class or preschool party.
9. Pretzel Witch Brooms
Wrap a small piece of fruit leather around one end of a pretzel stick. Cut the fruit leather into fringe before securing it around the pretzel. Pretzels contain wheat and may have nut cross-contact, so check the label and ask about a gluten-free or allergy-approved substitute if needed.
10. Ghost Marshmallow Pops
Place large marshmallows on sticks, then dip or drizzle them with white coating. Add simple eyes and a mouth once the coating begins to set. Pack the pops so they don’t touch one another. Marshmallows can be a choking concern, and sticks may not be allowed at school, so serve them without sticks when appropriate.
11. Donut Hole Eyeballs
Cover plain donut holes with white icing, then add colored candy centers and thin icing lines. Set each one in a paper liner on a tray to reduce mess. Donut holes can contain wheat, milk, egg, soy, and other allergens. For young children, modify round foods according to classroom guidance.
12. Mummy Sandwich Cookies
Decorate small sandwich cookies with thin, uneven lines of white icing and finish with candy eyes. This quick no-bake idea travels well in mini cupcake liners. Check the packaged cookies and decorations carefully, then give the teacher a small ingredient card with the exact products used.
Fresh, Fruity, and Individually Portioned Party Ideas
Fresh fruit adds color to a table filled with candy, but it needs more careful timing and temperature control. Prepare fruit treats close to serving time, transport them cold, and use food-safe picks only when the teacher permits them. Avoid whole grapes, hard candy, raw apple chunks, and other choking hazards for children under age 4.
Choose small portions that don’t require shared utensils. For classrooms with allergy concerns, use decorations and coatings only after checking their labels.
13. Banana Ghosts
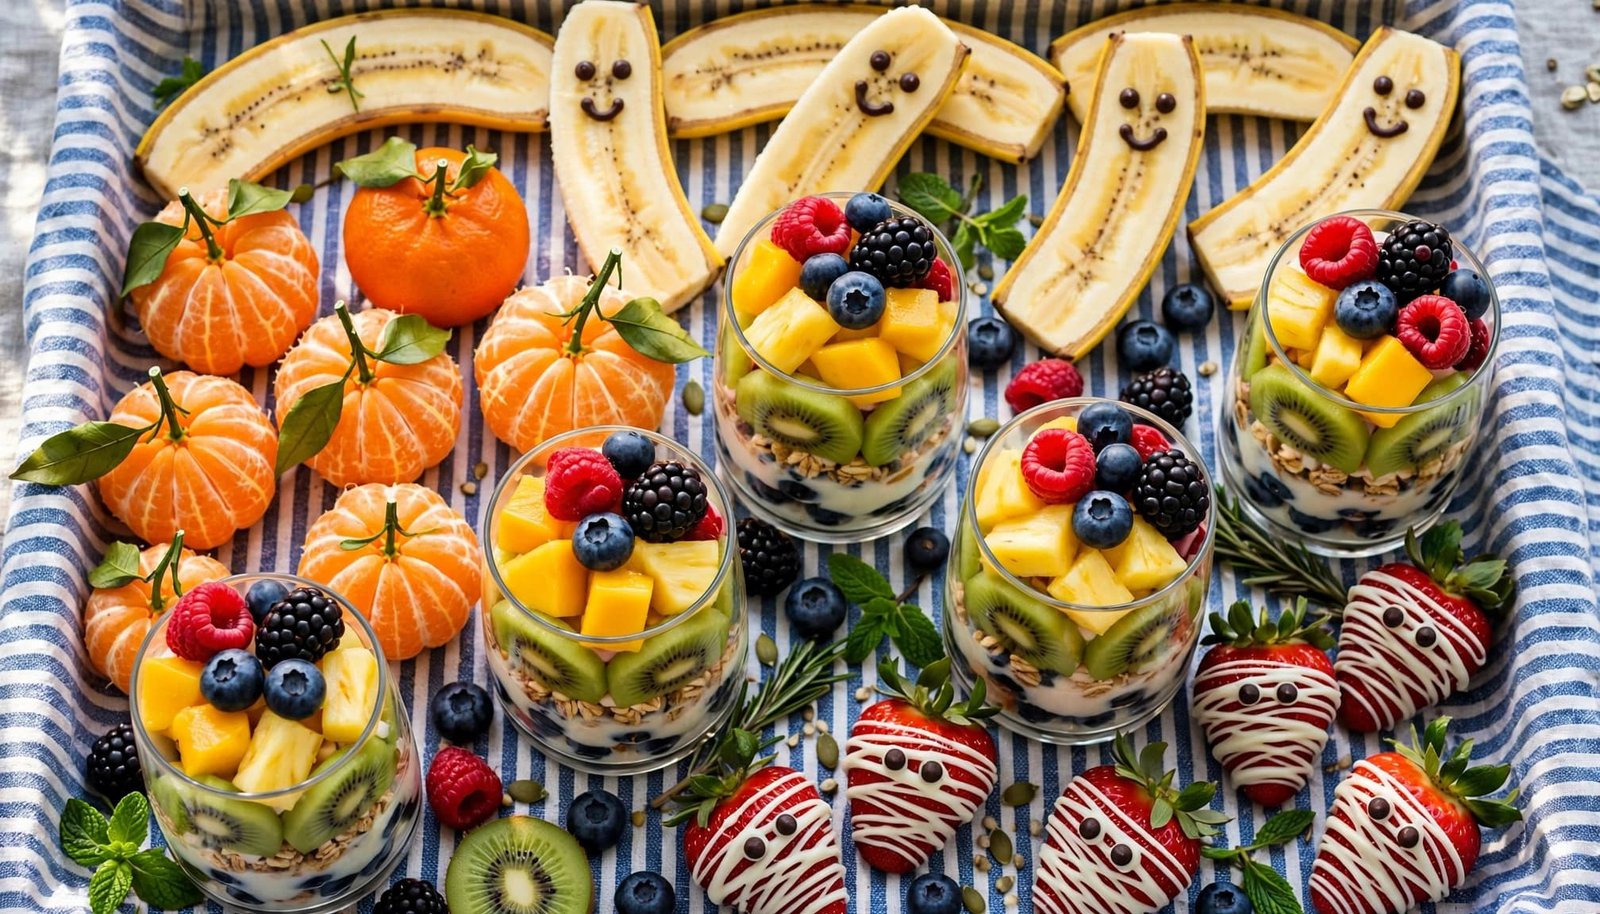
Cut bananas in half and add small chocolate or icing eyes. Chill them for 15 to 20 minutes before packing. Bananas soften quickly at room temperature, so prepare them the morning of the party and transport them cold. Ask whether fresh fruit is permitted, and use allergy-approved decorations.
14. Clementine Pumpkins
Peel clementines and add a small piece of celery, cucumber, or fruit leather as a stem. These naturally colorful snacks need little preparation and no utensils. Keep them chilled, and separate whole fruit into smaller portions when serving younger children.
15. Candy Corn Fruit Cups
Layer pineapple, orange-colored fruit, and a light-colored topping in clear cups to mimic candy corn. Lids make the cups easier to transport. Use plain fruit instead of whipped topping when possible, and check dairy ingredients if you add a creamy layer. These cups need refrigeration until serving.
16. Strawberry Monster Bites
Dip strawberries in a suitable coating and add candy eyes or small icing details. Prepare them close to serving because fresh fruit can become wet or soft. Keep the berries chilled on a lined tray, and check the coating and decorations for milk, soy, nuts, and other allergens.
17. Halloween Trail Mix Boo Bags
Combine school-approved cereal, dried fruit, pretzels, and labeled candy in small bags. Draw ghost faces on the bags for decoration. Many trail mixes contain peanuts, tree nuts, peanut butter candy, or nut-based chocolate, so make a nut-free version only after checking every ingredient. Dry mixes can often be made two or three days ahead in airtight bags.
18. Vampire Donut Bites
Use small plain donut holes or mini donuts with icing, candy eyes, and paper-safe vampire teeth decorations. Place each bite in a cupcake liner to reduce mess. Donut products often contain major allergens, and plastic or hard decorations should be removed before serving young children.
How to Choose a School-Safe Halloween Treat
Ask the teacher about the classroom policy before buying ingredients. Find out whether homemade food is allowed, whether the class has a designated allergy-free table, and whether treats must be individually packaged. Also ask about refrigeration, utensils, food picks, sticks, and age-related choking risks.
Check every ingredient for milk, egg, fish, shellfish, tree nuts, peanuts, wheat, soy, and sesame. The Big Nine allergen list can help you review labels, but the child’s medical plan and school policy should guide the final decision.
A product labeled nut-free isn’t automatically safe for a child with a milk, egg, wheat, soy, or sesame allergy. Ingredient statements can also change, so read the current package instead of relying on an earlier purchase. Keep decorations in the same review as the main food.
For easier serving:
- Portion treats individually instead of using a shared platter.
- Place an ingredient card beside the food.
- Use a separate clean dish for approved items.
- Keep packages and labels available for the teacher.
- Avoid homemade substitutions unless the school has approved them.
Children under age 4 face a higher choking risk, so use caution with popcorn, whole grapes, pretzels, marshmallows, hard candy, gummy candy, raw apple pieces, and uncut berries. When food isn’t allowed, stickers, pencils, bubbles, or glow sticks can provide a festive alternative.
Frequently Asked Questions
Should I bring homemade treats to a school Halloween party?
Only bring homemade food if the teacher or school policy allows it. Some classrooms accept sealed commercial products only because packaged labels make ingredient checks easier. Ask before you bake.
How do I transport refrigerated Halloween treats?
Use an insulated lunch bag with cold packs, and keep the container level. Tell the teacher that the food needs refrigeration as soon as you arrive.
Can I use candy eyes and sprinkles for young children?
Check the age guidance and classroom rules first. Hard decorations can create choking concerns, so soft icing details are often a better choice for younger children.
What should an ingredient card include?
List every ingredient, including packaged cookies, coatings, icing, candy, and decorations. Add the date prepared and your contact information if the teacher requests it.
What is a good non-food Halloween option?
Stickers, pencils, bubbles, and glow sticks can work when a class restricts food. Choose items without small detachable parts for younger children and confirm that the teacher approves them.
Conclusion
The best school-party treat is festive, easy to share, clearly labeled, and approved by the teacher. Choose a make-ahead option when transport matters, a fresh fruit idea when the class allows chilled food, or a non-food favor when allergies make edible treats complicated.
Let kids help decorate wrappers, add icing, or pack approved portions. Adults should handle ingredient checks, allergy decisions, refrigeration, and safe preparation. With a little planning, Halloween treats for kids to bring to a school party can be fun for the class and practical for the adults.
Save the pin for later

I’m the creator of My Everyday Dish, a food blog focused on easy homemade recipes, comforting family meals, simple baking, and seasonal food ideas. I love finding practical ways to make everyday cooking less stressful and more enjoyable. Here, I share recipes with simple ingredients, clear instructions, and plenty of flavor, helping you make delicious meals and treats you’ll feel confident serving at home.
Leave a Reply