
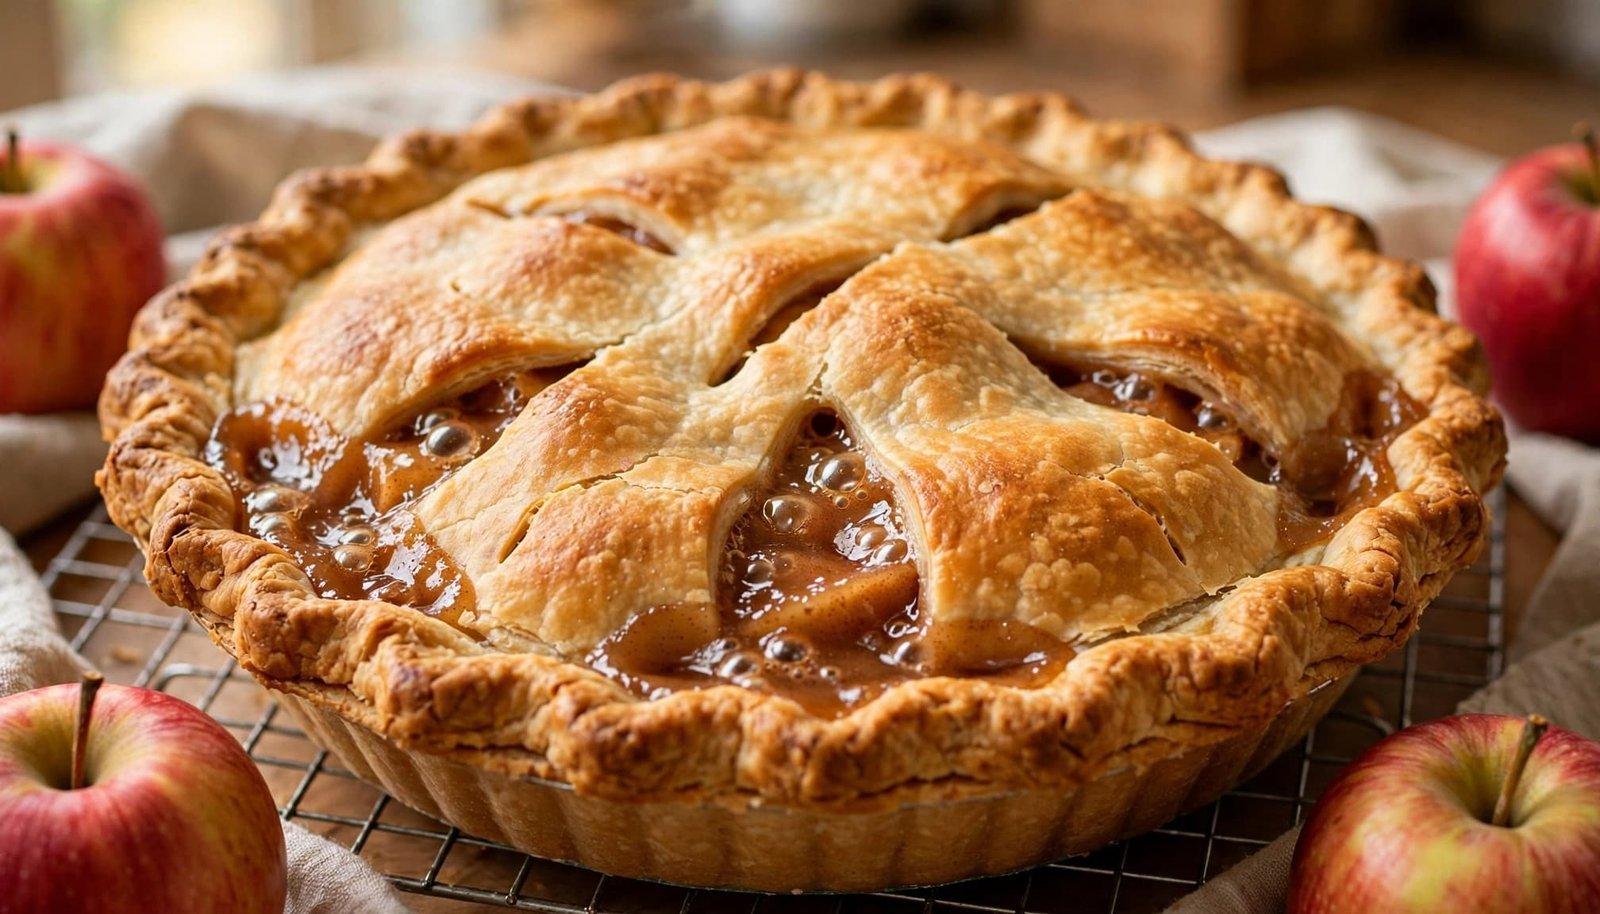
A flaky butter crust and tender cinnamon apples give homemade apple pie its familiar comfort. This easy homemade apple pie recipe uses simple ingredients and clear steps, so you can make both the dough and filling by hand.
The main habit to keep is cold dough, which helps the crust bake into distinct layers. You’ll also need time for chilling before rolling and cooling before slicing, so plan beyond the hands-on work. Start by gathering your ingredients, then make the dough while the butter is still firm.
Easy Homemade Apple Pie Recipe From Scratch With a Flaky Crust
This recipe makes one 9-inch double-crust pie, enough for about eight slices. Expect roughly 40 minutes of active preparation and 55 to 60 minutes of baking.
Allow at least 30 minutes to chill the dough and at least two hours for the baked pie to cool. You can prepare the apples during the chilling time.
The filling is sweet-tart, with enough cinnamon to flavor the apples without covering them. The all-butter crust takes a little patience, but it doesn’t require a food processor or decorative lattice.

Gather Simple Ingredients for the Pie and Crust
Measure everything before starting, especially the flour and water. Spoon flour into the measuring cup and level it rather than packing it down.
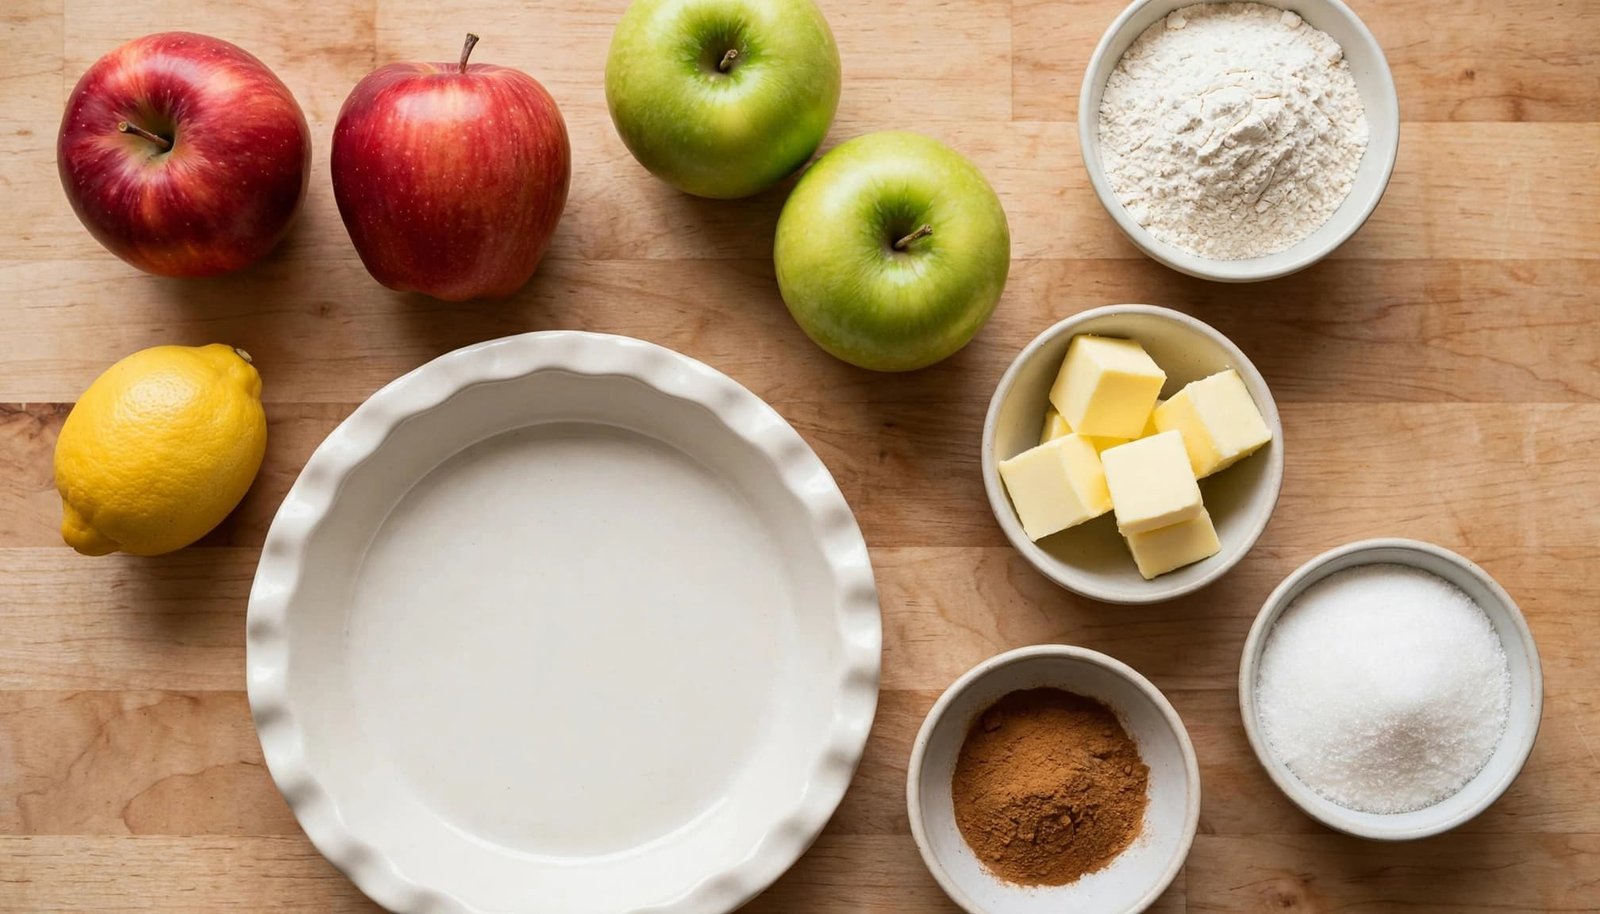
For the Double Crust
- 2 1/2 cups all-purpose flour, plus a little for rolling.
- 1 cup cold unsalted butter, cut into small cubes.
- 1 teaspoon fine salt.
- 6 to 8 tablespoons ice water, added gradually.
- 1 teaspoon granulated sugar, optional.
Keep the butter refrigerated until you’re ready to mix. Measure the water without adding ice cubes to the dough.
For the Apple Filling and Finish
- 6 to 7 medium apples, about 2 1/2 pounds, yielding roughly 6 to 7 cups sliced.
- 3/4 cup granulated sugar.
- 1/4 cup all-purpose flour or 3 tablespoons cornstarch, not both.
- 1 1/2 teaspoons ground cinnamon.
- 1 tablespoon lemon juice.
- A pinch of fine salt.
- Optional egg wash made with 1 egg beaten with 1 tablespoon water.
- Optional 1 tablespoon coarse sugar for sprinkling.
Granny Smith apples provide tartness and hold their shape during baking. Mix them with a sweeter firm apple, such as Braeburn or Honeycrisp, if you want a rounder flavor.
There isn’t one variety for every preference. King Arthur Baking’s guidance on choosing apples for pie considers texture alongside sweetness.
Make and Chill the Dough for a Flaky Pie Crust
Cold butter leaves small pockets in the dough. As the pie bakes, moisture turns to steam and helps separate the pastry into layers.
Read also: 17 Homemade Hanukkah Cookie Recipes for Parties
Mix Until the Dough Holds Together
Combine the 2 1/2 cups flour, 1 teaspoon salt, and optional teaspoon of sugar in a large bowl. Cut in the cold butter with a pastry blender or two knives until uneven, pea-size pieces remain.
Sprinkle in 6 tablespoons ice water, then toss gently with a fork. Squeeze a small handful; it should hold together without feeling sticky.
If it falls apart, add more water a teaspoon at a time, concentrating on dry patches. Stop once the dough holds when pressed. You don’t need a smooth, kneaded ball, and extra mixing can make the pastry tough.
Shape Two Disks and Chill
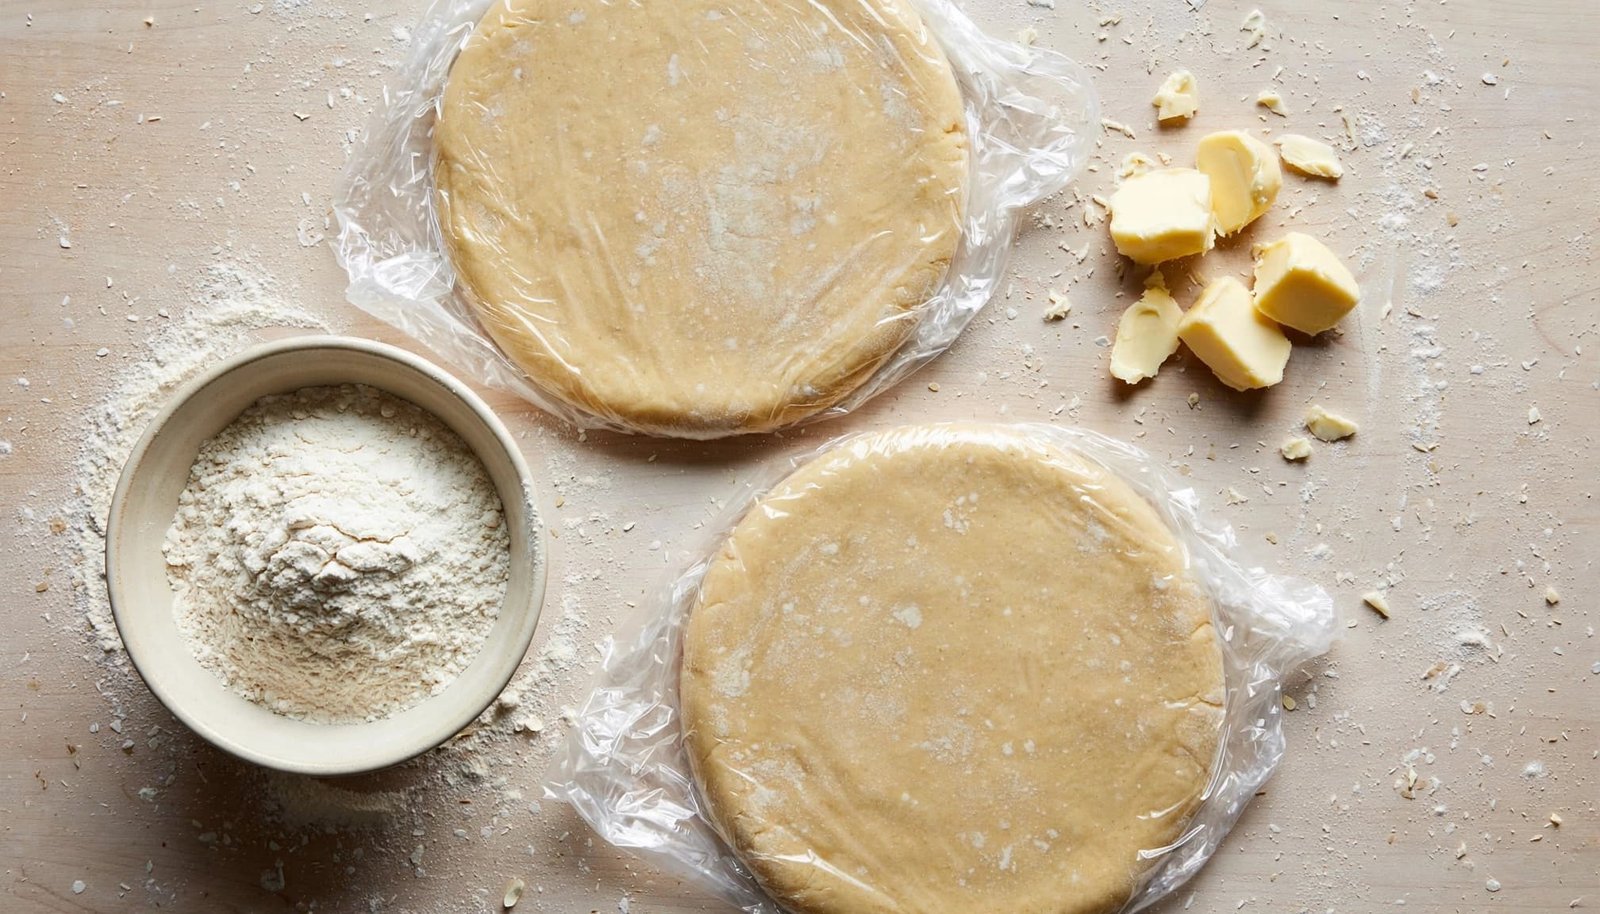
Gather the dough into two portions, making one slightly larger for the bottom crust. Press each into a disk about an inch thick, then wrap tightly.
Refrigerate for at least 30 minutes. This firms the butter and gives the flour time to absorb the water.
If the butter softens while you’re mixing, pause and refrigerate the bowl briefly. Dough that’s cool and lightly mottled with butter is easier to handle than warm, greasy pastry.
Prepare the Apple Filling Without Making It Watery
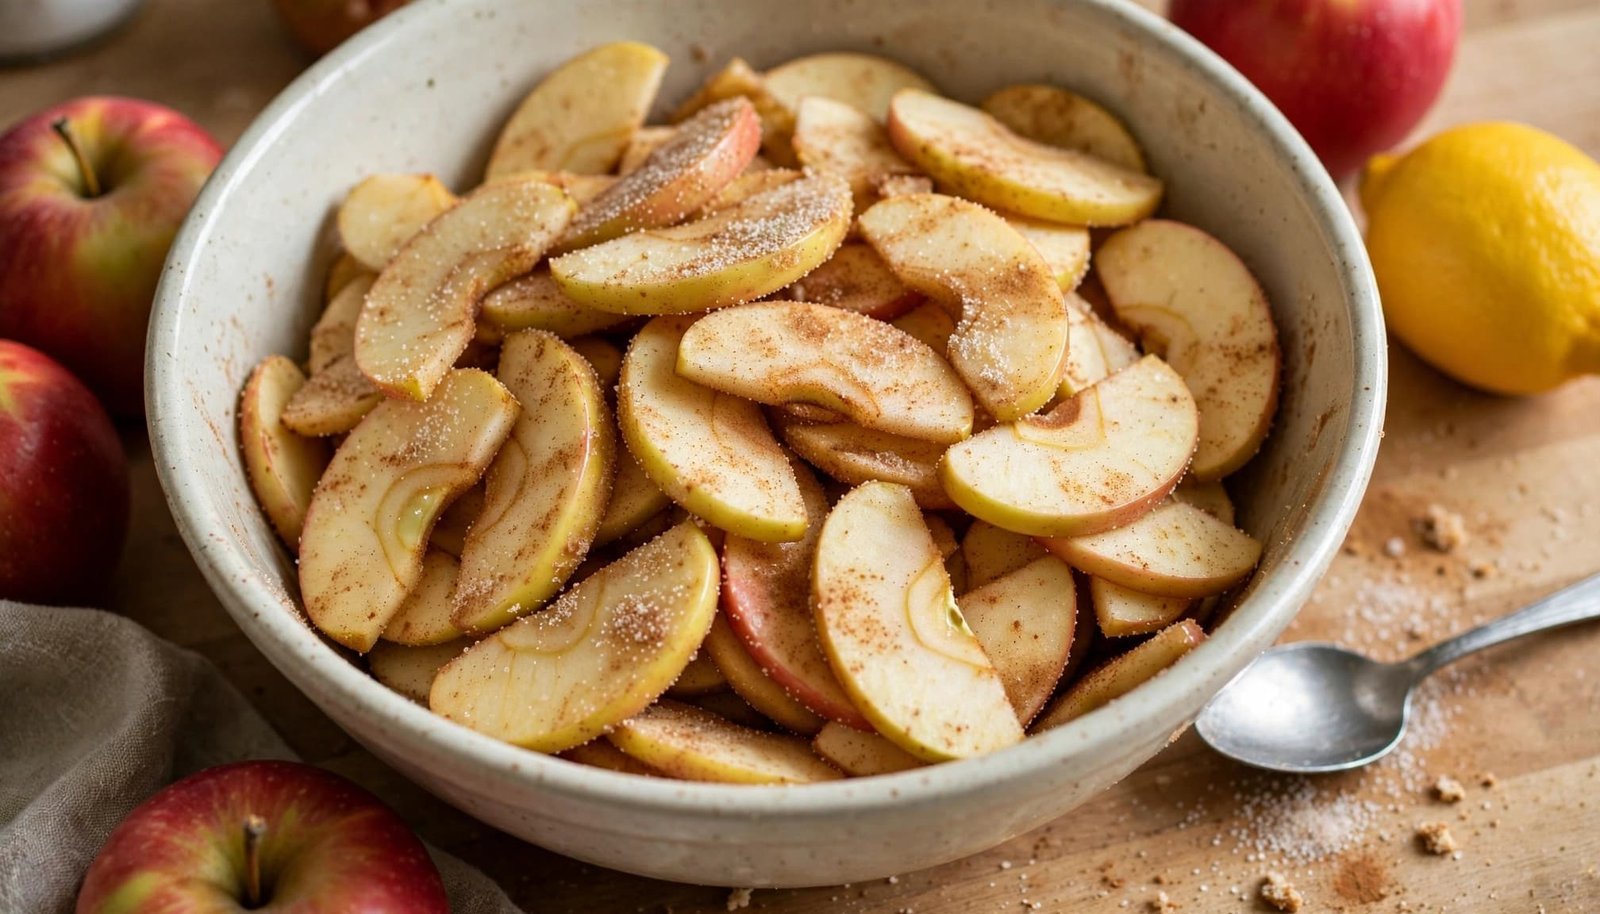
Core the apples and peel them if you prefer a smoother filling. Cut them into even slices about 1/4 inch thick, rather than mixing thin slivers with large chunks.
Similar-size slices soften at a similar rate. Thick pieces can stay firm after the surrounding apples have cooked down.
Toss the apples with the lemon juice in a large bowl. In a smaller bowl, stir together the sugar, cinnamon, salt, and your chosen thickener.
Sprinkle that mixture over the apples, then toss until the slices are evenly coated. Mixing the dry ingredients first helps distribute the flour or cornstarch without leaving concentrated patches.
You can let the filling stand for about 10 minutes while rolling the dough, but a rest isn’t required. Stir again before filling the crust so the seasoning and collected juices are distributed.
The thickener binds those juices as the pie bakes. Don’t add extra liquid, and don’t reduce the thickener simply because the raw mixture looks dry.
If you want filling that’s cooked before assembly, our stovetop apple pie filling uses that approach. Keep the raw filling here paired with the baking directions below.
Assemble, Bake, and Cool the Pie Step by Step
Set a heavy rimmed baking sheet on the lower oven rack and preheat to 425°F. The preheated baking-sheet method helps deliver heat beneath the pie, where the bottom crust can otherwise stay pale.
Roll, Fill, and Seal
- Roll the larger disk on a lightly floured surface into a circle about 12 inches across and 1/8 inch thick. Turn it occasionally to prevent sticking. Transfer it to a 9-inch pie plate, easing it into the corners without stretching.
- Spoon in the apples and their juices, distributing them evenly with a slight mound in the middle. Arrange any large gaps closed so the top crust has support. Keep the rim clear of wet filling for a cleaner seal.
- Roll the second disk into an 11-inch circle and lay it over the apples. Trim the joined edges to about 1 inch beyond the plate, fold them under, and crimp. Cut four or five vents, brush lightly with egg wash if using, and sprinkle with coarse sugar.
If the pastry becomes soft during assembly, refrigerate the pie for 15 minutes before baking. Firm dough holds its shape better in the oven.
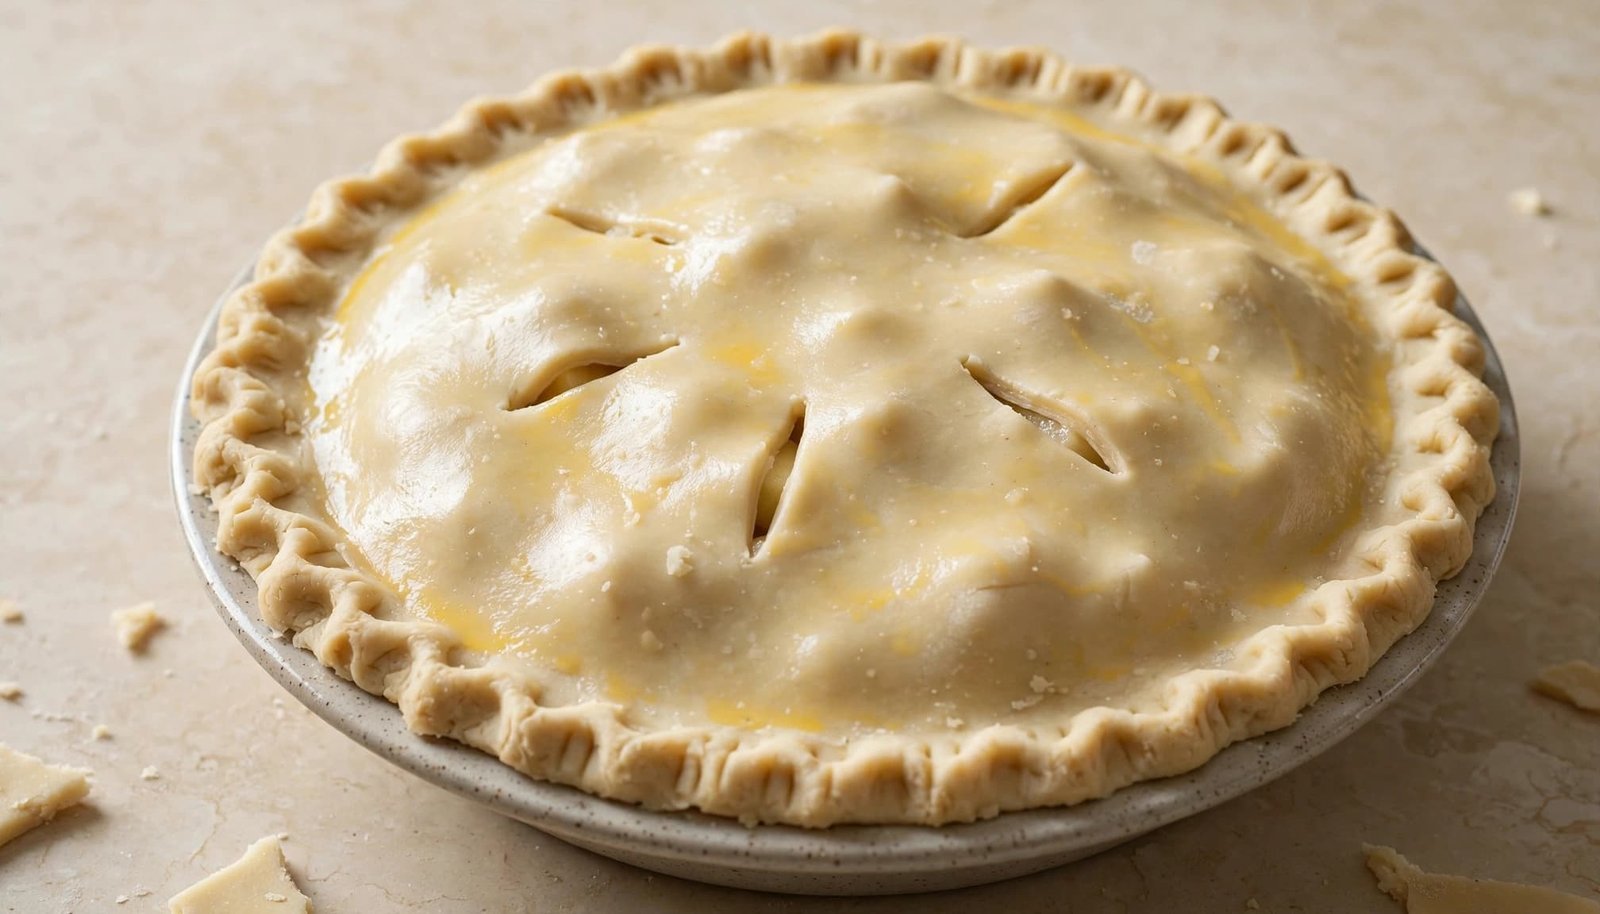
Bake Until Golden and Bubbling
- Place the pie on the hot baking sheet and bake at 425°F for 20 minutes. Then lower the temperature to 375°F without removing the pie.
- Continue baking for about 35 to 40 minutes, until the crust is golden and filling bubbles through the vents. Ovens vary, so allow extra time if the center isn’t bubbling. Loosely cover the edge with foil if it browns too quickly.
Use a room-temperature pie plate suitable for the hot-sheet method. Don’t transfer a refrigerator-cold glass dish directly onto hot metal.
Cool Before Serving or Storing
Move the pie to a wire rack and cool for at least two hours before slicing. For neater wedges, let it cool completely; warm filling is softer and flows more readily.
Serve plain, with vanilla ice cream, or with lightly whipped cream. A serrated knife helps cut through the crust without pressing it flat.
For this fruit-only pie, refrigerate covered leftovers once cooled and use within four days. Store dairy toppings separately.
Reheat individual slices in a 350°F oven for about 10 to 15 minutes, until warmed through. A microwave is quicker, but the pastry will be softer.
Frequently Asked Questions
Can I Make the Pie Crust Ahead of Time?
Wrap the dough disks tightly and refrigerate them for up to two days. Let firm dough stand at room temperature for about 10 minutes before rolling, stopping once it bends without cracking.
Do I Need to Peel the Apples?
Peeling is a texture preference rather than a requirement. Unpeeled apples leave noticeable strips of skin in the filling, while peeled apples give you a softer, more uniform bite.
How Can I Tell When Apple Pie Is Done?
Look for a golden crust and bubbling filling through the center vents, also emphasized in King Arthur Baking’s apple pie recipe. Slide a thin knife through a vent; the apples should feel tender, with little resistance.
Why Is My Apple Pie Filling Runny?
Slicing while the pie is hot, underbaking, or using too little thickener can leave loose juices. The filling needs enough oven time to bubble, followed by cooling time to set. A browned top alone doesn’t mean the center has finished cooking.
Can I Freeze Homemade Apple Pie?
Yes, wrap the fully cooled baked pie tightly, add a protective outer layer, and freeze for up to three months. Thaw it overnight in the refrigerator, then warm gently in a 350°F oven until heated through. Freezing an unbaked pie is a different method and requires a longer baking schedule than the one above.
Enjoy a Slice After the Pie Has Cooled
A homemade apple pie comes together with simple dough, evenly sliced fruit, and a few clear stopping points. Keep the butter cold, bake until the filling bubbles, then give the pie time to cool before cutting.
That final wait helps the warmly spiced apples hold together inside the flaky crust. Serve your slice plain or add a favorite topping, depending on how sweet and rich you want it.
Save the pin for later


I’m the creator of My Everyday Dish, a food blog focused on easy homemade recipes, comforting family meals, simple baking, and seasonal food ideas. I love finding practical ways to make everyday cooking less stressful and more enjoyable. Here, I share recipes with simple ingredients, clear instructions, and plenty of flavor, helping you make delicious meals and treats you’ll feel confident serving at home.
Leave a Reply