
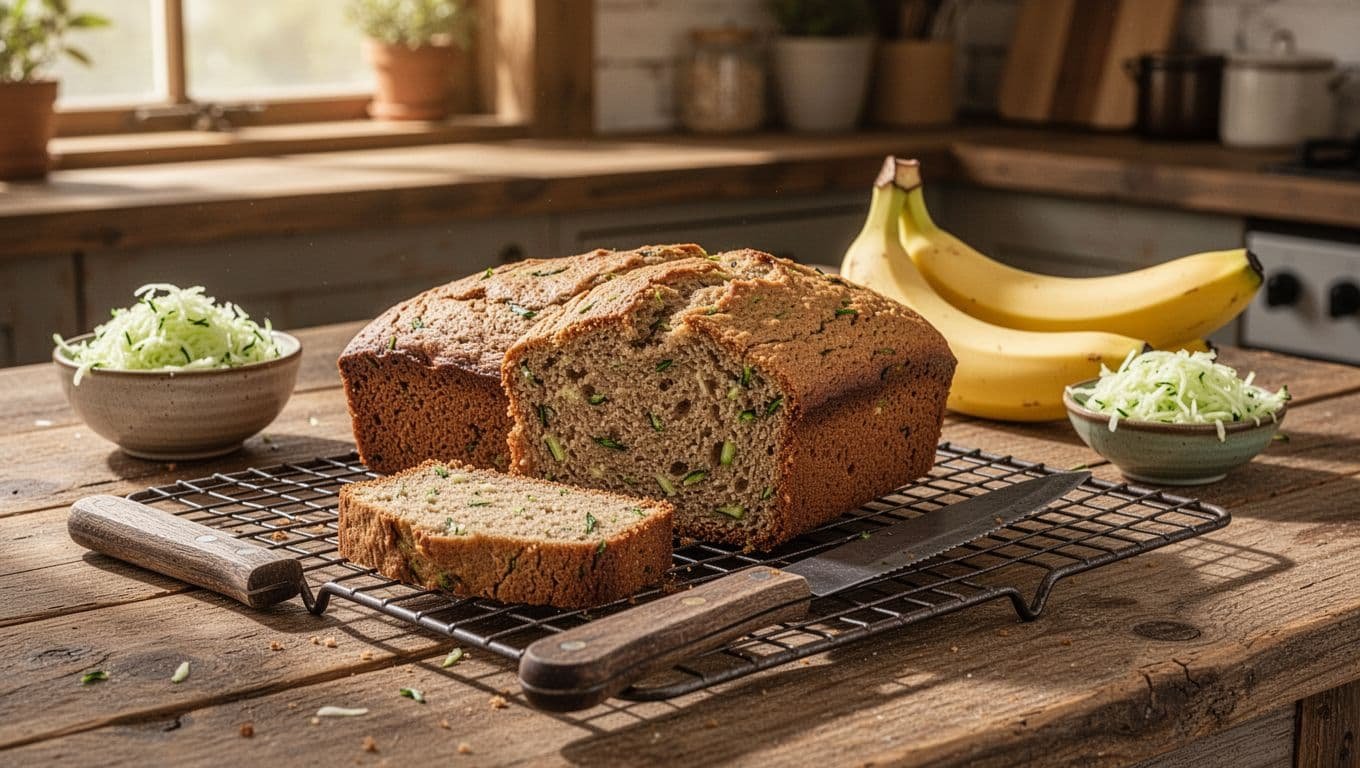
When overripe bananas and garden zucchini start collecting on the counter, I turn them into one tender loaf of banana zucchini bread. This banana zucchini bread recipe that’s gluten free gives both ingredients a practical purpose, and it comes together in one bowl with simple pantry staples.
The finished loaf has a soft, lightly moist crumb, gentle banana sweetness, and a warm cinnamon flavor. It takes about 50 to 65 minutes to bake, depending on your oven and how much moisture remains in the zucchini. The most important step is squeezing the grated zucchini firmly before measuring it. Extra liquid can leave the center gummy or cause the loaf to sink.
I make this bread for breakfast, an afternoon snack, or a lunchbox treat because it travels well once cooled. You can bake the basic version first, then add walnuts, chocolate chips, or raisins when you want more texture. The method below keeps the process easy without sacrificing a clean, sliceable loaf.
Very Easy Banana Zucchini Bread Recipe That’s Gluten Free, Step by Step
This recipe makes one loaf in a 9 by 5-inch pan. I use a cup-for-cup gluten-free all-purpose flour blend because it gives the most reliable texture with the least adjustment.
Prep time: 15 minutes Bake time: 50 to 65 minutes Yield: 1 loaf, about 10 slices Oven temperature: 350°F
Ingredients
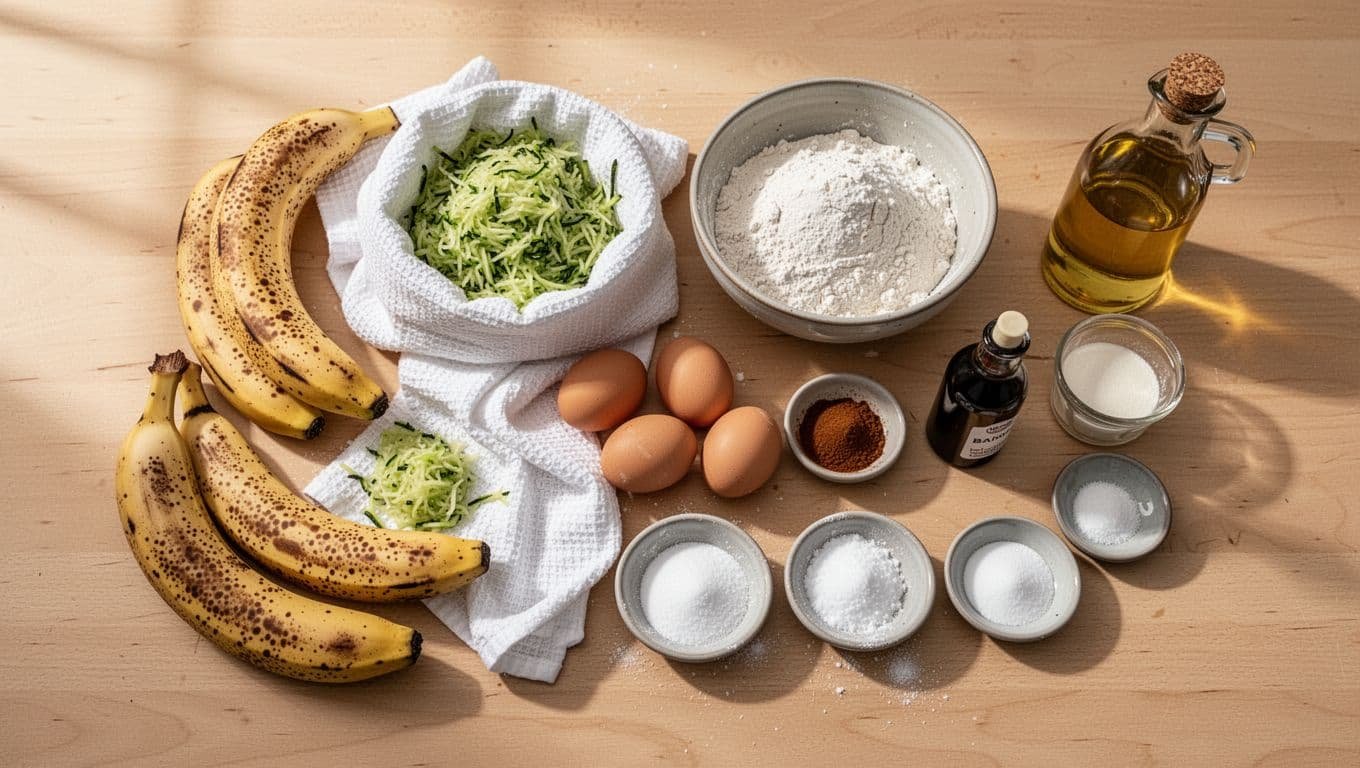
- 2 very ripe bananas, mashed
- 1 cup grated zucchini, measured after squeezing dry
- 1 3/4 cups cup-for-cup gluten-free all-purpose flour
- 2 large eggs
- 1/3 cup neutral oil or melted butter
- 1/2 cup granulated sugar
- 1 teaspoon vanilla extract
- 1 teaspoon ground cinnamon
- 1 teaspoon baking powder
- 3/4 teaspoon baking soda
- 1/2 teaspoon salt
Choose a flour blend that includes a binder such as xanthan gum. If the package says it does not contain one, follow that product’s instructions for adding xanthan gum. A blend such as King Arthur Measure for Measure, Namaste Perfect Flour Blend, or GF Jules can work, but always check the package directions.
For optional mix-ins, use up to 1/2 cup chopped walnuts, pecans, raisins, or chocolate chips. I prefer adding them after the basic batter is mixed so the plain loaf remains mild and family friendly.
Check packaged ingredients for gluten-free labeling if you bake for someone with celiac disease or a strict gluten-free diet. The Celiac Disease Foundation explains the FDA standard for foods labeled gluten-free, including the less-than-20-parts-per-million threshold.
Read also: Easy Banana Zucchini Carrot Bread With Fresh Bananas and Veggies
Prepare the Bananas, Zucchini, and Gluten-Free Batter
- Heat the oven to 350°F. Grease a 9 by 5-inch loaf pan, then line it with parchment paper so two sides hang over the edges.
- Mash the bananas in a large bowl until mostly smooth. A few small lumps are fine. Add the eggs, oil or melted butter, sugar, and vanilla. Whisk until the mixture looks even.
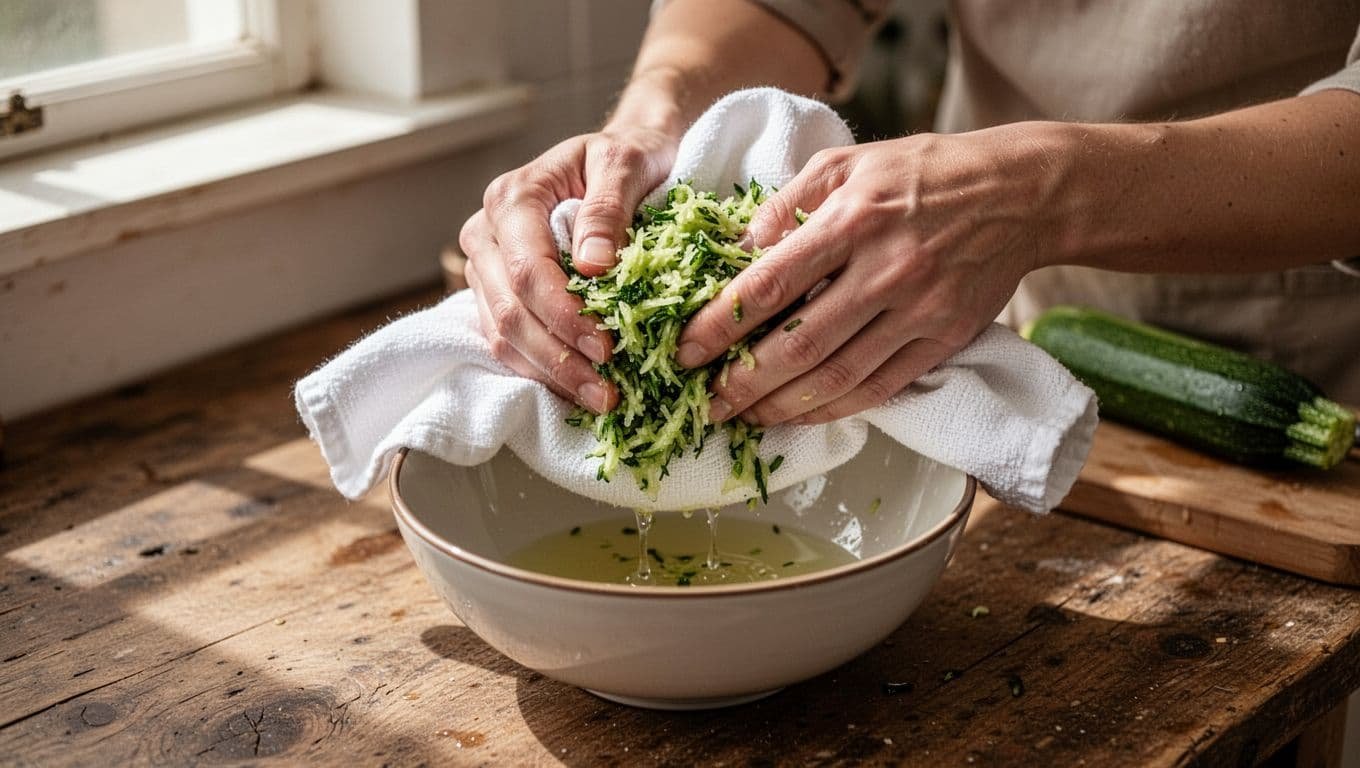
- Grate the zucchini, then place it in a clean kitchen towel or several layers of paper towel. Squeeze firmly over the sink or a bowl until the towel no longer releases a steady stream of liquid. Measure the zucchini after draining, not before.
Zucchini holds a surprising amount of water. If that liquid stays in the batter, the loaf can turn wet in the middle, sink as it cools, or take much longer to bake.
- Add the drained zucchini to the banana mixture. Sprinkle in the flour, cinnamon, baking powder, baking soda, and salt. Stir with a spatula until no dry streaks remain.
- Fold in any optional mix-ins. Stop mixing as soon as the batter comes together. Gluten-free flour doesn’t develop gluten, but overmixing can still make a quick bread heavy and uneven.
For a slightly better crumb, I sometimes let the batter rest for 10 to 15 minutes before baking. This gives the gluten-free flour time to hydrate. Don’t let it sit much longer, because the leaveners begin losing strength before the pan reaches the oven.
Bake, Test, and Cool the Loaf for Clean Slices
Spread the batter evenly in the prepared pan. If you reserved a few nuts or chocolate chips, scatter them over the top and press them lightly into the surface.
Bake at 350°F for about 50 to 65 minutes. Ovens vary, and zucchini can hold different amounts of moisture, so I rely on doneness cues instead of the clock alone. The top should look firm and golden, the edges should be set, and a toothpick inserted in the center should come out clean or with a few moist crumbs. Wet batter on the toothpick means the loaf needs more time.
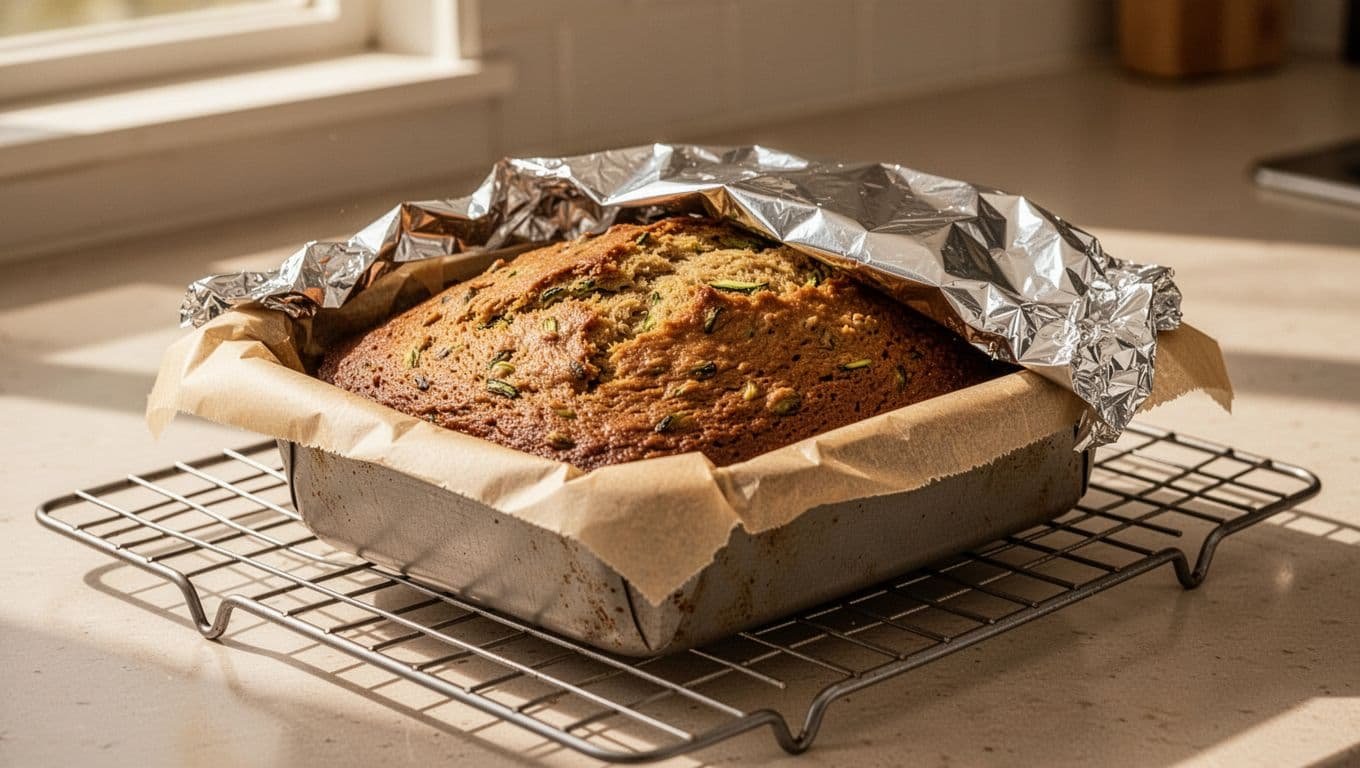
If the top becomes brown before the center is finished, place a sheet of foil loosely over the loaf. Avoid pressing the foil onto the rising bread.
Let the loaf cool in the pan for about 10 minutes. Use the parchment to lift it onto a wire rack, then wait until it is fully cool before slicing. Warm gluten-free quick bread is fragile and may crumble even when it is baked correctly.
Simple Ingredient Choices and Substitutions That Keep the Bread Tender
A few ingredient choices have a bigger effect than others. I keep the basic formula close to the recipe because bananas and zucchini already provide plenty of moisture.
A cup-for-cup gluten-free flour blend is the easiest option. These blends usually combine flour and starches in proportions intended for direct replacement. Almond flour and coconut flour cannot replace the gluten-free blend at the same amount, because they absorb liquid and provide structure differently. They require a separate recipe.
Very ripe bananas provide sweetness, moisture, and banana flavor. For the most consistent result, use two medium-to-large bananas with plenty of brown spots. If yours are unusually small, the loaf may be less sweet and slightly drier.
Granulated sugar works well in the basic recipe. Brown sugar can usually replace it by volume and will give the loaf a deeper flavor. Maple syrup or honey can also work, but they add liquid, so replacing only part of the sugar is the safer approach. The batter may become softer, and the bake time may change.
For the fat, I use neutral oil when I want a soft crumb. Melted butter adds a richer flavor, while melted coconut oil works if you enjoy its mild sweetness. Let melted butter or coconut oil cool slightly before mixing it with the eggs.
If you need an egg-free loaf, a prepared flax egg can bind the batter, but the texture may be softer and more fragile. I recommend cooling the loaf completely and slicing it carefully. For a dairy-free recipe, use oil or a dairy-free butter alternative and check every packaged ingredient.
Cinnamon keeps the loaf familiar and mild. A small pinch of nutmeg adds warmth without overpowering the banana. Walnuts and pecans add crunch, while raisins bring extra sweetness. Chocolate chips make the loaf taste more like dessert, so I usually choose one addition rather than combining several.
For more general guidance on how binders affect gluten-free quick breads, this xanthan gum baking guide offers useful background.
How to Prevent a Gummy, Dense, or Sunken Gluten-Free Loaf
Most problems with this bread come from moisture or measuring. I weigh the flour when I can. Otherwise, I spoon it into a measuring cup and level the top with a knife instead of scooping directly from the bag.
Don’t pack grated zucchini into the measuring cup. Squeeze it first, then measure one cup of the drained zucchini. Too much liquid is the most common reason for a gummy center.
Underbaking creates a loaf that looks finished on top but collapses or feels sticky inside. If the top is already brown, tent it with foil and continue baking until the center passes the toothpick test. Letting the loaf cool fully also matters because the crumb continues to set as it cools.
Overmixing can make the loaf dense. Stir only until the dry ingredients disappear, then transfer the batter to the pan. The batter should look thick but spreadable.
An 8 by 4-inch pan will produce a taller loaf, so begin checking later than you would for muffins and expect the baking time to change. In a muffin tin, fill lined cups about three-quarters full and start checking much earlier than the loaf timing. The tops should spring back lightly, and a toothpick should show moist crumbs rather than wet batter.
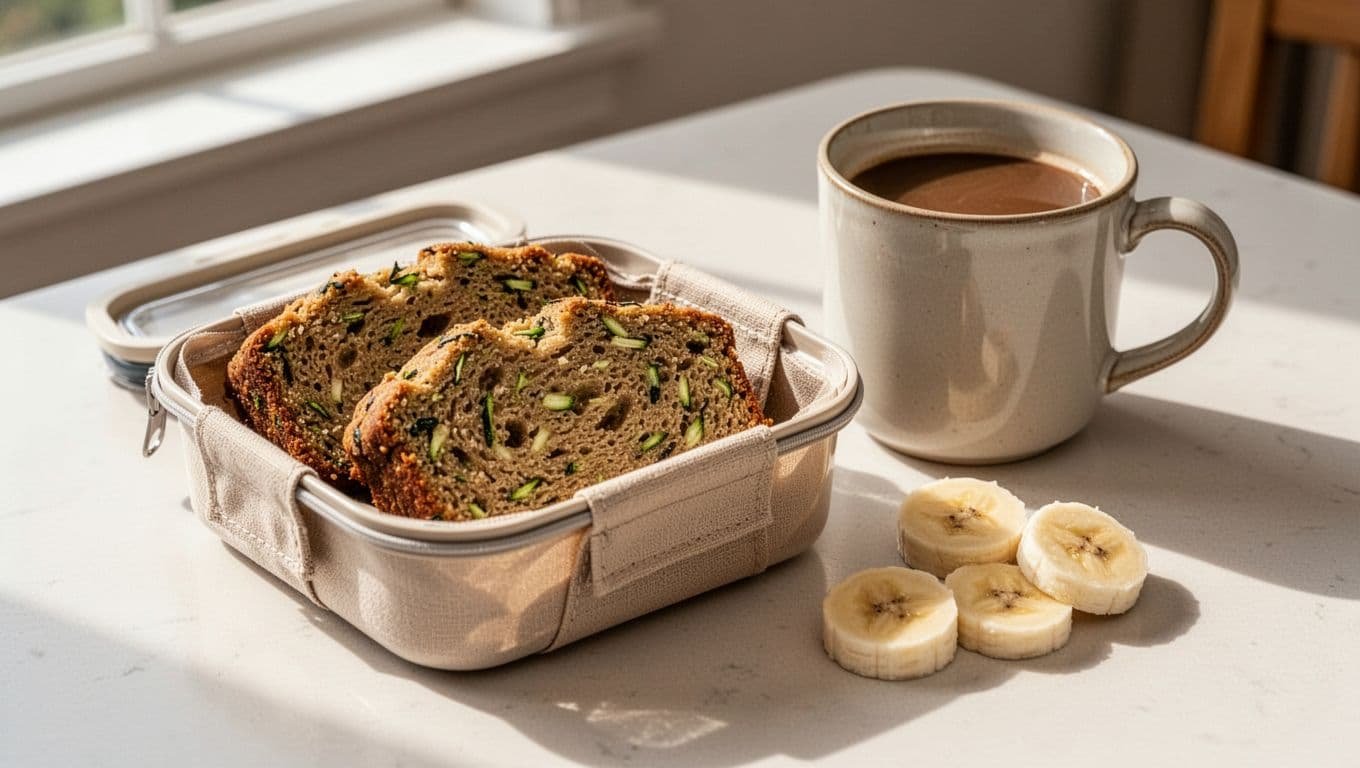
For storage, cool the loaf completely before wrapping it airtight. Refrigerate it for several days, especially if your kitchen is warm. Chilled slices are often easier to cut, and you can warm one gently before serving. For longer storage, wrap individual slices and freeze them. This makes it easy to take out one piece for breakfast or a lunchbox.
Key Takeaways
- Measure the zucchini after squeezing it very well.
- Use a reliable cup-for-cup gluten-free flour blend with a binder included.
- Spoon and level the flour, or weigh it for better accuracy.
- Mix only until the batter comes together.
- Bake until the center is set, not only until the top turns golden.
- Cool the loaf fully before slicing.
Frequently Asked Questions
Can the zucchini be left unpeeled?
Yes. Young zucchini has tender skin, and leaving it on adds color and nutrients to the bread. Very large zucchini may have tough skin and large seeds, so I remove those parts before grating. Either way, squeeze the grated zucchini thoroughly before measuring it.
Can frozen zucchini or bananas be used?
Frozen bananas should thaw completely before mashing. Drain away any extra liquid so the batter doesn’t become wetter than intended. Frozen zucchini releases more water than fresh zucchini, so thaw it, squeeze it very well, and expect that the loaf may need a little more baking time.
How can gluten-free banana zucchini bread stay from falling apart?
Accurate flour measurement, enough binder, and complete cooling all help the loaf hold together. Mix thoroughly enough to hydrate the flour, but stop once no dry streaks remain. Slicing while the bread is warm is a common reason gluten-free pieces seem crumbly.
Can this recipe be made into gluten-free muffins?
Yes. Divide the batter among lined muffin cups, filling each about three-quarters full. Bake until the tops spring back lightly and a toothpick comes out clean or with a few crumbs. Muffins usually finish much sooner than a loaf, so begin checking early instead of using the full loaf timing.
Conclusion
I return to this simple banana zucchini bread whenever I have ripe bananas or extra zucchini that needs a purpose. The plain loaf is tender, lightly sweet, and practical enough for breakfast, an afternoon snack, or a homemade lunchbox treat.
For the best result, use a dependable cup-for-cup gluten-free flour blend, squeeze the zucchini well, avoid overmixing, and let the loaf cool completely before slicing. I suggest trying the basic version first, then adding walnuts or chocolate chips the next time. A few wrapped slices in the freezer can turn an ordinary morning into an easy homemade breakfast.
Save the pin for later

I’m the creator of My Everyday Dish, a food blog focused on easy homemade recipes, comforting family meals, simple baking, and seasonal food ideas. I love finding practical ways to make everyday cooking less stressful and more enjoyable. Here, I share recipes with simple ingredients, clear instructions, and plenty of flavor, helping you make delicious meals and treats you’ll feel confident serving at home.
Leave a Reply