
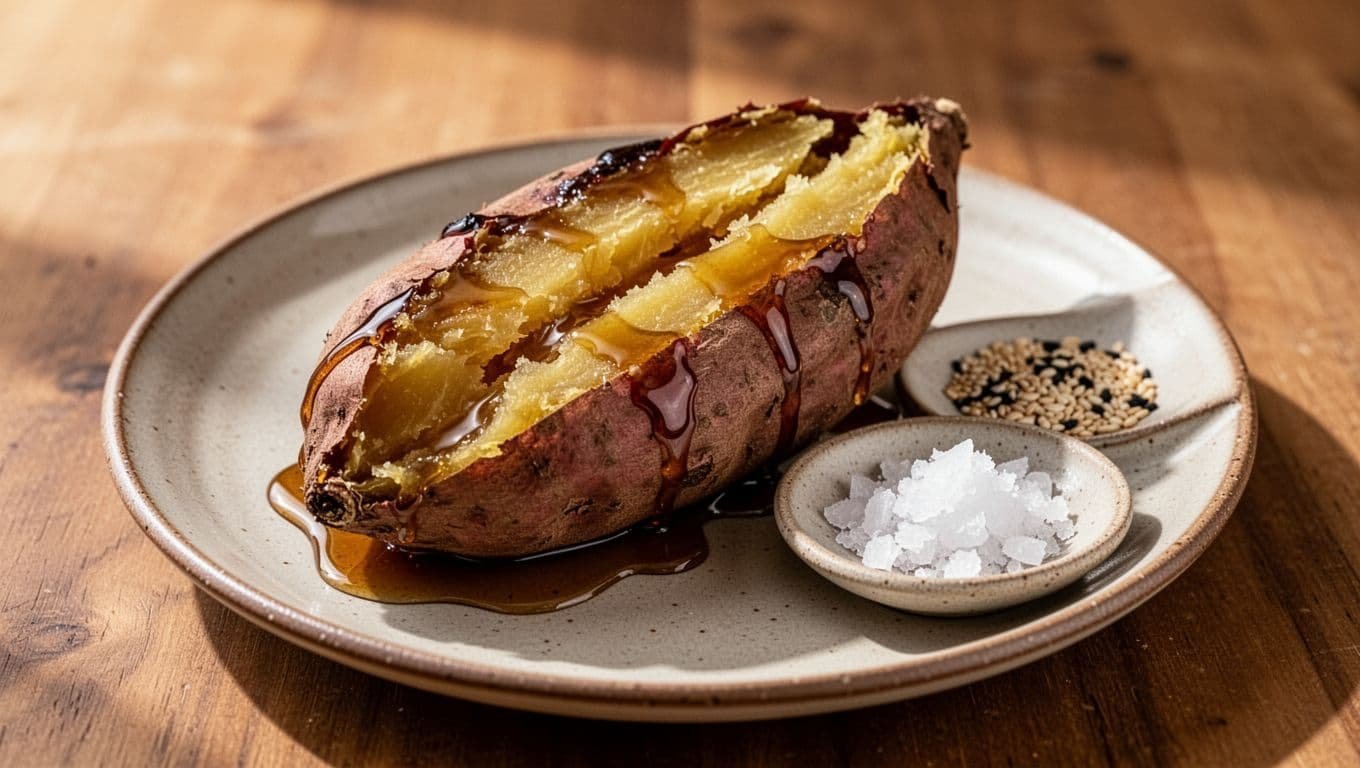
Whole Japanese sweet potatoes need little help to taste special. Their naturally sweet flesh turns soft and custardy in the oven, while syrupy caramelized spots form beneath the skin.
This Japanese sweet potato recipe baked until soft and caramelized needs no butter, sugar, or oil. Potato size changes the baking time, so the best results come from watching for tenderness instead of relying on the clock alone.
With a hot oven and a little patience, you’ll get a simple side, snack, breakfast, or light dessert.
Japanese Sweet Potato Recipe Baked Until Soft and Caramelized
Japanese sweet potatoes, also called satsumaimo, have reddish-purple skin and pale yellow flesh. They are starchier and drier when raw than orange sweet potatoes. Slow oven heat changes that texture into a dense, creamy center with a rich sweetness.
The goal is not a potato that is merely cooked through. Bake it until a knife slides into the thickest point with no resistance and sticky syrup appears near the skin.
For this recipe, gather:
- 2 to 4 whole Japanese sweet potatoes
- Optional flaky salt, butter, cinnamon, maple syrup, Greek yogurt, toasted sesame seeds, tahini, chili crisp, or miso butter
Choose potatoes that feel firm and heavy for their size. Skip any with soft spots, mold, or deep cuts. Potatoes of similar thickness finish closer together, which makes timing easier.
Two large potatoes can serve two people generously. Four small or medium potatoes usually serve four as a side dish.
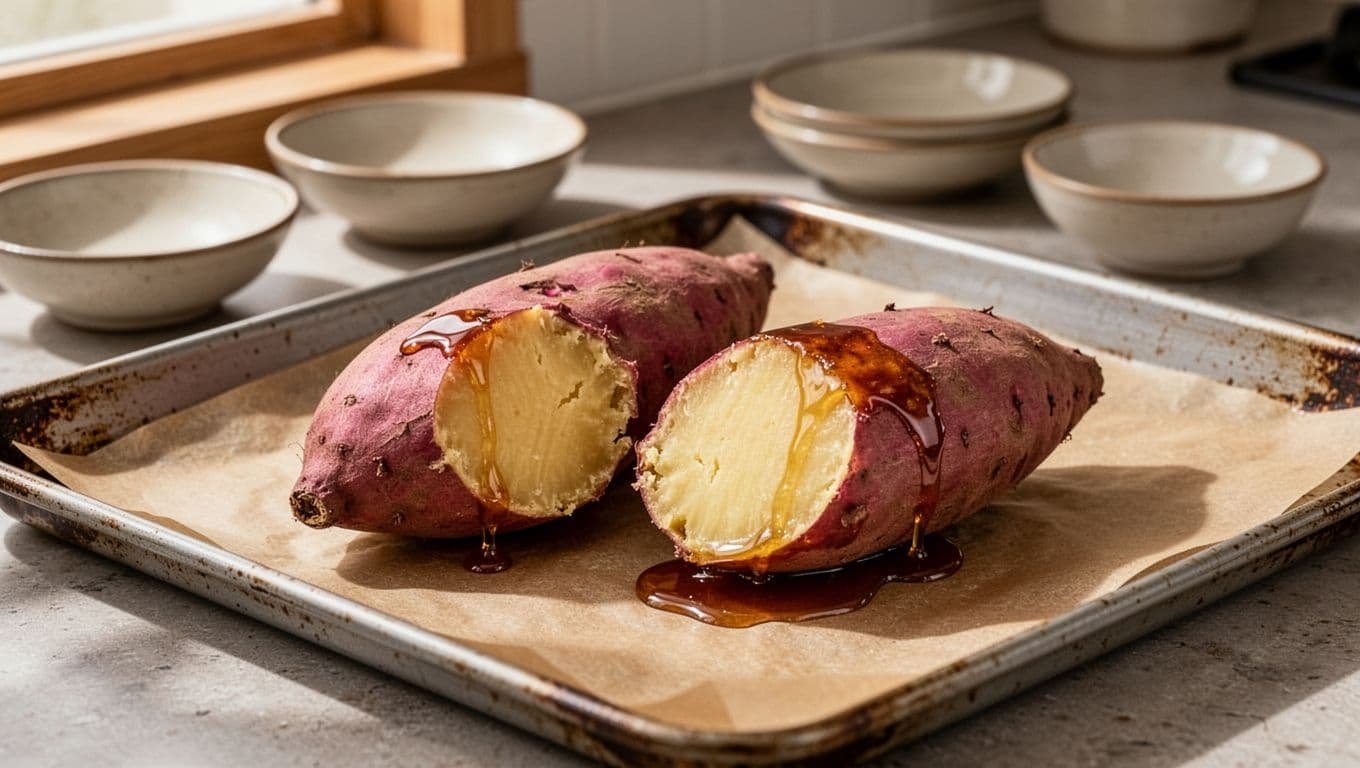
How to Bake Japanese Sweet Potatoes Step by Step
Set the oven to 400°F for an easy balance of tender centers and roasted skin. This Japanese sweet potato recipe baked until soft and caramelized is forgiving, but the potatoes must stay in the oven until their centers are completely soft.
- Heat the oven to 400°F. Line a rimmed baking sheet with parchment paper.
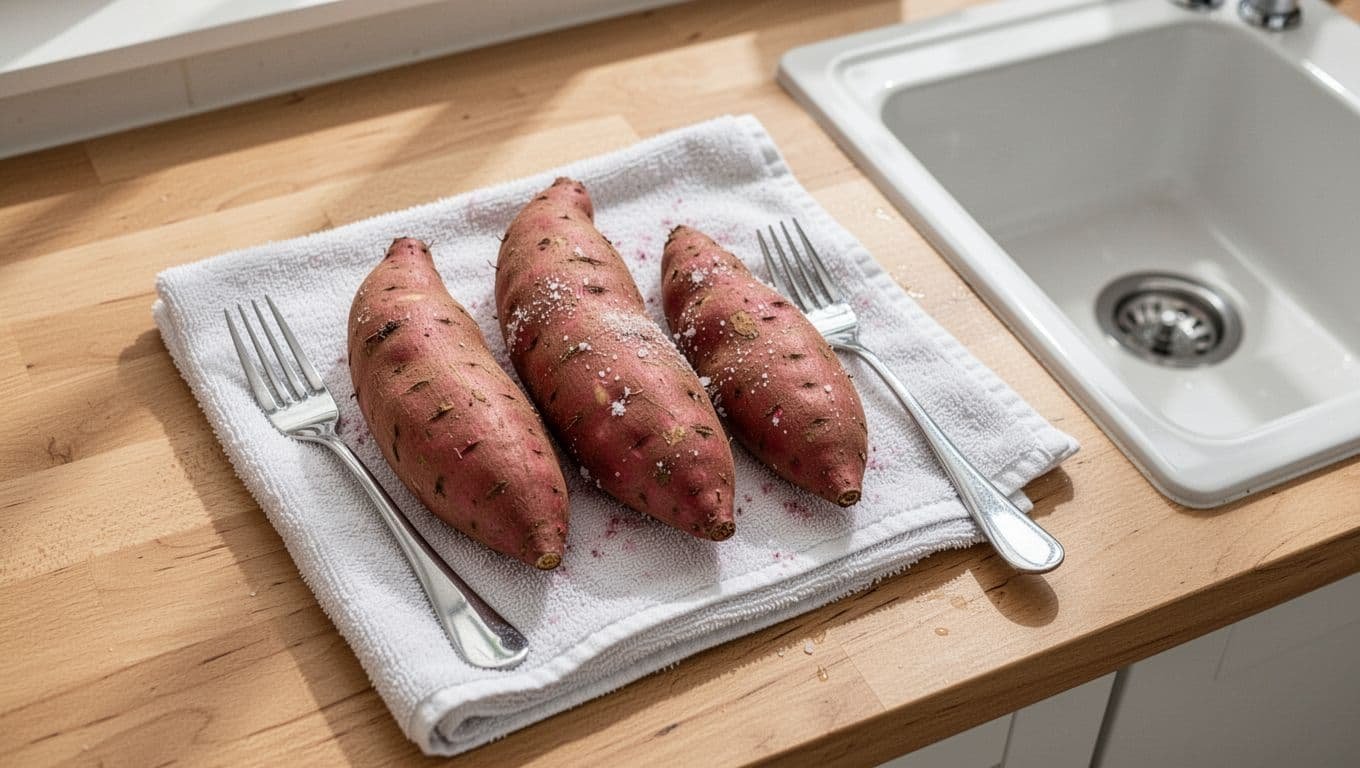
- Scrub the potatoes well under cool water, then dry them thoroughly.
- Prick each potato several times with a fork.
- Arrange them on the pan with space between each potato.
- Bake uncovered until tender. Rotate the pan halfway through if your oven cooks unevenly.
- Test the thickest part with a thin knife, skewer, or chopstick.
- Rest the potatoes for 5 to 10 minutes.
- Split them open lengthwise and serve while warm.
Read also: Easy Homemade Mashed Potatoes Without Milk
Prepare the Potatoes Without Peeling or Wrapping
Leave the skin on. It holds the soft flesh together, protects the potato during its long bake, and becomes pleasant to eat once it is scrubbed well.
Drying matters because surface moisture slows browning. Then prick each potato four to six times with a fork. The holes release steam and give a little of the natural syrup a place to escape.
Foil isn’t needed here. Uncovered potatoes develop drier, more roasted skins, while their sugars can caramelize instead of trapping moisture. Use a rimmed pan because syrup can drip through the fork holes.
Bake at 400°F Until the Centers Are Completely Tender
At 400°F, use these times as a starting point:
| Potato size | Approximate baking time |
|---|---|
| Small | 40 to 50 minutes |
| Medium | 50 to 65 minutes |
| Large | 65 to 90 minutes |
Thickness matters more than weight. A short, thick potato may need longer than a long, slender potato that weighs the same. Start checking near the early end of the range, then keep baking until the center offers no resistance.
For a slower bake and a softer, custardy interior, use 375°F and allow roughly 50 to 90 minutes. If you want more roasted skin and a shorter cook time, bake at 425°F, checking early to avoid over-darkening the syrup.
Read also: Twice Baked Mashed Potatoes Recipe With Cheese
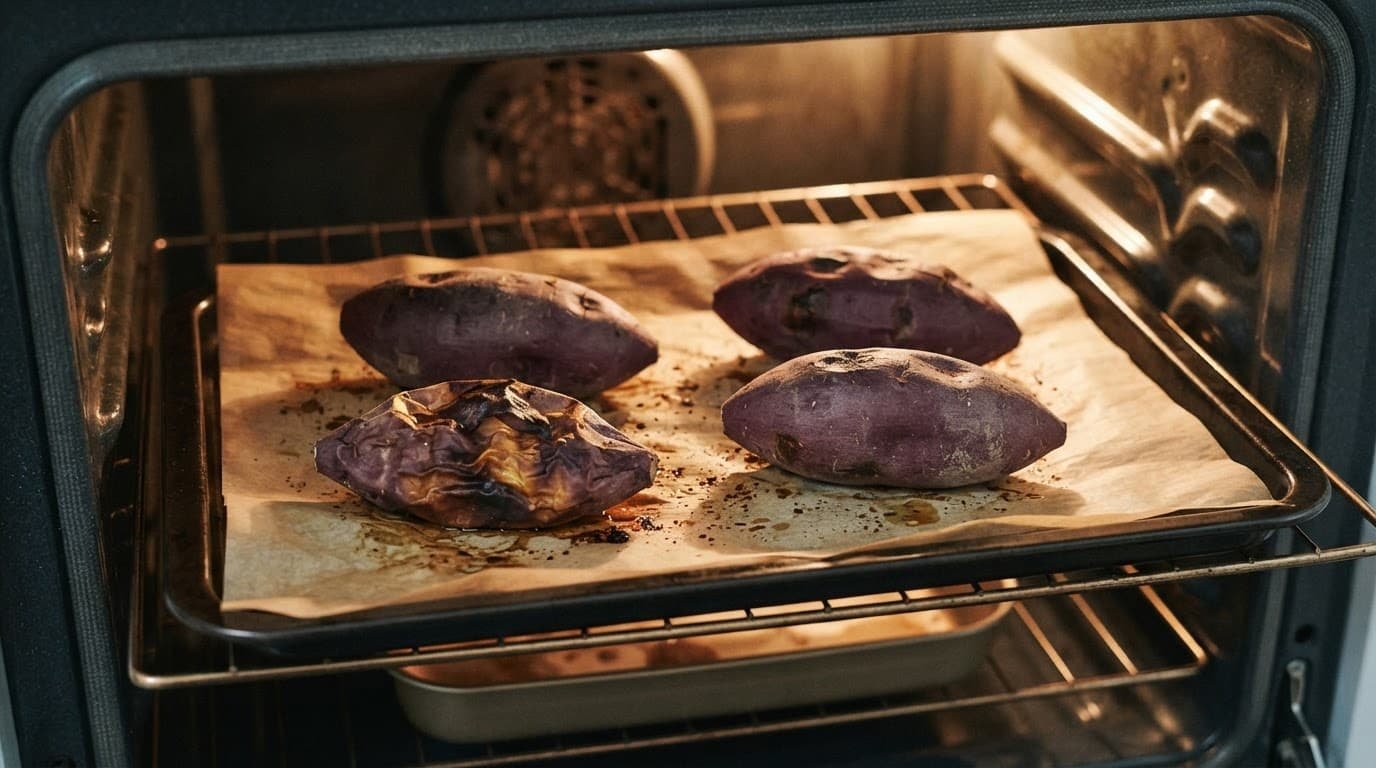
Check for Caramelization and Let Them Rest
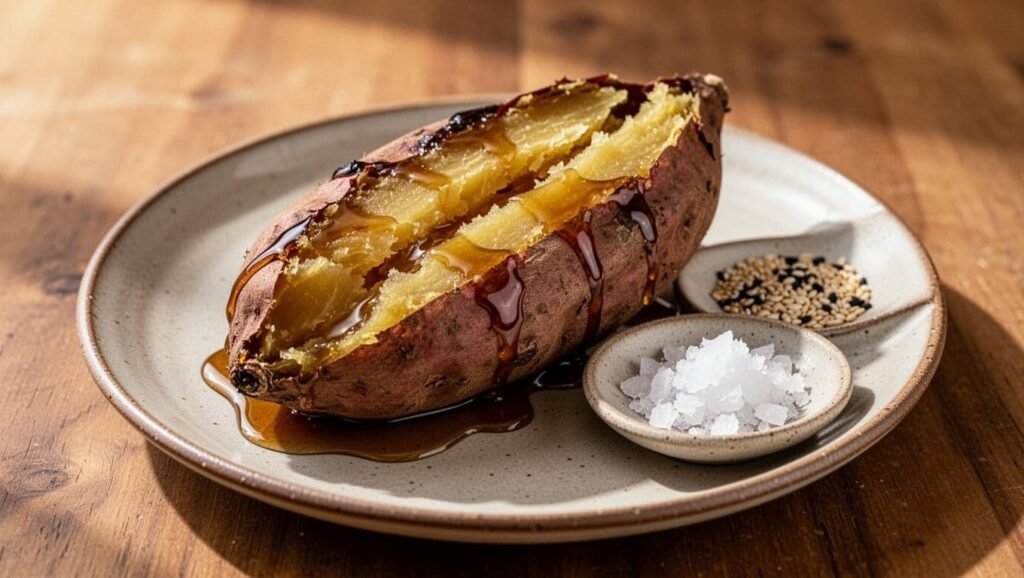
A fully baked potato often looks puffed, wrinkled, or slightly collapsed. You may see glossy syrup beading around the fork holes or where the skin has naturally split.
Gently press the potato through an oven mitt. It should feel soft all the way through, not firm in the middle. Then slide in a knife, skewer, or chopstick. Any resistance means it needs more time.
A potato can look browned outside and still be undercooked at its thickest point. The center test is the final call.
Return firm potatoes to the oven in 10-minute intervals. Once tender, let them rest for 5 to 10 minutes before cutting them open. That short rest lets the steam settle, so the flesh stays moist instead of turning fluffy and dry.
Serve the Soft Centers with Sweet or Savory Toppings
Try the first bite plain. A well-baked Japanese sweet potato is sweet enough to stand on its own, especially near the caramelized skin.
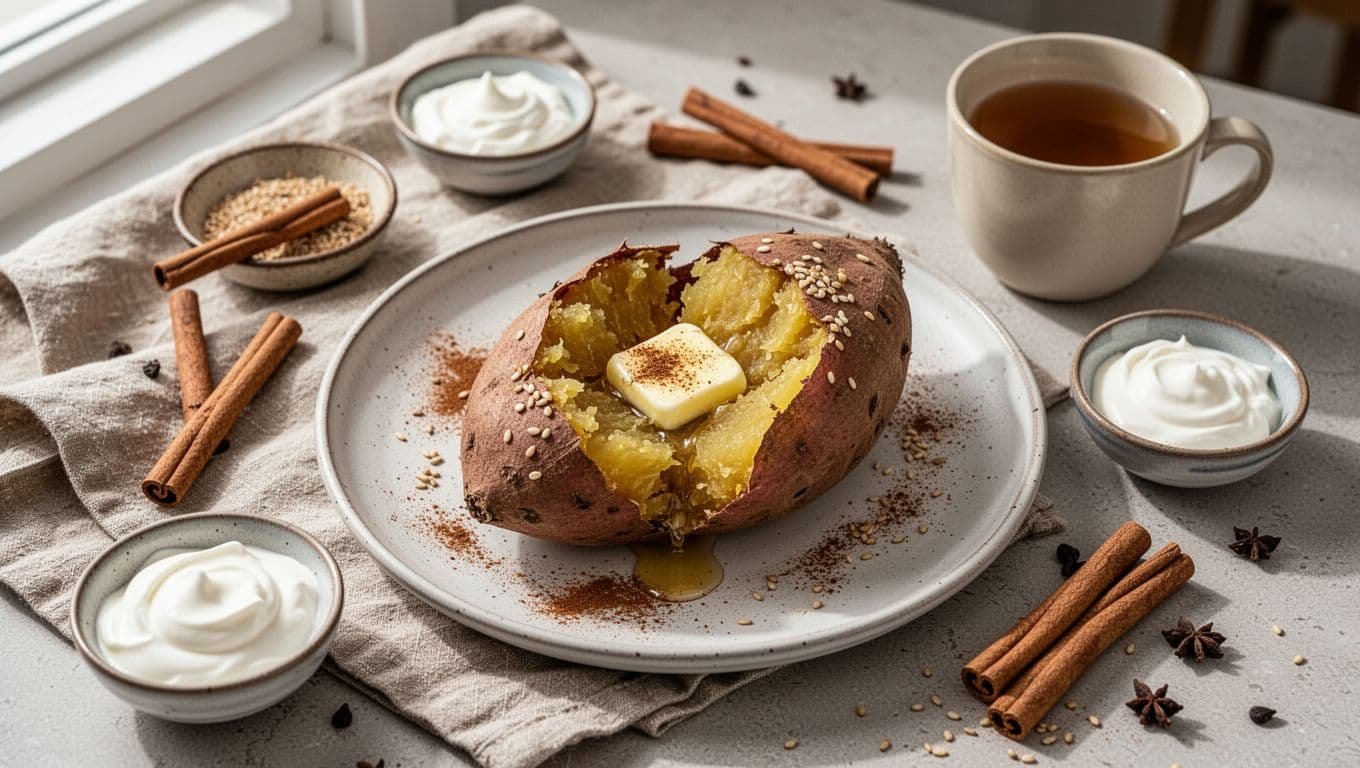
For a simple finish, add flaky salt or a small pat of butter. Cinnamon and maple syrup turn it into a cozy dessert-like snack. Greek yogurt adds tang, while toasted sesame seeds bring crunch.
Tahini, chili crisp, and miso butter all work well when you want a savory meal. Serve one with eggs for breakfast, beside roasted vegetables for dinner, or warm with yogurt after lunch. The skin is edible, although you can scoop out the center if you prefer.
How to Get the Sweetest, Most Caramelized Baked Japanese Sweet Potatoes
Temperature controls how quickly the skin roasts and how the interior feels. Lower heat gives the potato more time to soften and develop a dense sweetness. Higher heat creates a more pronounced roasted exterior.
Pick the Temperature for Your Preferred Texture
At 325°F, plan on roughly 70 to 90 minutes. The center becomes dense, cake-like, and very sweet. This slower approach resembles the texture many people look for in yaki-imo, Japan’s roasted sweet potato snack.
At 375°F, expect about 50 to 90 minutes depending on size. The flesh becomes especially buttery and custardy. Meanwhile, 400°F offers the most practical everyday balance of texture and timing.
Use 425°F when you want a faster result and browned skin. Watch carefully during the last part of baking, because escaped syrup can darken quickly on the parchment.
Fix Common Texture Problems
A firm center needs more oven time. Keep the potato on the pan and test again after 10 minutes. Don’t cut it open early, since trapped steam helps finish the middle.
Dry flesh often comes from baking too hot or holding the potato too long after it is tender. Next time, test sooner and rest it briefly before opening. Split skins are harmless, and they often let more syrup caramelize.
Burned syrup usually means the pan needs attention, not that the potatoes are ruined. Transfer the potatoes to fresh parchment if the syrup becomes very dark, then finish baking without excessive turning or handling.
Store and Reheat Leftover Japanese Sweet Potatoes
Cool baked potatoes before storing them. Refrigerate them in an airtight container for up to 5 days.
For longer storage, wrap each cooled potato well and freeze for up to 3 months. Thaw overnight in the refrigerator when possible.
Reheat potatoes in a 350°F oven or toaster oven for about 10 to 15 minutes, until hot in the middle. This brings back a better skin texture than microwaving. A microwave still works for a quick lunch, although the skin will soften.
Key Takeaways
- Scrub, dry, and prick whole Japanese sweet potatoes, but don’t peel or wrap them.
- Bake uncovered at 400°F, giving small potatoes 40 to 50 minutes and large ones up to 90 minutes.
- Trust the knife or skewer test over the timer. It must slide through the center without resistance.
- Sticky syrup, wrinkled skin, and soft flesh show that the potato has reached its sweetest stage.
- Taste it plain before adding toppings, since the caramelized center may need nothing else.
Frequently Asked Questions
Can I bake Japanese sweet potatoes at a lower temperature?
Yes. Bake them at 375°F for a softer, more custardy interior, or use 325°F for a denser, cake-like texture. Lower temperatures take longer, so begin checking for tenderness well before the longest suggested time.
Why did my potato remain firm in the center?
It likely needed more time or was thicker than it looked. Return it to the oven for 10 minutes, then test the thickest section with a skewer or knife. Keep repeating until the tool passes through easily.
Can I eat Japanese sweet potato skin?
Yes, as long as you scrub the potato well before baking. The skin softens during cooking and has a pleasant roasted flavor. If you don’t enjoy the texture, scoop out the soft center instead.
Do Japanese sweet potatoes need oil before baking?
No. Their natural sugars caramelize without oil, butter, or added sugar. Leaving them plain also lets you choose sweet or savory toppings after baking.
Can I freeze baked Japanese sweet potatoes?
Yes. Cool them completely, wrap each potato tightly, and freeze for up to 3 months. Reheat them in the oven or toaster oven after thawing for the best texture.
A Sweet Potato Worth Waiting For
The method stays simple: scrub, prick, bake uncovered, and wait until the center is completely soft. Patience gives Japanese sweet potatoes their deepest sweetness and those sticky caramelized edges.
Serve one plain first, then add only what sounds good. A properly baked potato already brings plenty of flavor to the plate.


I’m the creator of My Everyday Dish, a food blog focused on easy homemade recipes, comforting family meals, simple baking, and seasonal food ideas. I love finding practical ways to make everyday cooking less stressful and more enjoyable. Here, I share recipes with simple ingredients, clear instructions, and plenty of flavor, helping you make delicious meals and treats you’ll feel confident serving at home.
Leave a Reply