
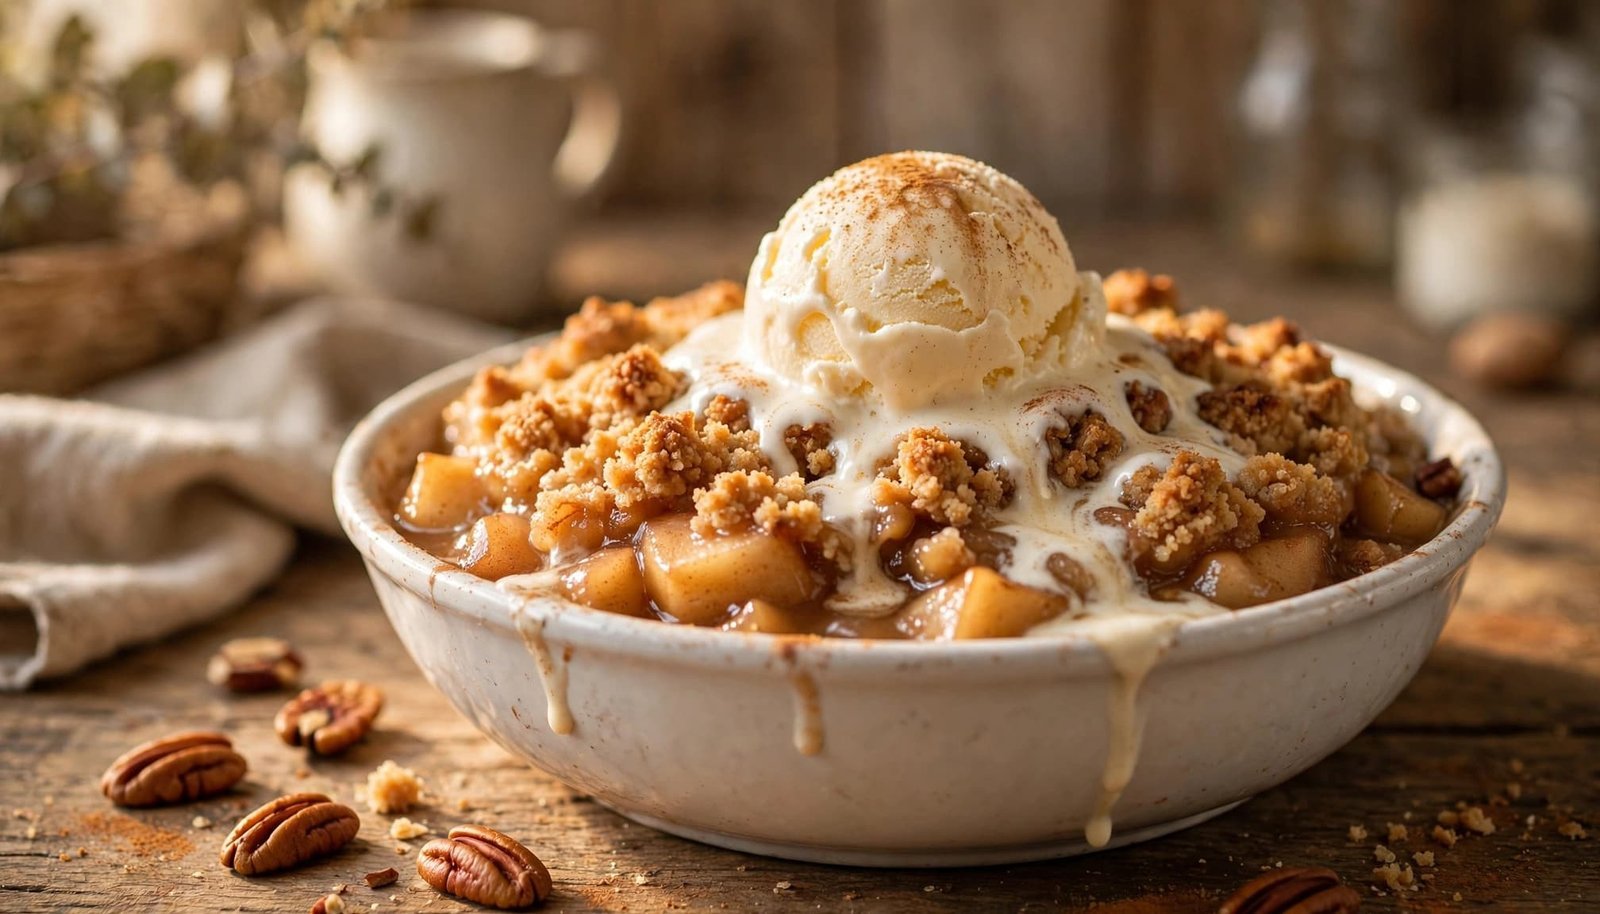
A warm apple dessert doesn’t need a homemade crust or a long prep list. With canned filling and baking mix, simple canned apple pie filling recipes made with Bisquick can go from pantry shelf to bubbling dessert in under an hour.
This is closer to an apple cobbler or crisp than a traditional double-crust pie. The canned filling brings tender, spiced apples, while Bisquick makes either a soft biscuit topping or a buttery crumble. A comparable Bisquick peach cobbler recipe follows the same simple fruit-and-topping idea.
Choose the texture you want, bake until golden, then serve warm with something cold and creamy.
Key Takeaways
This dessert works because canned apple pie filling is already sweetened, spiced, and thickened. You don’t need to peel apples, cook a filling, or make pastry.
- Use one 21-ounce can for a small, shallow dessert or two cans, about 42 ounces, for a fuller 8×8-inch casserole.
- Make a milk-based topping for a soft, biscuit-like cobbler.
- Use melted butter with Bisquick and sugar for a richer, crisp-style topping.
- Watch for bubbling filling and a browned top instead of trusting the timer alone.
- Serve it warm with vanilla ice cream or whipped cream.
Simple Canned Apple Pie Filling Recipes Made With Bisquick
There are two easy ways to turn canned filling into a warm dessert. The first uses a soft Bisquick dough spooned over the apples. It bakes into tender, lightly cakey pockets with golden edges. The second uses melted butter to create a crumbly, crisp topping.
For the everyday biscuit-style version, gather:
- 1 to 2 cans apple pie filling
- 1 cup Bisquick
- 1 tablespoon sugar
- 1 tablespoon softened butter
- 1/4 cup milk
- Cinnamon, to taste
This smaller ingredient ratio matches a common one-can Bisquick apple cobbler approach. One 21-ounce can is enough for a modest dessert in a shallow 8×8-inch dish, a 9-inch pie plate, or a 1.5-quart casserole. Two cans make a deeper apple layer in an 8×8-inch dish and work better for family-style servings.
Don’t drain the filling unless it looks unusually thin. Its syrup helps the apples stay moist while the topping bakes. Spreading the apples into an even layer also prevents dry corners and gives the topping a level surface.
A shallow pan exposes more topping to oven heat, so it browns faster. A deeper dish holds more filling, but it can need extra baking time before the center gets hot.
Read also: 25 Easy Healthy Lunch Recipes for Diabetics
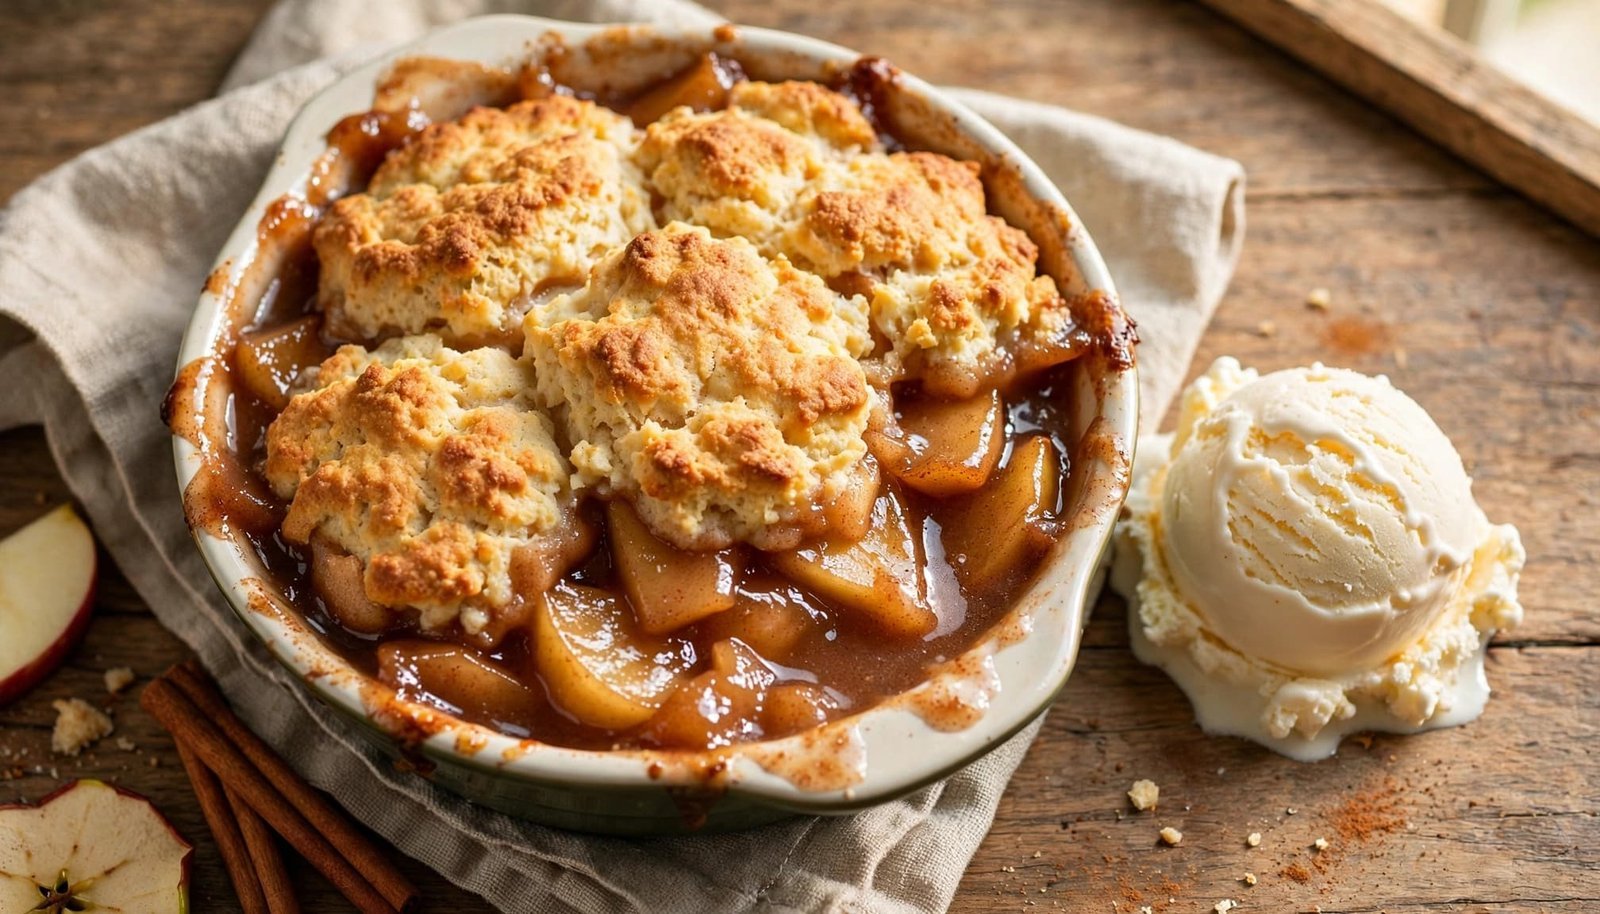
How to Make This Easy Bisquick Apple Cobbler Step by Step
The milk-based version comes together in one bowl and doesn’t require rolling or cutting dough.
- Preheat the oven to 400°F. Lightly grease an 8×8-inch baking dish or 1.5-quart casserole.
- Spoon the canned apple pie filling into the dish. Use a spatula to spread it evenly, especially if the apples are packed in thick syrup.
- In a medium bowl, stir together the Bisquick, sugar, and cinnamon. Start with 1/2 teaspoon cinnamon, then add more if you like a stronger spice flavor.
- Add the softened butter and milk. Mix only until a thick batter or soft dough forms. A few small lumps are fine, and overmixing can make the topping dense.
- Drop spoonfuls of topping across the apples. Leave small gaps between them so steam can escape and the fruit can bubble around the dough.
- Add a light dusting of cinnamon. Coarse sugar gives the top a little crunch, while chopped pecans add a toasted, nutty finish.
- Bake for about 15 to 20 minutes for the one-can version. For two cans with a thicker topping, reduce the oven to 375°F and plan on about 35 to 45 minutes.
- Let the cobbler rest for 5 to 10 minutes before serving. The apple layer thickens as it cools, so each scoop holds together better.
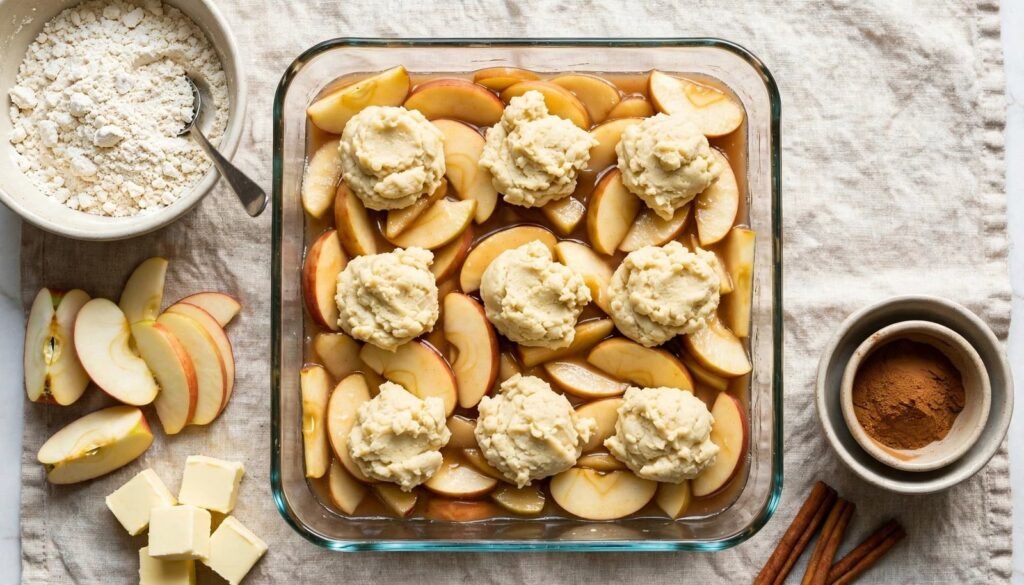
A Bisquick apple cobbler recipe also uses milk and cinnamon in its topping, although proportions and pan sizes vary. Use your dish and visual cues to guide the final bake.
Bake Until the Apples Bubble
How to Tell When the Bisquick Topping Is Done
The topping should look set, puffed, and golden brown. Check the edges of the dish for active bubbles in the apple filling. Those bubbling edges tell you the fruit layer has heated through.
If the top browns before the filling starts bubbling, loosely cover the dish with foil. Continue baking until the center is hot and the topping feels firm when lightly pressed with a spoon.
A golden top alone isn’t enough. The apples need to bubble around the edges for the dessert to heat evenly.
Give Larger Batches More Time
Two cans of filling create a deeper layer, especially in an 8×8-inch pan. The thicker mixture needs more time at 375°F than the one-can version needs at 400°F.
Check it near the lower end of the time range, then continue in short intervals if needed. Resting the finished cobbler for several minutes also helps the syrup settle instead of running across the plate.
Read also: 30 Healthy Lunch Ideas for Pregnancy With Easy Recipes
Choose a Biscuit, Crisp, or Crunchy Topping
For a Soft Biscuit-Style Cobbler
Use the milk-based topping when you want a soft, tender finish. Bisquick, a little sugar, softened butter, milk, and cinnamon make a dough that bakes into biscuit-like mounds over the apples.
Mix it only until combined. Too much stirring develops a heavier topping, while gentle mixing keeps it lighter. This option suits one can of filling or a smaller baking dish.
For a Richer Butter Crumble
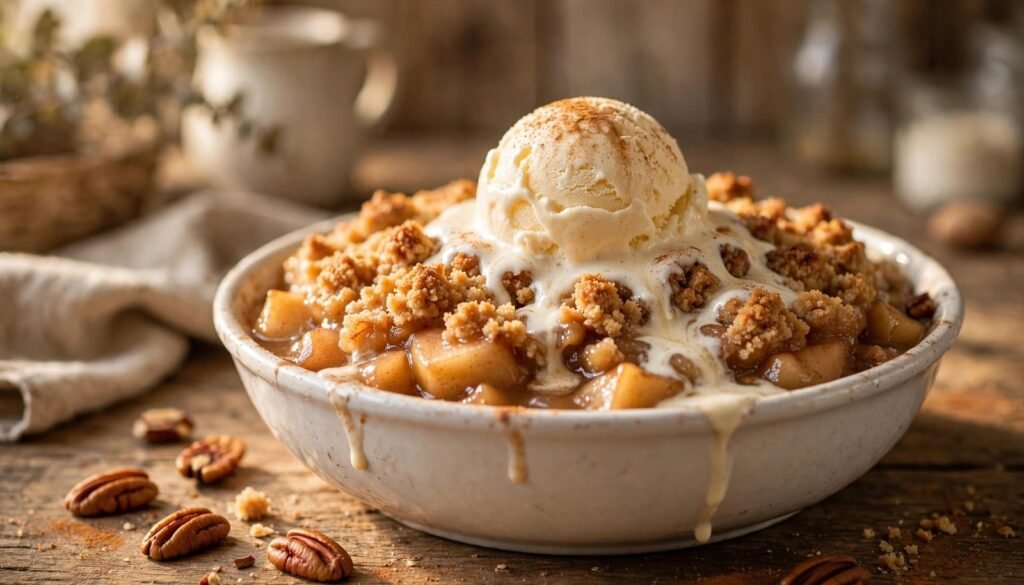
A crisp-style version works well when you have two cans of apple filling and want more topping. Stir roughly 2 cups Bisquick with 1/2 cup sugar, then pour in 1 cup melted butter until coarse crumbs form. Add up to 1/2 cup chopped pecans if you like.
Scatter the crumble over the filling and bake at 375°F for about 40 to 45 minutes. The result is more buttery and crunchy than the milk-based cobbler. An apple cobbler with Bisquick shows how flexible baking mix can be in fruit desserts.
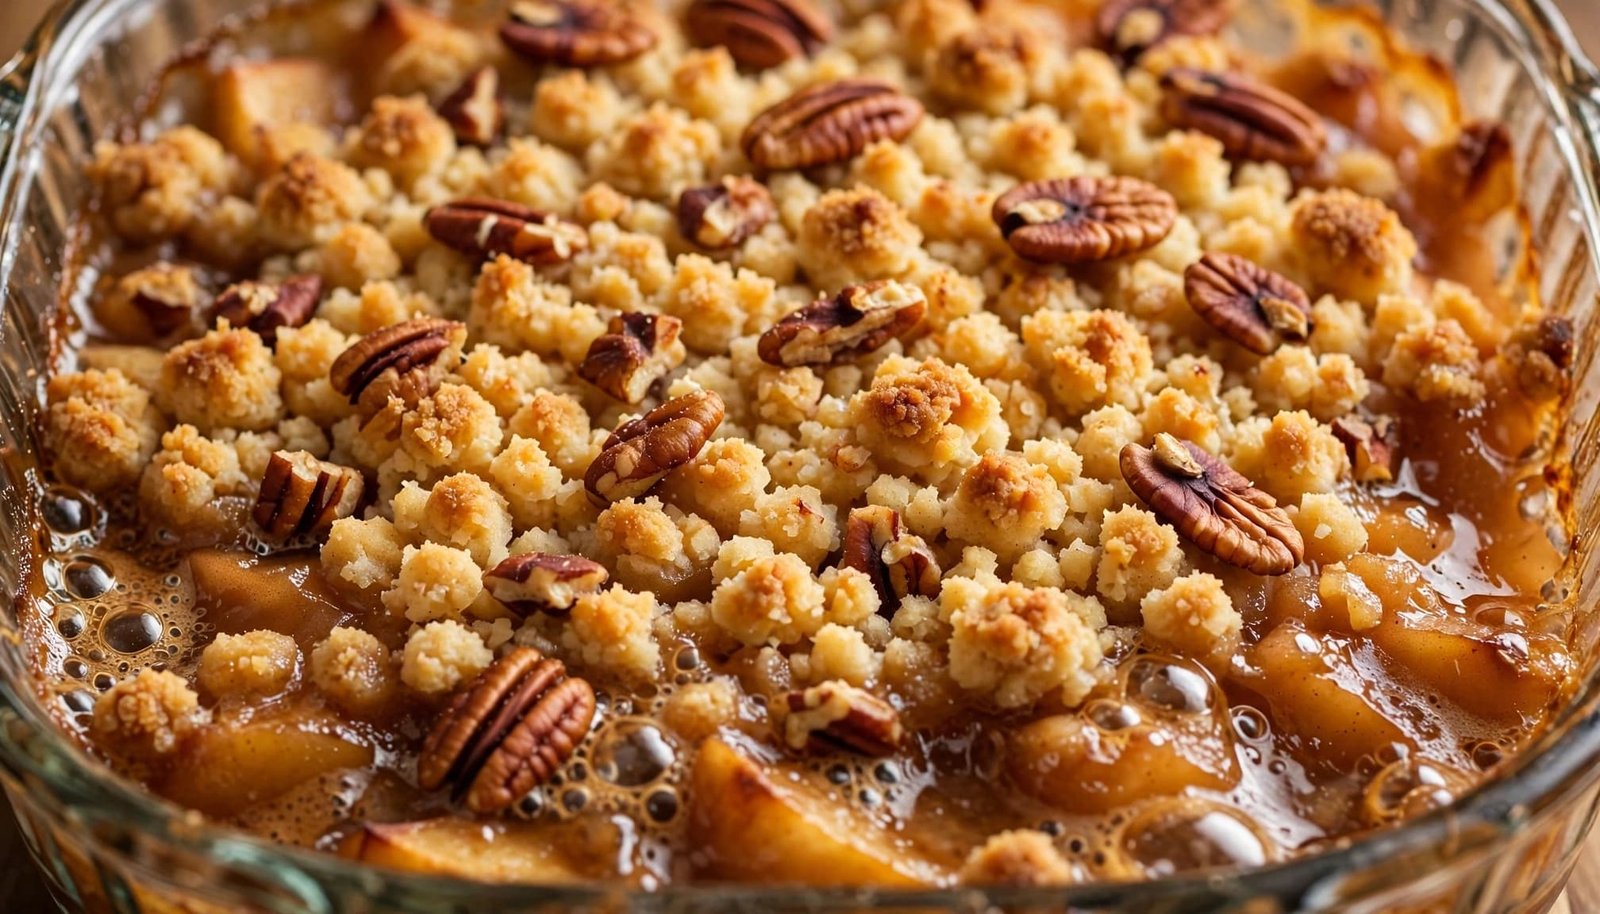
Both versions taste best warm, with vanilla ice cream melting into the cinnamon-spiced apples or a spoonful of whipped cream on top.
Flavor Add-Ins and Texture Tips
Simple Flavor Add-Ins and Ingredient Swaps
A small adjustment can make the dessert taste more like your favorite apple pie. Replace part of the white sugar with brown sugar for a deeper caramel note. Add a pinch of nutmeg or ground ginger if you want a warmer spice blend.
Pecans are especially good on the crumble topping, while coarse sugar adds crunch without another ingredient bowl. Gluten-free Bisquick can work for an appropriate variation, but check the package label for allergen details.
Canned filling already contains sugar and a thickener. Extra lemon juice or cornstarch usually isn’t necessary. A fresh-apple cobbler often needs those additions, as shown in this fresh apple cobbler recipe, but canned filling keeps this version simpler.
Helpful Tips for Better Texture and Flavor
Spread the filling into an even layer before adding topping. Otherwise, some areas can bake dry while others remain syrupy. Leave room between spoonfuls of dough so heat reaches the apples.
Canned fillings differ in sweetness, spice level, and apple slice size. Taste a small spoonful before baking if you want to adjust cinnamon or add sugar. A shallow dish gives you more browned topping, while a deep casserole may need additional time.
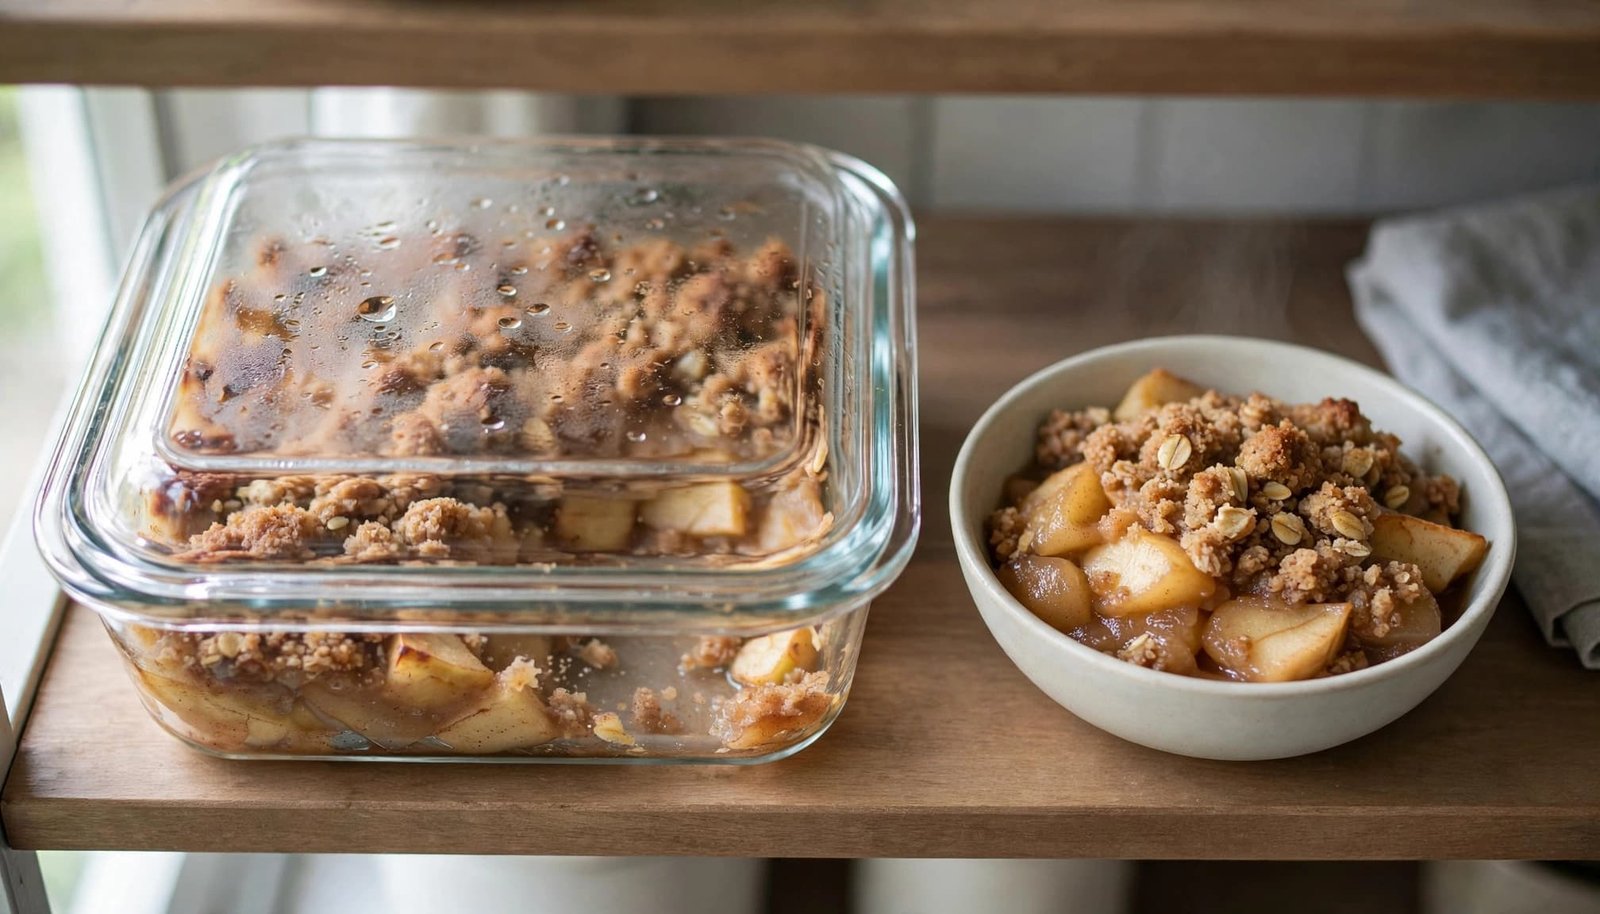
Cool leftovers, cover them, and refrigerate them. Reheat individual servings until warm in the microwave, or warm larger portions in the oven. Ice cream or whipped cream makes even day-old cobbler feel fresh again.
Frequently Asked Questions
Can I use one can of apple pie filling instead of two?
Yes. One 21-ounce can makes a smaller dessert and works best in a shallow dish. Keep the topping thinner, then watch for a golden top and bubbling filling instead of relying only on the listed baking time.
Do I need to drain canned apple pie filling?
Draining usually isn’t needed. The syrup keeps the dessert moist and helps the apples bubble beneath the topping. Removing it can leave the finished cobbler dry, unless your particular can has unusually thin liquid.
Is this a pie, cobbler, crisp, or dump cake?
This recipe is best described as a cobbler or crisp-style dessert. The apples sit under a Bisquick topping rather than between two pastry crusts. The milk-based version is closer to a cobbler, while the buttery crumble is closer to a crisp.
Can I bake this in a pie plate or bundt pan?
An 8×8-inch dish or 1.5-quart casserole gives the most dependable results. A 9-inch pie plate can work for a one-can batch, although the topping will be thinner. A bundt pan suits a larger, richer version, but it may change the baking time.
How should I store leftover Bisquick apple cobbler?
After the cobbler cools, cover it and refrigerate it. The topping may soften after chilling, but brief reheating brings back a warm, comforting texture. Serve leftovers within a few days for the best quality.
A Warm Dessert With Pantry Staples
Canned apple pie filling and Bisquick make it easy to put a warm dessert on the table without peeling apples or preparing pastry. Choose the soft biscuit topping when you want a classic cobbler feel, or make the buttery crumble for a crisp finish.
Adjust the cinnamon, brown sugar, or pecans to fit your pantry. Then serve warm apple cobbler in generous scoops with vanilla ice cream melting over the top.
Save the pin for later

I’m the creator of My Everyday Dish, a food blog focused on easy homemade recipes, comforting family meals, simple baking, and seasonal food ideas. I love finding practical ways to make everyday cooking less stressful and more enjoyable. Here, I share recipes with simple ingredients, clear instructions, and plenty of flavor, helping you make delicious meals and treats you’ll feel confident serving at home.
Leave a Reply